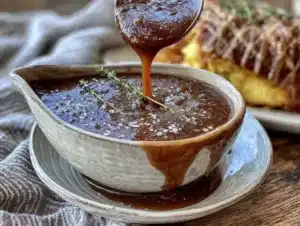
My grandmother handed me a mason jar of turkey drippings once, and I honestly didn’t know what to do with it. She just said, “Don’t you dare throw this away,” and walked off. I stood there holding warm, fatty liquid that looked more like a kitchen problem than a solution. For years, I bought those little packets of gravy mix because they seemed easier. But that jar sat in my fridge for three days, staring at me every time I opened the door.
Finally, I gave in. I grabbed a saucepan, some flour, and a whisk, figuring I’d just see what happened. The first batch was lumpy and tasted mostly like flour. The second one was too salty. But the third time — something clicked. The gravy turned silky, rich, and deeply savory in a way no packet ever could replicate. It was the kind of sauce that made you go quiet at the table.
That moment changed how I approach holiday cooking. I stopped seeing drippings as greasy leftovers and started treating them like liquid gold. Because honestly, the best homemade turkey gravy from drippings isn’t complicated. It just asks for a little patience and the right technique. Once you learn it, you’ll never go back to the packet stuff. And your Thanksgiving table will thank you for it.
Why You’ll Love This Recipe
Let me tell you why this gravy is different from everything else out there. I’ve tested this method across multiple Thanksgivings, Friendsgivings, and random Tuesday roasts. It never fails.
- Deep, Real Flavor : This isn’t thickened broth. You’re working with the actual essence of roasted turkey — the browned bits, the rendered fat, the caramelized juices. That’s where the magic lives.
- Silky Smooth Every Time : No lumps, no graininess. The technique I use creates a velvety texture that coats the back of a spoon perfectly.
- No Fancy Ingredients : You need butter, flour, drippings, and broth. That’s it. Stuff you probably already have in your kitchen right now.
- Completely Customizable : Want it thicker? Add more roux. Prefer it thinner? Splash in more broth. You’re in control, not a package.
- Stress-Free for Holidays : You can make this while the turkey rests. It comes together in under 15 minutes, which is a lifesaver when your oven is full and your stove is crowded.
This recipe became my go-to because it respects the turkey. It doesn’t mask the flavor — it amplifies it. When you pour this over mashed potatoes or stuffing, people notice. They might not say anything, but they’ll take a second helping. And honestly, that’s the best compliment a cook can get.
What Ingredients You Will Need
This recipe uses simple, pantry-friendly ingredients to deliver restaurant-quality gravy. The key is using what the turkey gives you and building on it with a few essentials.
- Turkey drippings — about 1/2 cup reserved from the roasting pan. This is the combination of rendered fat and juices from the bird. Strain it through a fine-mesh sieve to remove any burned bits.
- Unsalted butter — 1/4 cup (4 tablespoons). I use unsalted so I can control the salt level. Kerrygold or Plugrá work beautifully here.
- All-purpose flour — 1/4 cup. Regular white flour is fine. For gluten-free, use a 1:1 gluten-free flour blend like Bob’s Red Mill.
- Turkey or chicken broth — 2 to 3 cups, warmed. Homemade is ideal, but store-bought works. Use low-sodium so you don’t accidentally oversalt. Swanson or Kitchen Basics are my go-to brands.
- Salt and black pepper — to taste. Go easy at first. The drippings already carry salt from the turkey seasoning.
- Fresh herbs (optional) — 1 sprig each of thyme and rosemary, plus a couple of sage leaves. These add an aromatic layer that feels very Thanksgiving. Strip the leaves and chop them fine.
That’s the whole list. Nothing exotic, nothing expensive. The beauty of this recipe is that it works with whatever drippings you have. If you’re roasting a smaller bird and get less fat, just adjust the roux ratio accordingly. I’ve made this with as little as 3 tablespoons of drippings and it still turned out great.
Equipment Needed
You don’t need a lot of fancy tools for this recipe. Here’s what I use:
- Large skillet or saucepan — a 10-inch skillet works best. The wide surface helps the roux cook evenly. I prefer stainless steel or nonstick.
- Fine-mesh strainer — essential for straining the drippings. A regular colander lets too many solids through. Invest in a good fine-mesh one.
- Fat separator — optional but helpful. It makes pouring off the clear fat much easier. If you don’t have one, use a spoon to skim the fat off the top.
- Whisk — a sturdy whisk is non-negotiable. You’ll be whisking constantly to prevent lumps. A silicone-coated one won’t scratch your pan.
- Measuring cups and spoons — for accuracy. Eyeballing works for experienced cooks, but measuring ensures consistency every time.
- Wooden spoon or silicone spatula — for scraping up the browned bits from the roasting pan. Those bits are flavor gold.
If you don’t have a fat separator, don’t stress. Let the drippings sit for a few minutes in a glass measuring cup. The fat rises to the top. Use a spoon to gently skim it off. It’s not as precise, but it gets the job done.
Preparation Method
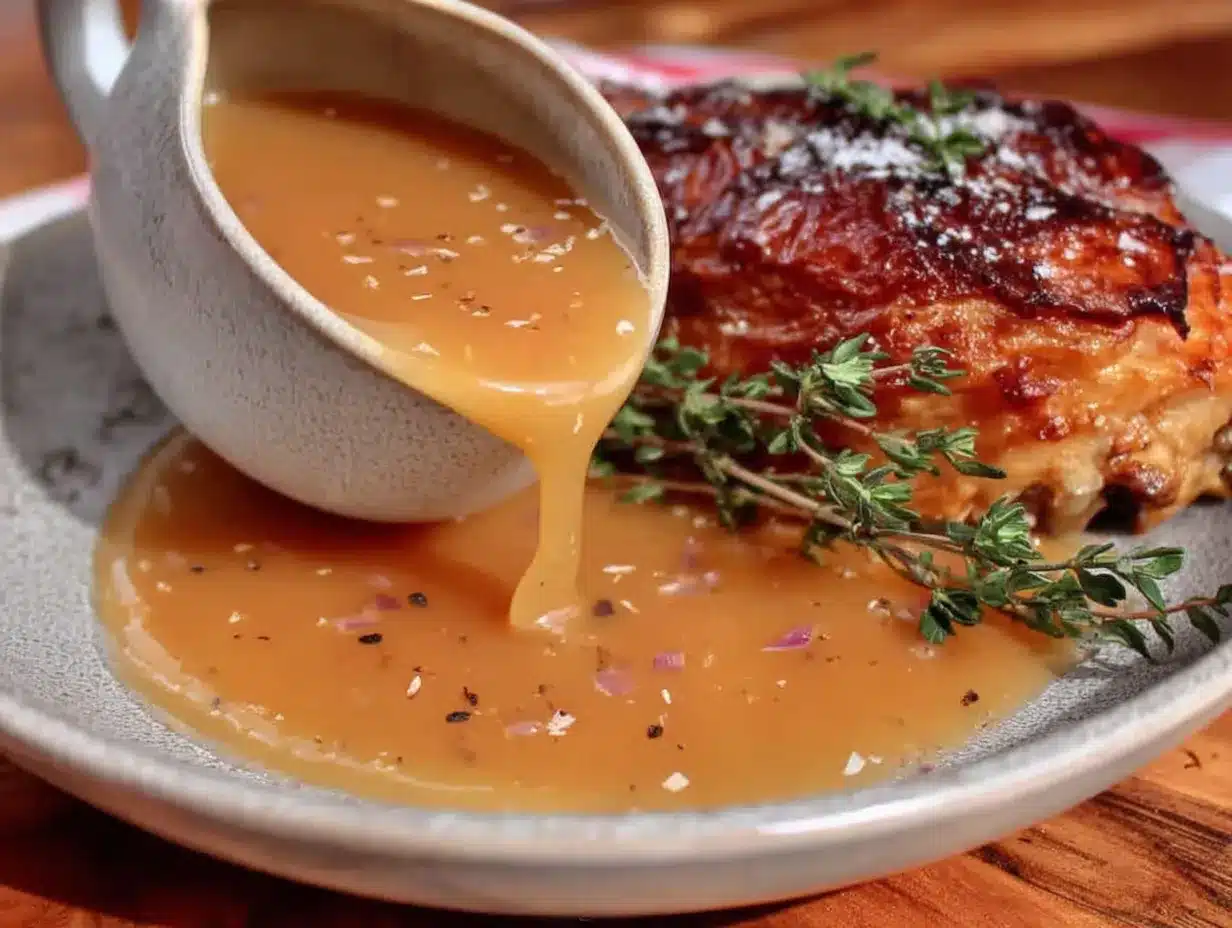
Let’s walk through this step by step. Trust me, once you do it once, it becomes second nature.
- Strain and separate the drippings. Once your turkey is out of the roasting pan and resting, pour the drippings through a fine-mesh strainer into a fat separator or a glass measuring cup. Let it sit for 5 minutes so the fat rises to the top. You should have about 1/2 cup total. Reserve 1/4 cup of the clear fat and 1/4 cup of the darker juices separately.
- Deglaze the roasting pan. Place the empty roasting pan over two burners on medium heat. Pour in about 1 cup of broth and scrape up all the browned bits with a wooden spoon. This is called deglazing, and it’s where a ton of flavor lives. Pour this liquid through your strainer into the rest of your broth. Set aside.
- Make the roux. In your skillet or saucepan, melt 1/4 cup butter over medium heat. Once it’s fully melted and starting to bubble, whisk in 1/4 cup flour. Keep whisking for about 2 to 3 minutes until the mixture turns a light golden brown and smells nutty. Don’t walk away — roux burns fast.
- Add the reserved fat. Whisk in the 1/4 cup of clear turkey fat you reserved earlier. The mixture will loosen up and look like wet sand. Keep whisking for another minute to cook out the raw flour taste.
- Pour in the broth slowly. Begin adding your warmed broth (the one with the deglazing liquid) in a steady stream, whisking constantly. Start with 2 cups. The gravy will thin out, then thicken as it simmers. If you want it thicker, add less broth. For thinner gravy, add the full 3 cups.
- Add the reserved juices. Whisk in the 1/4 cup of dark turkey juices you set aside earlier. This adds that deep roasted flavor that makes homemade gravy so much better than store-bought.
- Simmer and season. Bring the gravy to a gentle simmer — you should see small bubbles, not a rolling boil. Let it cook for 3 to 5 minutes, whisking occasionally, until it coats the back of a spoon. Taste it. Add salt and pepper slowly. Remember, the drippings already carry salt, so go easy.
- Add fresh herbs (optional). If using herbs, stir in the chopped thyme, rosemary, and sage during the last minute of simmering. This keeps their flavor bright and fresh.
- Finish and serve. Turn off the heat. If the gravy seems too thick, whisk in a splash of warm broth or water. Pour into a warmed gravy boat and serve immediately.
One thing I learned the hard way: don’t rush the roux. If you cook it too fast on high heat, it burns and turns bitter. Medium heat, constant whisking, and patience are your friends here. The gravy will look thin at first, but trust the process — it thickens as it simmers.
Cooking Tips & Techniques
After making this gravy dozens of times, I’ve picked up a few tricks that make a real difference. Here’s what I wish someone had told me earlier.
Don’t skip the deglazing step. Those browned bits stuck to the bottom of the roasting pan are pure umami. If you leave them behind, you’re throwing away flavor. Use a wooden spoon and a little broth to scrape them up. It takes 30 seconds and changes everything.
Keep your broth warm. Adding cold broth to hot roux causes it to seize up and get lumpy. Warm the broth in a saucepan or microwave before adding it. This keeps the gravy smooth and saves you from whisking lumps out later.
Watch your salt carefully. Turkey drippings are salty from the brine or seasoning you used on the bird. Store-bought broth adds more salt. I always use low-sodium broth and add salt at the very end, tasting as I go. You can always add more, but you can’t take it out.
Make it ahead if needed. Gravy actually gets better after a day in the fridge. The flavors meld and deepen. Just reheat it gently on the stove, adding a splash of broth to thin it back to the right consistency. I’ve done this for years and nobody ever knows it wasn’t made fresh.
Fix lumpy gravy without stress. If you end up with lumps, don’t panic. Pour the gravy through a fine-mesh strainer into a clean saucepan. The lumps stay behind, and you get silky smooth gravy. Or use an immersion blender for 10 seconds — problem solved.
Use the right fat-to-flour ratio. Equal parts butter, flour, and fat by volume creates a perfect roux. That’s 1/4 cup each for this recipe. If you have more drippings, scale up proportionally. The ratio is forgiving but worth sticking close to.
Variations & Adaptations
This recipe is a great starting point, but don’t be afraid to make it your own. Here are a few ways I’ve adapted it over the years.
Gluten-free gravy. Swap the all-purpose flour with a 1:1 gluten-free flour blend or cornstarch. If using cornstarch, mix 2 tablespoons with 3 tablespoons cold water to make a slurry. Whisk it into the simmering broth at the end instead of making a roux. The texture is slightly different — a bit glossier — but the flavor is just as good.
Herb-infused gravy. Add a bundle of fresh herbs — thyme, rosemary, sage, and a bay leaf — to the broth as it warms. Let it steep for 10 minutes, then remove the bundle before adding the broth to the roux. This infuses the gravy with subtle herbal notes that pair beautifully with turkey and stuffing.
Mushroom gravy variation. Sauté 8 ounces of sliced cremini mushrooms in butter before making the roux. Remove them, then proceed with the roux in the same pan. Add the mushrooms back in at the end. This turns your turkey gravy into a hearty mushroom gravy that’s incredible over mashed potatoes or open-faced sandwiches.
Make it dairy-free. Use olive oil or a plant-based butter substitute instead of regular butter. The roux works exactly the same way. I’ve used Miyoko’s vegan butter with great results — it browns nicely and doesn’t separate.
Smoky bacon gravy. Cook 4 slices of bacon in the skillet before making the roux. Remove the bacon, crumble it, and set aside. Use the rendered bacon fat in place of some of the butter. Stir the crumbled bacon back in at the end. This adds a smoky depth that’s amazing with roasted turkey or chicken.
Serving & Storage Suggestions
This gravy is best served hot, right after making it. Pour it into a warmed gravy boat or a small pitcher. It stays pourable for about 20 minutes at the table before it starts to set. If it thickens too much, stir in a splash of hot broth or water.
For leftovers, let the gravy cool completely, then transfer it to an airtight container. It keeps in the refrigerator for up to 5 days. The fat will solidify on top — that’s normal. Just scrape it off or whisk it back in when you reheat. I actually prefer the flavor on day two; it gets richer and more cohesive.
You can freeze gravy for up to 3 months. Pour it into a freezer-safe bag or container, leaving a little room for expansion. Thaw overnight in the fridge, then reheat gently on the stove. Add a splash of broth if it seems too thick after thawing.
For reheating, use low to medium heat and whisk frequently. Microwave works in a pinch, but the stove gives you better control. If the gravy separates or looks greasy, a quick whisk brings it back together. I’ve had this happen once or twice, and it’s nothing to worry about.
This gravy pairs beautifully with all the classic sides. Pour it over creamy mashed potatoes, soak it into stuffing, or drizzle it on open-faced turkey sandwiches the next day. It also works wonders on fluffy pumpkin sourdough rolls for a savory-sweet combo that’s surprisingly addictive.
Nutritional Information & Benefits
Here’s a rough estimate per 1/4 cup serving of this gravy:
| Nutrient | Amount |
|---|---|
| Calories | 110 |
| Total Fat | 9g |
| Saturated Fat | 4g |
| Cholesterol | 25mg |
| Sodium | 280mg |
| Carbohydrates | 6g |
| Protein | 2g |
The turkey drippings provide a small amount of protein and minerals like zinc and B vitamins. The butter adds fat-soluble vitamins A and D. If you use homemade broth, you’ll get collagen and gelatin, which are great for joint health and digestion.
This recipe is naturally low-carb and gluten-free if you use cornstarch instead of flour. It’s also nut-free and egg-free. The main allergens are dairy (butter) and gluten (flour), both of which can be substituted as noted above.
I like knowing exactly what goes into my gravy. No preservatives, no artificial flavors, no mystery ingredients. Just real food that tastes like Thanksgiving should.
Conclusion
This homemade turkey gravy from drippings is one of those recipes that feels like a secret weapon. It’s simple enough for a weeknight roast but impressive enough for the holiday table. Once you taste the difference between this and anything from a packet, you’ll understand why I was so wrong to doubt my grandmother’s jar of drippings.
Don’t be afraid to tweak it. Add more herbs, swap the fat, make it gluten-free — this recipe is forgiving and adaptable. The more you make it, the more you’ll learn what works for your taste. And honestly, that’s the whole point of cooking, isn’t it?
I’d love to hear how yours turns out. Did you add something unexpected? Did it become your new holiday staple? Drop a comment below and let me know. And if you’re looking for more cozy fall recipes, try my sausage and kale fall soup or these pumpkin chocolate chip cookies for dessert. Happy cooking, friends.
Frequently Asked Questions
Can I make this gravy without drippings?
Yes, you can. Use 1/4 cup butter and 1/4 cup chicken or turkey fat (like schmaltz) instead. The flavor won’t be as deep, but it still beats store-bought gravy. Add a splash of soy sauce or Worcestershire for extra umami.
Why is my gravy lumpy?
Lumpy gravy usually happens when you add cold liquid to hot roux. Always warm your broth before adding it. If lumps still form, whisk vigorously or pour the gravy through a fine-mesh strainer. An immersion blender works too.
Can I use cornstarch instead of flour?
Absolutely. Mix 2 tablespoons cornstarch with 3 tablespoons cold water to make a slurry. Whisk it into the simmering broth at the end instead of making a roux. The gravy will be glossier and clearer, but the flavor is still great.
How do I fix gravy that’s too salty?
If you oversalt, add a splash of unsalted broth or water to dilute it. A teaspoon of lemon juice or vinegar can help balance the saltiness. You can also add a peeled raw potato to the simmering gravy — it absorbs some of the salt. Remove the potato before serving.
Can I make this gravy ahead of time?
Yes, and it often tastes better the next day. Make it up to 3 days ahead, cool it completely, and store it in the fridge. Reheat gently on the stove with a splash of broth to thin it out. The flavors meld and deepen overnight.
Pin This Recipe!
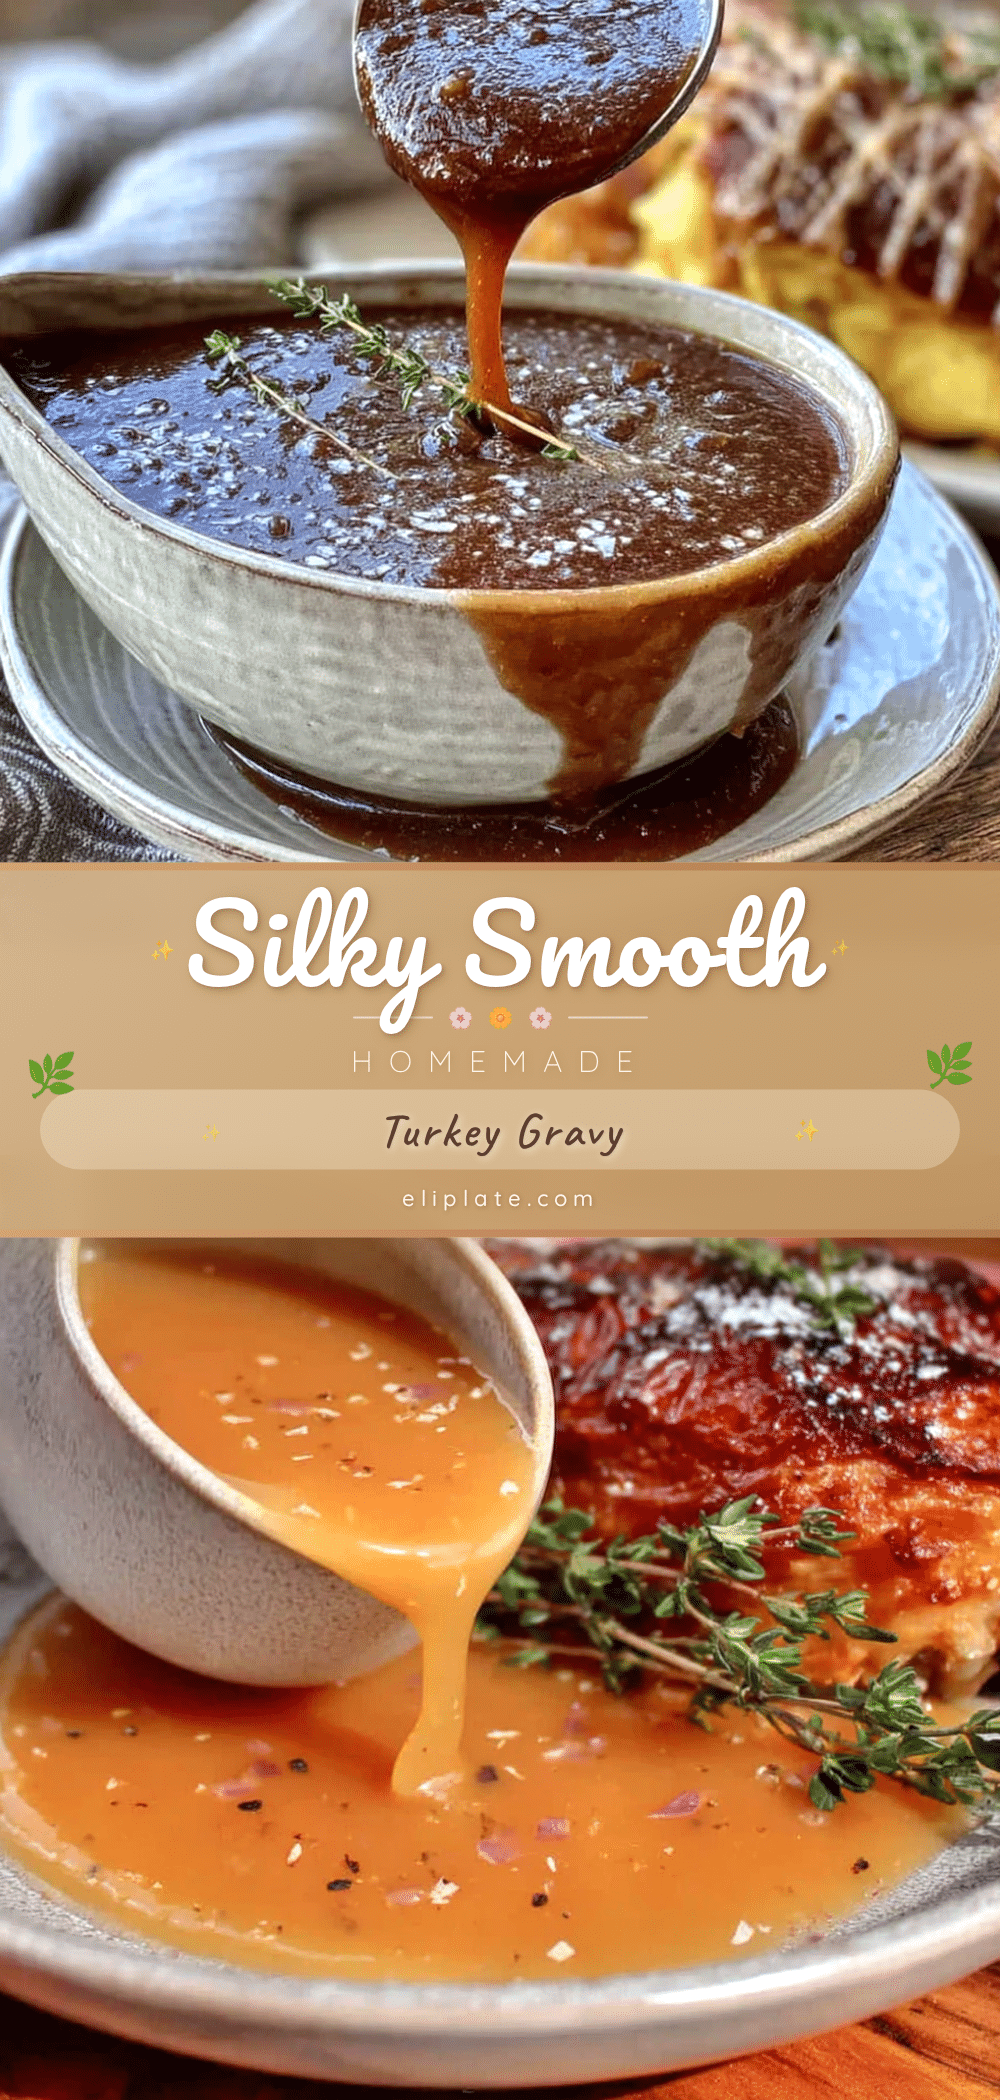
Best Homemade Turkey Gravy from Drippings

Learn how to make silky, rich turkey gravy from drippings with this foolproof recipe. It’s simple, customizable, and far better than any packet mix.
- Prep Time: 5 minutes
- Cook Time: 15 minutes
- Total Time: 20 minutes
- Yield: 8 servings 1x
- Category: Sauce
- Cuisine: American
Ingredients
- 1/2 cup turkey drippings (reserved from roasting pan)
- 1/4 cup unsalted butter
- 1/4 cup all-purpose flour
- 2 to 3 cups turkey or chicken broth, warmed
- Salt and black pepper to taste
- Fresh herbs (optional): 1 sprig each thyme and rosemary, plus a couple of sage leaves, chopped
Instructions
- Strain and separate the drippings: Once the turkey is out of the roasting pan and resting, pour the drippings through a fine-mesh strainer into a fat separator or glass measuring cup. Let sit for 5 minutes so the fat rises to the top. Reserve 1/4 cup of the clear fat and 1/4 cup of the darker juices separately.
- Deglaze the roasting pan: Place the empty roasting pan over two burners on medium heat. Pour in about 1 cup of broth and scrape up all the browned bits with a wooden spoon. Pour this liquid through the strainer into the rest of the broth. Set aside.
- Make the roux: In a large skillet or saucepan, melt 1/4 cup butter over medium heat. Once melted and bubbling, whisk in 1/4 cup flour. Keep whisking for 2 to 3 minutes until the mixture turns light golden brown and smells nutty.
- Add the reserved fat: Whisk in the 1/4 cup of clear turkey fat. The mixture will loosen up. Keep whisking for another minute.
- Pour in the broth slowly: Begin adding the warmed broth (with deglazing liquid) in a steady stream, whisking constantly. Start with 2 cups. The gravy will thin out, then thicken as it simmers. Add more broth for thinner gravy.
- Add the reserved juices: Whisk in the 1/4 cup of dark turkey juices.
- Simmer and season: Bring to a gentle simmer and cook for 3 to 5 minutes, whisking occasionally, until it coats the back of a spoon. Taste and add salt and pepper slowly.
- Add fresh herbs (optional): If using herbs, stir in the chopped thyme, rosemary, and sage during the last minute of simmering.
- Finish and serve: Turn off the heat. If too thick, whisk in a splash of warm broth or water. Pour into a warmed gravy boat and serve immediately.
Notes
Don’t rush the roux; cook on medium heat to avoid burning. Keep broth warm to prevent lumps. Taste salt carefully as drippings and broth may already be salty. Gravy can be made ahead and refrigerated for up to 5 days or frozen for 3 months.
Nutrition
- Serving Size: 1/4 cup
- Calories: 110
- Sodium: 280
- Fat: 9
- Saturated Fat: 4
- Carbohydrates: 6
- Protein: 2
Keywords: turkey gravy, homemade gravy, gravy from drippings, Thanksgiving gravy, easy gravy recipe