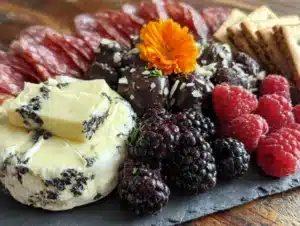
My neighbor, a retired art teacher named Rosa, watched me wrestling with a sheet pan of cheese and crackers last October. I was trying to make a Halloween charcuterie board for my husband and me, and honestly, it looked like a disaster. She didn’t say anything at first. Then she reached into her grocery bag and pulled out a block of black wax-wrapped cheese, holding it up with a wink. “You’re overthinking it,” she said. “Make it a cat. Everything tastes better when it looks like something you love.”
That conversation changed how I approach holiday snacking forever. Rosa had this way of treating food like a little art project, not a stressful performance. She told me about making animal-shaped boards for her grandkids, and how the black cat was always the favorite. I went inside, rearranged my sad little pile of ingredients, and within twenty minutes I had a Spooky Black Cat Charcuterie Board for Two that actually made me laugh out loud. The ears were a little crooked. The tail was too long. But you know what? It was fun. It tasted great. And it felt like the perfect way to spend a quiet Halloween evening without the pressure of a full costume or party.
This board is exactly that kind of energy. It’s not about perfection, it’s about making something playful and delicious that you and your person can pick at while watching a scary movie or handing out candy. Maybe you’ve been there, staring at a pile of groceries wondering how to turn them into something festive without spending hours in the kitchen. This is your answer. It comes together fast, uses ingredients you can find anywhere, and honestly, it’s the most fun I’ve had with a cutting board in years. I keep making it because it reminds me that food doesn’t have to be fancy to be memorable. It just has to feel like you.
Why You’ll Love This Recipe
Let me tell you why this board has become my go-to for Halloween. After testing it about five times (Rosa would be proud), I can confidently say it checks every box for a low-stress, high-reward date night snack. Here’s what makes it stand out:
- Quick & Easy: You can put this together in under 20 minutes. No cooking, no baking, just assembly. Perfect for those evenings when you want something festive but don’t have the energy for a full meal.
- Simple Ingredients: Everything on this board is easy to find at any grocery store. No specialty items, no fancy cheese shops. I picked up everything at my local market, including the black wax cheese that makes the cat shape pop.
- Perfect for Halloween Date Night: This is sized for two people, making it ideal for a cozy night in. Whether you’re watching Hocus Pocus or handing out candy, it feels special without being overwhelming.
- Crowd-Pleaser: Even picky eaters love this board. The combination of savory cheese, salty meats, sweet fruit, and crunchy crackers hits every craving. I’ve made it for friends who claimed they didn’t like charcuterie, and they finished every last bite.
- Unbelievably Delicious: The flavor combinations are next-level. The creamy black wax cheese pairs beautifully with the tangy pickles and sweet apple slices. And the dark chocolate? It ties everything together in a way that feels intentional, not random.
What makes this recipe different from the rest is the shape. Instead of just arranging ingredients on a board, you’re building a black cat silhouette that immediately sets the Halloween mood. It’s not just another charcuterie board, it’s an experience. And honestly, it’s the kind of thing that makes you close your eyes after the first bite because the flavors work so well together. It’s comfort food reimagined, playful but satisfying, and perfect for impressing your date without stress.
What Ingredients You Will Need
This recipe uses simple, wholesome ingredients to deliver bold flavor and satisfying texture without the fuss. Everything is designed to be flexible, so feel free to swap based on what you have or prefer. Here’s what you’ll need:
- Black wax cheese (200g or 7 oz): This is the star of the show. Look for a semi-soft cheese like Edam or Gouda with a black wax rind. It creates the cat’s body and head. I recommend the brand from Aldi or Trader Joe’s for best texture. (If you can’t find black wax, use any dark-rind cheese or wrap regular cheese in black beeswax wrap.)
- Salami slices (100g or 3.5 oz): Use thin slices of Genoa salami or pepperoni. These form the cat’s ears and tail. I prefer the pre-sliced packs for convenience, but you can slice your own if you want thicker pieces.
- Dark chocolate pieces (50g or 1.75 oz): Use dark chocolate chunks or a broken chocolate bar. This adds a sweet contrast and can be placed as the cat’s eyes or nose. I use 70% cacao for a rich flavor that doesn’t overpower the cheese.
- Red seedless grapes (1 cup or 150g): These add a pop of color and sweetness. They also help balance the saltiness of the meats and cheese. You can substitute with blackberries or raspberries for a darker palette.
- Apple slices (1 small apple, about 100g): Use a red or green apple, sliced thin. The crunch and acidity cut through the richness of the cheese. I like Honeycrisp for sweetness or Granny Smith for tartness.
- Crackers or crostini (about 12 pieces): Use plain or seeded crackers. These serve as the base for your bites. I recommend water crackers or rosemary crackers for a subtle flavor that won’t compete.
- Pickles or cornichons (50g or 1.75 oz): Small pickles add a tangy, briny element that wakes up your palate. You can also use pickled onions or olives.
- Almonds or walnuts (30g or 1 oz): A handful of nuts adds crunch and healthy fats. I use roasted, salted almonds for extra flavor.
- Fresh rosemary or thyme (optional): Use a sprig to create whiskers or a tail detail. It’s purely decorative but adds a lovely aroma.
For substitutions, you can use any semi-soft cheese if black wax isn’t available. Turkey or chicken slices work instead of salami. And if you want a dairy-free option, use vegan cheese and dark chocolate. The beauty of this board is its flexibility.
Equipment Needed
You don’t need much to pull this together, which is part of the charm. Here’s what I use:
- Small cutting board or serving platter (about 12×8 inches): This is the canvas for your cat. A wooden board looks rustic and warm, but any flat surface works. I use a bamboo board I got for ten dollars at a home goods store.
- Cheese knife or small paring knife: You’ll need this to shape the cheese and slice the apple. A sharp knife makes clean cuts, especially for the cat’s ears.
- Small bowls or ramekins (2-3): Use these for pickles, nuts, or chocolate pieces. They keep the board organized and prevent ingredients from rolling around.
- Toothpicks or small skewers (optional): These are great for securing the ears or tail if they shift. I also use them to pick up olives or pickles.
- Paper towel or napkin: Keep one handy to wipe the board between ingredients. It helps maintain a clean look.
If you don’t have a cutting board, a large dinner plate works perfectly. I’ve also used a baking sheet in a pinch, just line it with parchment paper for a cleaner presentation. And if you don’t have small bowls, you can pile ingredients directly on the board, just leave space around them.
Preparation Method
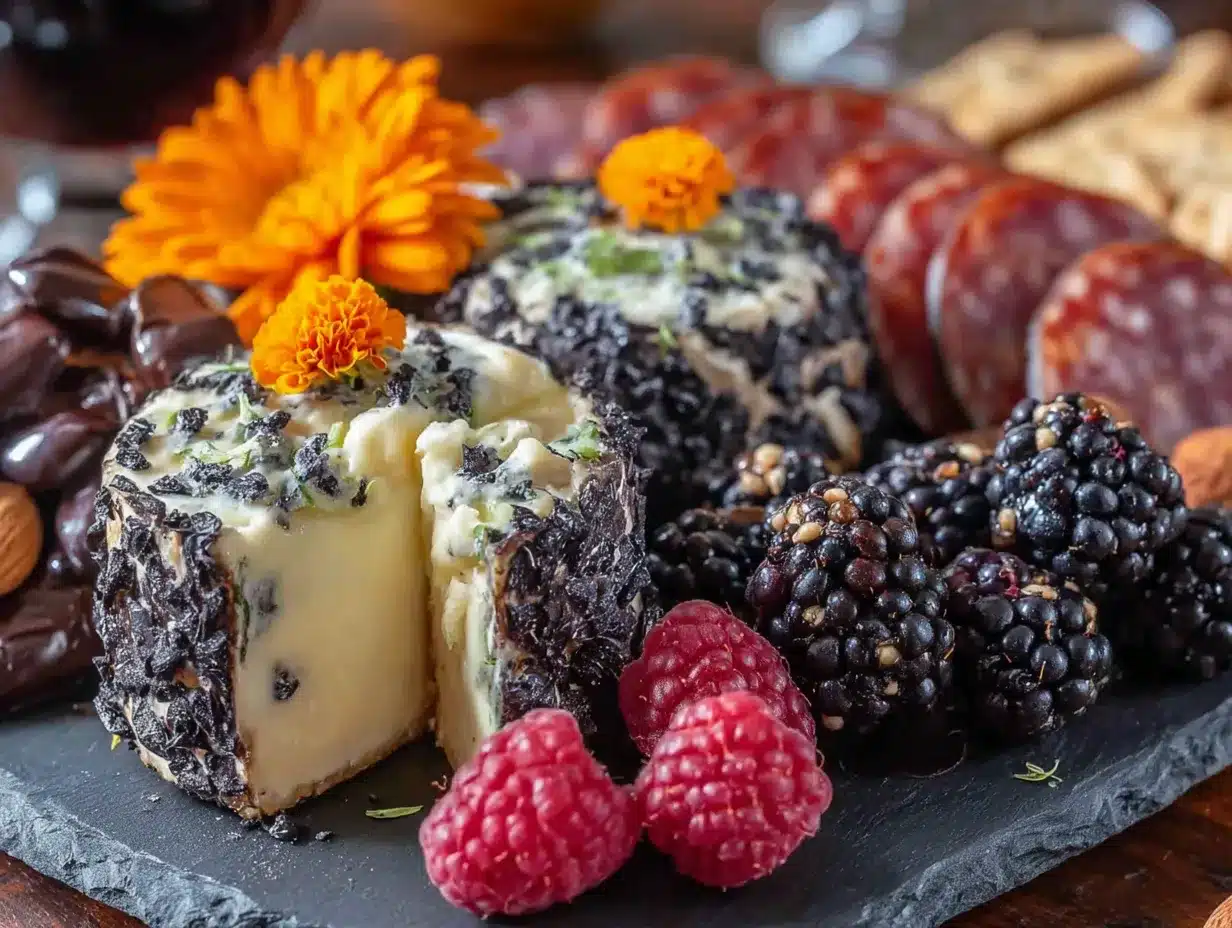
Now let’s get to the fun part. Building the cat is like a puzzle, but way more delicious. Take your time and enjoy the process. Here’s how I do it:
- Prepare the cheese (5 minutes): Unwrap the black wax cheese and place it on the cutting board. Using a sharp knife, cut a triangular piece for the head, about 2 inches at the base and 2 inches tall. Then cut a larger oval or rounded rectangle for the body, about 4 inches long and 3 inches wide. The head should sit slightly above the body, overlapping by about half an inch. If the cheese is too soft, chill it for 10 minutes first for cleaner cuts.
- Shape the ears and tail (3 minutes): Take 2 slices of salami and fold each into a triangle. Place them on top of the head piece, pointing upward and slightly outward. For the tail, take 3-4 salami slices and arrange them in a curved line extending from the back of the body. The tail can be straight or curled, depending on your board size. Use a toothpick to secure the ears if they don’t stay put.
- Add the face details (2 minutes): Use small pieces of dark chocolate for the eyes. Place them about half an inch apart on the upper half of the head. For the nose, use a small triangle of dark chocolate or a single almond. If you want whiskers, place two thin slices of apple or sprigs of rosemary on each side of the nose. This is where you can get creative, every cat face will look a little different.
- Arrange the body fillings (5 minutes): Now fill the area around the cat with the remaining ingredients. Place the grapes in small clusters near the body. Arrange the apple slices in a fan pattern. Add the crackers in a row along one side of the board. Put the pickles and nuts in small bowls or piles. The goal is to create a cohesive look where the cat is the centerpiece and everything else surrounds it naturally.
- Add finishing touches (2 minutes): Scatter the remaining dark chocolate pieces around the board. Tuck a few almonds between the cheese and crackers. If you’re using herbs, place a sprig of rosemary near the tail to suggest movement. Step back and look at your board. Adjust any ingredients that seem out of place. The cat should be clearly visible, with the other ingredients acting as a frame.
- Serve immediately (1 minute): This board is best enjoyed right away, while the cheese is at room temperature and the crackers are crisp. If you need to prep ahead, assemble everything except the crackers and apple slices, then add those just before serving to prevent sogginess.
Here’s a tip I learned the hard way: don’t overfill the board. Leave a little negative space so the cat shape stands out. The first time I made this, I crammed everything on and the cat disappeared. Less is more, honestly. And if the ears fall over, just use a tiny dab of cheese to stick them in place. It’s not rocket science, it’s snack time.
Cooking Tips & Techniques
After making this board about seven times (not exaggerating), I’ve picked up a few tricks that make the process smoother and the result more impressive. Let me share what I’ve learned:
Keep the cheese cold until you’re ready to cut. Black wax cheese can be a bit soft at room temperature, which makes clean cuts tricky. Pop it in the fridge for 15 minutes before you start. This gives you sharper edges for the head and body, and the wax won’t smear as much. I forgot this step once and ended up with a blob that looked more like a ghost than a cat. Lesson learned.
Use a template if you’re nervous about the shape. I’m not great at freehand drawing, so I trace a simple cat silhouette on a piece of paper and use it as a guide. Just place the paper under the board and arrange the cheese over the lines. It sounds silly, but it works. After a few tries, you’ll be able to do it by memory.
Balance flavors across the board. Think about the tasting experience. You want a mix of salty, sweet, tangy, and creamy. I place the salty items (salami, pickles) near the cheese, and the sweet items (grapes, chocolate) on the opposite side. This encourages your guests to try different combinations. The best bites include a little bit of everything.
Don’t stress about perfection. Honestly, the cat doesn’t have to look exactly like a cat. My first attempt had ears that were way too big and a tail that looked like a snake. But when I served it, my husband laughed and said it was the cutest thing he’d ever seen. The playfulness is part of the charm. Embrace the imperfections.
Prep ingredients ahead of time. Slice the apple and cheese, portion the nuts, and arrange the salami slices on a plate before you start assembling. This makes the actual building process much faster. I usually do this while waiting for water to boil for pasta or while my coffee brews. It turns a 20-minute task into a 10-minute one.
Variations & Adaptations
One of the best things about this board is how easy it is to customize. Here are some variations I’ve tried and loved:
Spooky Spider Board: Instead of a cat, shape the cheese into a spider body using a round piece of cheese. Use pretzel sticks for legs, arranging eight of them around the body. Add olive slices for eyes. This is a fun alternative if you want something even more Halloween-themed. I made this for a party and the kids went crazy for it.
Vegetarian Version: Skip the salami and use roasted red pepper strips for the ears and tail. Add more cheese varieties, like a smoked gouda or a creamy brie. You can also use marinated artichoke hearts or sun-dried tomatoes for extra flavor. This version is just as satisfying and works well for plant-based eaters.
Sweet Tooth Board: Replace the cheese and salami with a dessert version. Use a round of brie or camembert for the body, and arrange chocolate-covered strawberries, brownie bites, and marshmallows around it. The cat’s face can be made with white chocolate chips for eyes and a raspberry for the nose. This is perfect for a Halloween dessert date.
Low-Carb or Keto Option: Swap the crackers for cucumber rounds or cheese crisps. Use more nuts and olives instead of grapes and apple slices. The salami and cheese are naturally low-carb, so this adaptation is easy. I’ve served this to keto friends and they were thrilled to have a festive option that fit their diet.
Spicy Twist: Add pickled jalapeños or sliced chili peppers for heat. Use spicy salami or chorizo instead of regular salami. The combination of spicy, salty, and sweet is incredible. My husband loves this version, and we always fight over the last piece of spicy salami.
Serving & Storage Suggestions
This board is best served at room temperature, so take the cheese out of the fridge about 20 minutes before assembling. The flavors are more pronounced when the cheese isn’t cold. Arrange the board on a coffee table or kitchen island, and let you and your date pick at it casually. It’s meant to be shared, not plated individually.
For presentation, I like to add a small bowl of honey or fig jam on the side. It pairs beautifully with the cheese and adds a touch of sweetness. You can also drizzle a little balsamic glaze over the cheese for a gourmet touch. But honestly, the board is already visually striking on its own.
For storage, this board doesn’t keep well once assembled. The crackers get soft and the apple slices brown. If you have leftovers, separate the components and store them in airtight containers. The cheese and salami will keep for 3-4 days in the fridge. The grapes and apple slices should be eaten within a day. The crackers can be stored in a zip-top bag at room temperature.
Reheating isn’t really a thing for charcuterie, but if you want to revive the cheese, let it sit at room temperature for 15 minutes before serving again. The flavors actually develop a bit overnight, so leftover cheese and salami taste even better the next day. I’ve been known to eat the leftover components for lunch, arranging them on a plate like a mini board.
One note: the black wax cheese can stain your cutting board if left too long. I recommend wiping the board clean after serving. A quick rinse with warm water and mild soap does the trick.
Nutritional Information & Benefits
This board is designed for sharing, so the nutritional values are approximate per serving (half the board). Here’s a rough breakdown:
- Calories: 450-550 per serving
- Protein: 20-25g
- Fat: 30-35g
- Carbohydrates: 25-30g
- Fiber: 4-6g
- Sugar: 15-20g
The cheese provides calcium and protein, while the nuts and dark chocolate offer healthy fats and antioxidants. The grapes and apple slices add vitamins and fiber, making this a balanced snack that won’t leave you feeling heavy. The salami gives you a good dose of iron and B vitamins.
If you’re watching your sodium intake, choose low-sodium salami and unsalted nuts. For a lower-calorie option, use more vegetables like cucumber slices and bell pepper strips instead of crackers. This board can easily be adapted to fit different dietary needs without losing its festive feel.
From a wellness perspective, I love that this board encourages mindful eating. You’re picking at small portions, savoring each combination, and sharing the experience with someone. It’s not about overeating, it’s about enjoying the moment. That’s something I think we can all use more of.
Conclusion
This Spooky Black Cat Charcuterie Board for Two has become a Halloween tradition in my house, and I hope it becomes one in yours too. It’s playful without being childish, delicious without being complicated, and perfect for a cozy date night. The best part is that it’s completely customizable, so you can make it your own. Swap in your favorite cheeses, add your go-to snacks, and don’t be afraid to get creative with the cat’s face.
I love this recipe because it reminds me that food doesn’t have to be fancy to be special. Sometimes the most memorable meals are the ones that make you smile. And honestly, watching someone’s face light up when they see a black cat made of cheese and salami is pure joy. It’s a little silly, a little spooky, and a whole lot of delicious.
I’d love to hear how your board turns out. Did you make a cat, or did you try a different shape? What ingredients did you use? Share your creations in the comments below, and tag me on Pinterest so I can see your spooky masterpieces. Happy Halloween, and happy snacking!
Frequently Asked Questions
Can I make this board ahead of time?
Yes, but with some caveats. You can prep all the ingredients a day in advance. Slice the cheese, portion the nuts, and wash the grapes. Store everything in separate containers in the fridge. Assemble the board just before serving, adding the crackers and apple slices last to keep them fresh.
What if I can’t find black wax cheese?
No problem! Use any semi-soft cheese with a dark rind, like a smoked gouda or a dark-colored cheddar. You can also wrap a plain cheese in black beeswax wrap or black parchment paper. The shape matters more than the color, honestly.
How do I keep the apple slices from browning?
Toss the apple slices in a little lemon juice or apple cider vinegar before arranging them on the board. This slows down oxidation without adding a strong flavor. You can also use a mandoline for even slices that look more polished.
Can I make this board for a larger group?
Absolutely. Simply double or triple the ingredients and use a larger board or platter. You can make multiple cats or create a single larger cat shape. Just adjust the proportions and leave enough space for all the accompaniments.
What drinks pair well with this board?
A dry red wine like a Pinot Noir or a crisp white like a Sauvignon Blanc works beautifully. For non-alcoholic options, try sparkling apple cider or a dark cherry soda. The sweetness of the fruit and chocolate balances the acidity of the wine.
Pin This Recipe!
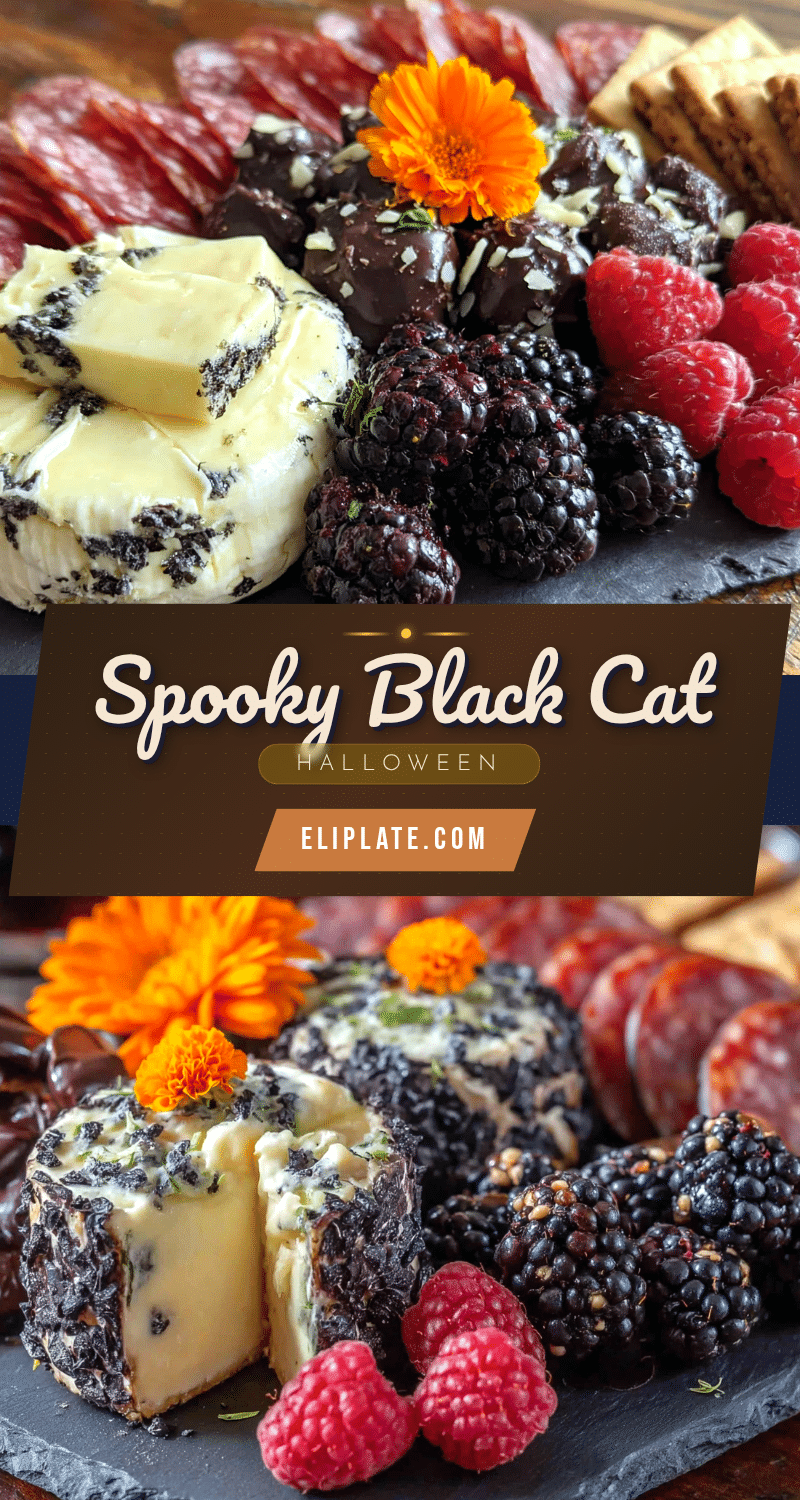
Spooky Black Cat Charcuterie Board for Two: Easy Halloween Date

A playful and delicious Halloween charcuterie board shaped like a black cat, perfect for a cozy date night. Made with simple ingredients like black wax cheese, salami, grapes, and dark chocolate, it comes together in under 20 minutes.
- Prep Time: 20 minutes
- Cook Time: 0 minutes
- Total Time: 20 minutes
- Yield: 2 servings
- Category: Appetizer
- Cuisine: American
Ingredients
- Black wax cheese (200g or 7 oz)
- Salami slices (100g or 3.5 oz)
- Dark chocolate pieces (50g or 1.75 oz)
- Red seedless grapes (1 cup or 150g)
- Apple slices (1 small apple, about 100g)
- Crackers or crostini (about 12 pieces)
- Pickles or cornichons (50g or 1.75 oz)
- Almonds or walnuts (30g or 1 oz)
- Fresh rosemary or thyme (optional)
Instructions
- Prepare the cheese (5 minutes): Unwrap the black wax cheese and place it on the cutting board. Using a sharp knife, cut a triangular piece for the head, about 2 inches at the base and 2 inches tall. Then cut a larger oval or rounded rectangle for the body, about 4 inches long and 3 inches wide. The head should sit slightly above the body, overlapping by about half an inch. If the cheese is too soft, chill it for 10 minutes first for cleaner cuts.
- Shape the ears and tail (3 minutes): Take 2 slices of salami and fold each into a triangle. Place them on top of the head piece, pointing upward and slightly outward. For the tail, take 3-4 salami slices and arrange them in a curved line extending from the back of the body. The tail can be straight or curled, depending on your board size. Use a toothpick to secure the ears if they don’t stay put.
- Add the face details (2 minutes): Use small pieces of dark chocolate for the eyes. Place them about half an inch apart on the upper half of the head. For the nose, use a small triangle of dark chocolate or a single almond. If you want whiskers, place two thin slices of apple or sprigs of rosemary on each side of the nose.
- Arrange the body fillings (5 minutes): Now fill the area around the cat with the remaining ingredients. Place the grapes in small clusters near the body. Arrange the apple slices in a fan pattern. Add the crackers in a row along one side of the board. Put the pickles and nuts in small bowls or piles.
- Add finishing touches (2 minutes): Scatter the remaining dark chocolate pieces around the board. Tuck a few almonds between the cheese and crackers. If you’re using herbs, place a sprig of rosemary near the tail to suggest movement. Step back and look at your board. Adjust any ingredients that seem out of place.
- Serve immediately (1 minute): This board is best enjoyed right away, while the cheese is at room temperature and the crackers are crisp. If you need to prep ahead, assemble everything except the crackers and apple slices, then add those just before serving to prevent sogginess.
Notes
Keep the cheese cold until ready to cut for cleaner shapes. Don’t overfill the board; leave negative space so the cat shape stands out. If ears fall over, use a tiny dab of cheese to stick them in place. Prep ingredients ahead of time for faster assembly.
Nutrition
- Serving Size: Half the board
- Calories: 450550
- Sugar: 1520
- Sodium: 8001000
- Fat: 3035
- Saturated Fat: 1215
- Carbohydrates: 2530
- Fiber: 46
- Protein: 2025
Keywords: Halloween charcuterie board, black cat charcuterie, date night snack, easy Halloween appetizer, spooky snack board