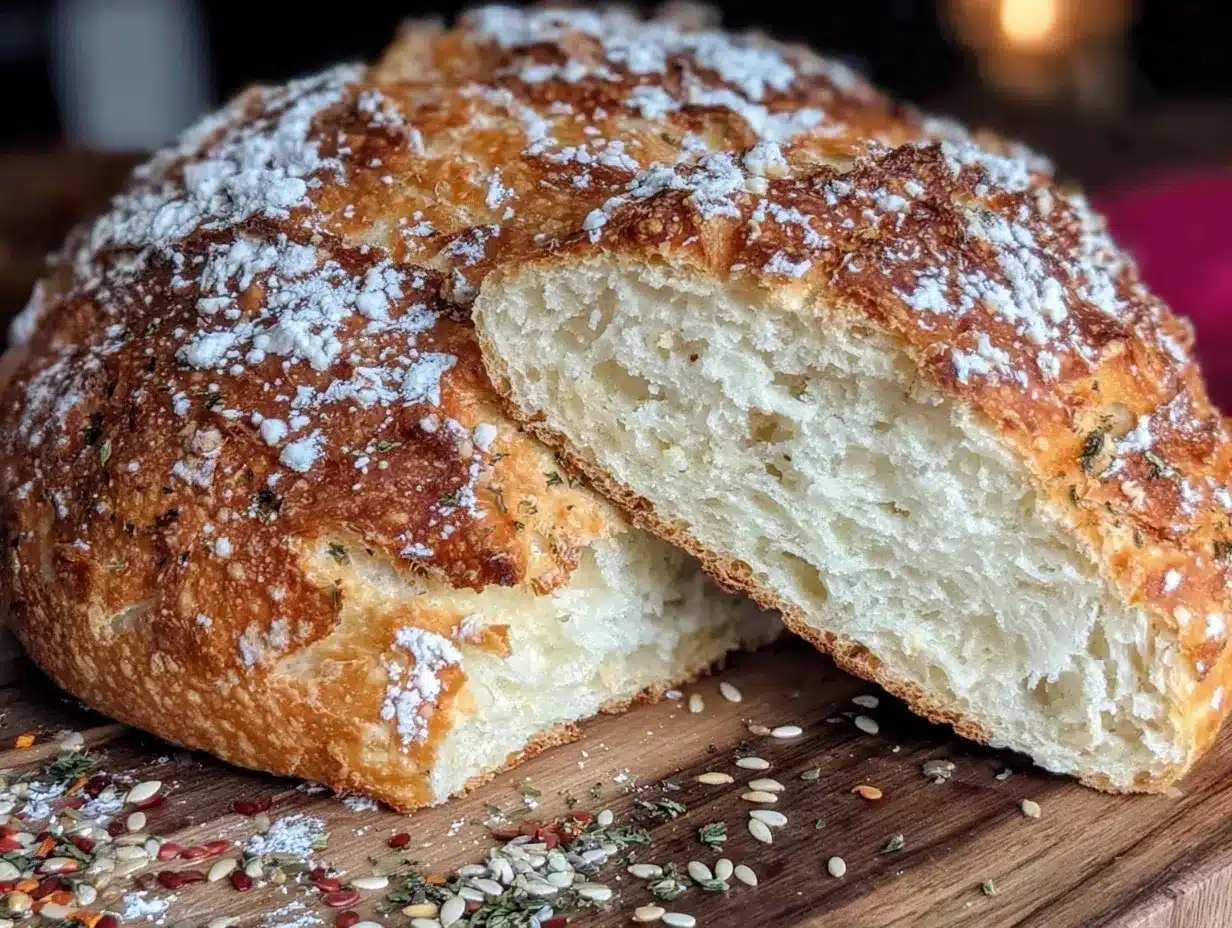
It was one of those evenings when I had barely enough energy to think straight, let alone fuss over a complicated recipe. I’d been craving fresh bread—something soft, warm, and comforting—but gluten was off the table for me. Honestly, I was skeptical. Gluten-free bread often feels like a dense, crumbly disappointment, right? But that night, with just a handful of pantry staples and a few tweaks, I whipped up a loaf of fluffy gluten-free bread that surprised even me. The aroma filled the kitchen, and when I finally sliced into it, that tender crumb and light texture made me pause. This wasn’t the usual dry loaf that leaves you reaching for butter to mask the dryness. It was genuinely soft and satisfying, perfect for everything from sandwiches to simple toast.
What’s funny is how this recipe came about in the middle of a chaotic week—the kind where you just want something homemade without the fuss. Since then, I’ve made this fluffy gluten-free bread recipe more times than I can count. It’s become my go-to for easy homemade baking that doesn’t feel like a chore or a compromise. The best part? It’s forgiving and straightforward, so even if you’re not a seasoned baker, you can get a perfect loaf every time. There’s something quietly satisfying about knowing you can turn simple ingredients into a loaf that feels both nourishing and a little bit special. That’s why this recipe stuck with me—because it’s real, reliable, and undeniably comforting.
Why You’ll Love This Recipe
After testing countless gluten-free bread recipes (some better than others), this one stands out for several reasons that make it a keeper in any kitchen:
- Quick & Easy: Comes together in under 90 minutes, perfect for those last-minute bread cravings or busy weeknights.
- Simple Ingredients: No need for specialty stores—most ingredients are pantry staples you likely already have on hand.
- Perfect for Any Occasion: Whether it’s a cozy breakfast, a casual dinner, or a lunchbox staple, this loaf fits right in.
- Crowd-Pleaser: Family and friends often ask for the recipe after trying it, and kids love it too, which is always a win.
- Unbelievably Delicious: The texture is fluffy and moist with a golden crust—far from the usual dense gluten-free loaves.
What really sets this recipe apart is the balance of flours and the gentle rise that creates a light structure without weird aftertastes or heaviness. Plus, the method is foolproof, even if you’ve never baked gluten-free bread before. It’s the kind of baking that feels like a quiet achievement, the kind that makes you pause and appreciate the simple joy of fresh bread at home.
What Ingredients You Will Need
This recipe uses simple, wholesome ingredients to deliver bold flavor and that satisfying fluffy texture without any fuss. Most items are pantry staples, making it easy to bake any time you want.
- Gluten-Free Flour Blend (2 ½ cups / 300g) – I prefer a blend with rice flour, tapioca starch, and potato starch for the best texture. Bob’s Red Mill or King Arthur’s gluten-free blends work well.
- Xanthan Gum (1 tsp) – Helps bind the loaf since we’re skipping gluten.
- Baking Powder (1 tbsp) – Gives a little extra lift for fluffiness.
- Instant Yeast (2 tsp) – The magic behind the rise; make sure yours is fresh for best results.
- Warm Water (1 ¼ cups / 300ml) – Around 110°F (43°C) to activate the yeast properly.
- Sugar (1 tbsp) – Feeds the yeast and adds a hint of sweetness.
- Olive Oil (2 tbsp) – Adds moisture and keeps the crumb tender.
- Eggs (2 large, room temperature) – Acts as a binder and enriches the bread.
- Apple Cider Vinegar (1 tsp) – Reacts with baking powder to boost rise.
- Salt (1 tsp) – Balances flavor and enhances overall taste.
Feel free to swap the olive oil for melted coconut oil or mild avocado oil if you prefer. For a vegan version, flax eggs can replace the eggs, but expect a slightly denser loaf. The apple cider vinegar is subtle but important—it helps build a lighter crumb and a better rise than baking powder alone. I recommend measuring carefully, especially the xanthan gum, for that perfect fluffiness.
Equipment Needed
- Loaf Pan (8 ½ x 4 ½ inches / 21.5 x 11.5 cm) – A standard size works best for this recipe. Non-stick pans or well-greased metal pans give the best crust.
- Mixing Bowls – One large bowl for combining ingredients and a smaller one for proofing the yeast.
- Whisk and Wooden Spoon – For mixing wet and dry ingredients.
- Measuring Cups & Spoons – Precise measurements make a difference, especially with gluten-free baking.
- Kitchen Thermometer (optional) – To check water temperature for yeast activation.
- Cooling Rack – Helps the bread cool evenly without sogginess.
If you’re on a budget, a simple glass loaf pan or even a small baking dish can work. Just line it with parchment paper for easy removal. I’ve tried silicone pans before, but the crust didn’t develop as nicely. A kitchen thermometer isn’t mandatory, but it’s handy if you often bake bread and want to nail the yeast activation step.
Preparation Method
- Activate the Yeast: In a small bowl, whisk together the warm water (110°F / 43°C), sugar, and instant yeast. Let it sit for 5–7 minutes until frothy and bubbly. If it doesn’t foam, your yeast might be old—start fresh.
- Mix Dry Ingredients: In a large bowl, combine the gluten-free flour blend, xanthan gum, baking powder, and salt. Whisk these together thoroughly to distribute everything evenly.
- Combine Wet Ingredients: In a separate bowl, beat the eggs lightly, then stir in olive oil and apple cider vinegar.
- Bring It All Together: Pour the activated yeast mixture and the wet ingredients into the dry ingredients. Using a wooden spoon, mix until a sticky, thick batter forms. It won’t be like traditional dough—think more like a thick cake batter.
- First Rise: Cover the bowl with a clean towel or plastic wrap. Let the batter rise in a warm spot for about 45 minutes until it’s puffed up and airy. It might not double like regular dough, but you’ll notice it’s visibly risen.
- Prepare the Pan: Lightly grease your loaf pan with oil or line with parchment paper. This ensures easy removal and a nice crust.
- Transfer Batter: Scrape the batter into the prepared pan. Smooth the top gently with a wet spatula or the back of a spoon. Don’t press too hard—you want to keep those air bubbles intact.
- Second Rise: Cover the pan loosely with a towel and let it rise again for 20–30 minutes, until slightly puffed.
- Bake: Preheat your oven to 375°F (190°C). Bake the bread for 35–40 minutes until golden brown and a toothpick inserted in the center comes out clean. The crust should sound hollow when tapped.
- Cool: Remove the bread from the pan immediately and place it on a cooling rack. Let it cool completely before slicing to avoid a gummy texture.
Quick tip: If your oven runs hot, check the bread around 30 minutes to avoid over-browning. Also, don’t skip the cooling step; patience here really pays off with that perfect slice.
Cooking Tips & Techniques
One thing I learned early on: gluten-free bread isn’t like regular bread, so expecting the same dough texture leads to disappointment. The batter will be wetter and stickier, more like a thick cake batter, and that’s totally normal. Trying to knead it like traditional dough will only cause frustration.
Make sure your yeast is fresh—old yeast means no rise and a dense loaf. If you’re unsure, proof it in warm water with sugar first. Also, temperature matters: too hot water can kill the yeast; too cold won’t activate it properly.
Don’t skimp on the xanthan gum—it’s the glue that keeps the bread together. Too little and the loaf falls apart; too much and it can get gummy. I find 1 teaspoon hits the sweet spot for this recipe.
Timing your rises can be flexible. If your kitchen is cool, it might take a little longer. Just look for visible puffiness rather than strict timing. And when baking, placing a pan of water on the oven’s bottom rack adds moisture, helping the crust stay tender but crisp.
Last but not least, cooling on a rack is crucial. Cutting too early traps steam and makes the bread gummy. Let it cool fully, and you’ll be rewarded with beautiful slices every time.
Variations & Adaptations
- Herb & Garlic Bread: Add 1 teaspoon dried rosemary or thyme and 1 clove minced garlic to the dry ingredients for a fragrant twist.
- Seeded Loaf: Stir in ¼ cup mixed seeds (sunflower, chia, flax) into the batter for extra texture and nutrition.
- Vegan Version: Replace eggs with 2 flax eggs (2 tablespoons ground flaxseed mixed with 6 tablespoons water, set for 10 minutes). Use coconut oil instead of olive oil. The bread will be slightly denser but still delicious.
For a different cooking method, try baking this in muffin tins for quick individual rolls. Reduce baking time to 20–25 minutes and watch for a golden top. These are great for portion control or snacks on the go.
Feel free to swap the gluten-free flour blend with almond flour for a nuttier flavor, but reduce the baking powder by half, as almond flour behaves differently. I once made this with a mix of buckwheat and rice flour, which gave it a richer taste but a slightly darker crumb.
Serving & Storage Suggestions
This bread is best served fresh and slightly warm, perhaps with a pat of butter or your favorite jam. It also makes an excellent base for sandwiches, toast, or even French toast the next day. The soft crumb holds up well to toppings without crumbling.
Store leftover bread wrapped tightly in plastic wrap or in an airtight container at room temperature for up to 2 days. For longer storage, slice and freeze it in a resealable bag for up to 3 months. To thaw, toast slices directly from frozen or leave them at room temperature for 30 minutes.
Reheating in a toaster or oven (at 350°F / 175°C for 5–7 minutes) refreshes the crust and soft crumb. Over time, the flavors deepen slightly, making it even more comforting with a smear of creamy cheese or nut butter.
Nutritional Information & Benefits
This fluffy gluten-free bread is lower in carbohydrates compared to traditional white bread when made with the right flour blend. It contains no gluten, making it suitable for those with celiac disease or gluten sensitivity. Eggs and olive oil bring protein and healthy fats, while the apple cider vinegar aids digestion.
Because it avoids common allergens like wheat and dairy (if using dairy-free substitutions), it’s a versatile option for many dietary needs. Just be mindful of the xanthan gum if you have sensitivities. Overall, it’s a wholesome, satisfying bread that fits well into balanced eating without sacrificing flavor or texture.
Conclusion
This fluffy gluten-free bread recipe is one of those rare finds—it’s simple, forgiving, and truly tasty. Whether you’re gluten-free by necessity or choice, or just curious about homemade bread, this loaf offers a satisfying alternative to store-bought options that often disappoint.
I love how adaptable it is, letting me add flavors or keep it plain depending on the mood. Baking this bread feels like a small but meaningful accomplishment that brings a little calm to busy days. Give it a try, tweak it to your liking, and I bet it’ll become a staple in your kitchen too.
Don’t hesitate to share your versions or questions—I’d love to hear how this recipe fits into your baking adventures!
FAQs
Can I use all almond flour instead of a gluten-free blend?
You can, but almond flour behaves differently and tends to make denser bread. If you try it, reduce baking powder slightly and expect a nuttier flavor and softer crumb.
How do I know if my yeast is still good?
Proof the yeast by mixing it with warm water and a pinch of sugar. If it becomes frothy within 5–10 minutes, it’s active. No bubbles mean it’s time for new yeast.
Is it necessary to use xanthan gum?
Xanthan gum helps bind the bread since there’s no gluten. Omitting it often results in crumbly, fragile bread. If you have sensitivities, look for alternatives like guar gum.
Can I make this bread dairy-free?
Yes! This recipe is naturally dairy-free if you swap olive oil for another vegetable oil and use egg substitutes if needed. No milk is required.
Why does my gluten-free bread sometimes turn out dense?
Common reasons include old yeast, skipping the rise times, or inaccurate measurements of xanthan gum and flour. Following the recipe steps carefully helps ensure a light, fluffy loaf.
Pin This Recipe!
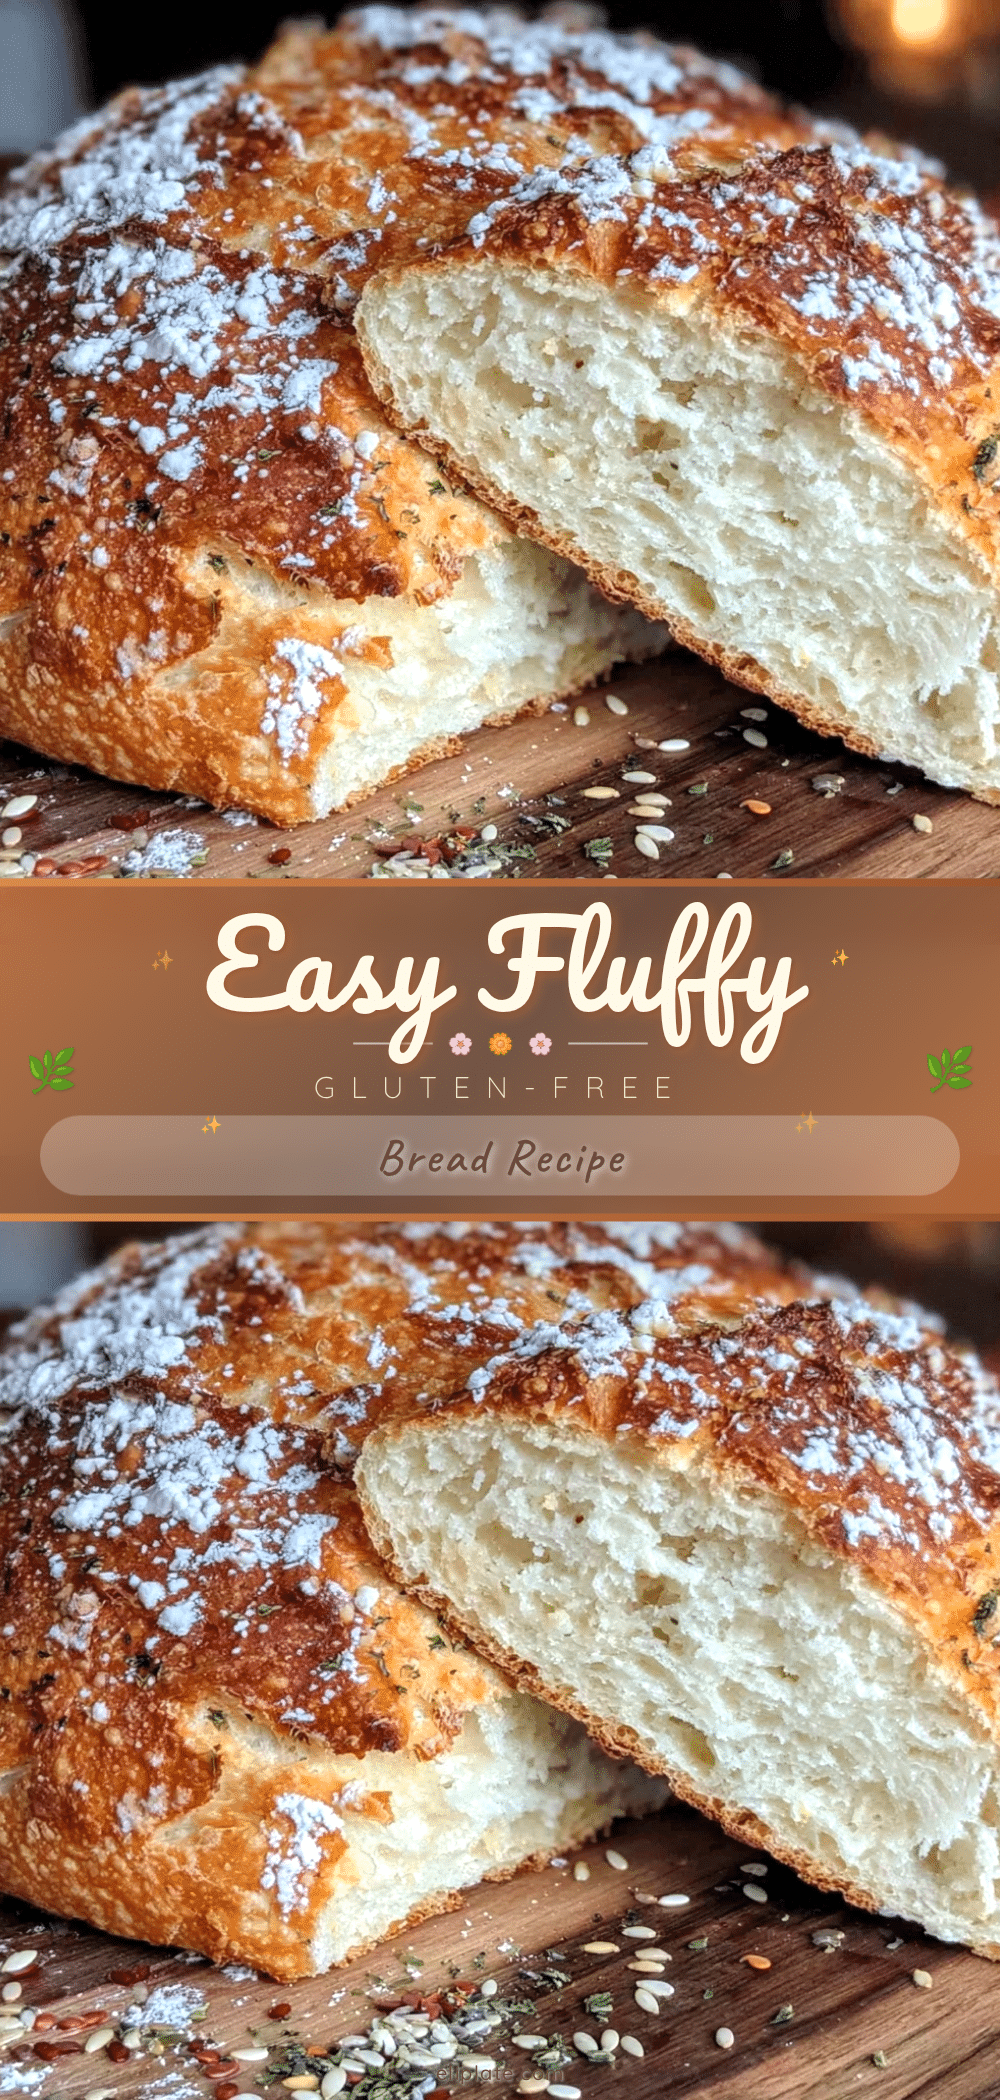
Fluffy Gluten-Free Bread
A quick and easy homemade gluten-free bread recipe that yields a soft, fluffy loaf perfect for sandwiches, toast, and more. Made with simple pantry staples and a foolproof method for a light, moist texture.
- Prep Time: 15 minutes
- Cook Time: 40 minutes
- Total Time: 1 hour 40 minutes
- Yield: 1 loaf (8 ½ x 4 ½ inch pan) 1x
- Category: Bread
- Cuisine: American
Ingredients
- 2 ½ cups (300g) gluten-free flour blend (rice flour, tapioca starch, potato starch)
- 1 tsp xanthan gum
- 1 tbsp baking powder
- 2 tsp instant yeast
- 1 ¼ cups (300ml) warm water (110°F / 43°C)
- 1 tbsp sugar
- 2 tbsp olive oil (or melted coconut oil or mild avocado oil)
- 2 large eggs, room temperature (or 2 flax eggs for vegan version)
- 1 tsp apple cider vinegar
- 1 tsp salt
Instructions
- Activate the yeast: In a small bowl, whisk together warm water, sugar, and instant yeast. Let sit for 5–7 minutes until frothy.
- Mix dry ingredients: In a large bowl, combine gluten-free flour blend, xanthan gum, baking powder, and salt. Whisk thoroughly.
- Combine wet ingredients: In a separate bowl, beat eggs lightly, then stir in olive oil and apple cider vinegar.
- Bring it all together: Pour the activated yeast mixture and wet ingredients into the dry ingredients. Mix with a wooden spoon until a sticky, thick batter forms.
- First rise: Cover the bowl and let the batter rise in a warm spot for about 45 minutes until puffed and airy.
- Prepare the pan: Lightly grease an 8 ½ x 4 ½ inch loaf pan or line with parchment paper.
- Transfer batter: Scrape batter into the prepared pan and smooth the top gently with a wet spatula or spoon.
- Second rise: Cover the pan loosely and let it rise again for 20–30 minutes until slightly puffed.
- Bake: Preheat oven to 375°F (190°C). Bake for 35–40 minutes until golden brown and a toothpick inserted comes out clean.
- Cool: Remove bread from pan and place on a cooling rack. Let cool completely before slicing.
Notes
Use fresh yeast for best rise. The batter is wetter and more like thick cake batter, not traditional dough. Do not knead. Cooling completely before slicing prevents gummy texture. Adding a pan of water in the oven helps keep crust tender. For vegan version, replace eggs with flax eggs and olive oil with coconut or avocado oil.
Nutrition
- Serving Size: 1 slice (approx. 1/1
- Calories: 140
- Sugar: 2
- Sodium: 220
- Fat: 6
- Saturated Fat: 1
- Carbohydrates: 19
- Fiber: 1
- Protein: 3
Keywords: gluten-free bread, fluffy bread, homemade bread, easy bread recipe, gluten-free baking, yeast bread, dairy-free bread