Introduction
One late evening, I found myself rummaging through the fridge, hoping for a dessert fix but honestly expecting nothing but disappointment. You know that moment when you want something sweet but don’t want to start a whole baking project? That night, a quick idea came to me—why not whip up something creamy and indulgent without turning on the oven? That’s how the creamy no-bake mini cheesecakes entered my life.
I was skeptical at first. Cheesecakes usually seem like a commitment—baking, chilling, and waiting. But this recipe, with just five main ingredients, turned out to be a delightful surprise. It’s like having a little cloud of creamy bliss ready in no time. And the mini size? Perfect for those moments when portion control matters but indulgence is non-negotiable.
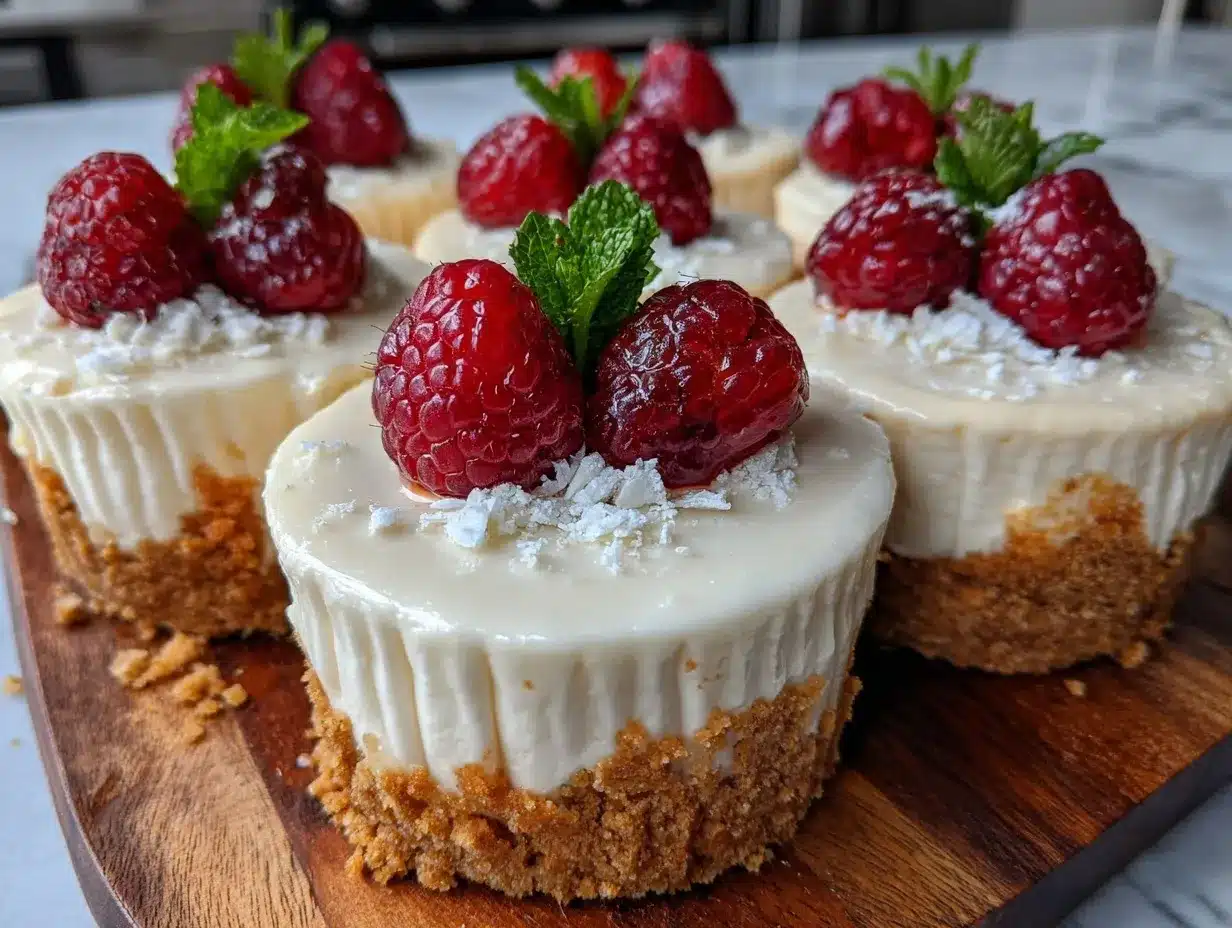
Honestly, the texture hit just the right balance—smooth, rich, but not heavy—and the buttery crust gave it that satisfying crunch. It quickly became my go-to when I wanted a fuss-free dessert that still felt special. There’s something quietly satisfying about pulling out those tiny cheesecakes and knowing you didn’t break a sweat to make them. It’s a recipe that sticks with you because it’s simple, satisfying, and surprisingly versatile.
Why You’ll Love This Recipe
- Quick & Easy: Comes together in under 20 minutes, with chilling time aside—perfect for busy weeknights or last-minute cravings.
- Simple Ingredients: No complicated shopping trips needed; chances are you have cream cheese, sugar, and a few pantry basics already.
- Perfect for Parties: Mini cheesecakes are ideal for potlucks, holiday gatherings, or any occasion where dessert needs to be bite-sized and fuss-free.
- Crowd-Pleaser: Always gets rave reviews from kids and adults alike—there’s just something irresistible about creamy, sweet, and crunchy all in one bite.
- Unbelievably Delicious: The combination of a buttery crust with a silky, tangy filling makes this recipe feel like a little indulgence without the stress.
This isn’t just another cheesecake recipe—it’s the one I trust when I want dessert fast but crave real, creamy texture. The secret lies in the perfect balance of cream cheese and whipped cream, creating that dreamy softness without baking. Plus, making them mini means you get to enjoy just enough without feeling guilty (well, mostly). Whether you’re impressing guests or treating yourself, these cheesecakes bring a little quiet joy to any table.
What Ingredients You Will Need
This recipe uses simple, wholesome ingredients to deliver bold flavor and satisfying texture without the fuss. Most are pantry staples, and if you need to swap anything out, I’ve got you covered.
- Cream Cheese, softened (I prefer Philadelphia for its smooth texture)
- Powdered Sugar (gives a silky sweetness without graininess)
- Heavy Whipping Cream, cold (for that airy, fluffy filling)
- Vanilla Extract (pure vanilla makes all the difference)
- Graham Cracker Crumbs (for the crust; you can substitute with digestive biscuits or gluten-free crackers)
- Unsalted Butter, melted (to bind the crust)
Optional add-ins or toppings:
- Fresh berries or fruit compote (adds a fresh, tangy contrast)
- Mini chocolate chips or shaved chocolate (for a bit of texture and extra flavor)
- Lemon zest (for a bright, citrus twist)
For dairy-free alternatives, swap cream cheese with a cashew-based cream cheese and use coconut cream instead of heavy cream. These substitutions still keep the recipe creamy and rich.
Equipment Needed
- Electric Mixer or stand mixer (hand mixers work too, but electric saves time and effort)
- Mixing Bowls (one large for whipping cream, one medium for cream cheese mixture)
- Measuring Cups and Spoons (accuracy matters for texture)
- Mini Muffin Pan or silicone molds (for shaping the cheesecake bases)
- Paper Liners (optional, but helps with easy release and neat presentation)
- Spatula (for folding ingredients gently)
If you don’t have a mini muffin pan, small ramekins or even silicone candy molds can work well. For mixing, I’ve found that a stand mixer with a whisk attachment whips the cream perfectly without overdoing it. Hand mixers are great if you’re careful not to over-whip.
Investing in a good quality electric mixer makes this kind of no-bake dessert a breeze every time—plus, it’s easy to clean and stores compactly.
Preparation Method
- Prepare the crust: In a medium bowl, combine 1 cup (100g) graham cracker crumbs with 4 tablespoons (57g) melted unsalted butter. Mix until the crumbs are evenly coated and resemble wet sand. This binding step is key for a sturdy crust that won’t crumble when you bite into the mini cheesecakes. (About 5 minutes)
- Press crust into molds: Line a mini muffin pan with paper liners or lightly grease your molds. Press about 1 tablespoon of the crumb mixture into the bottom of each cup, pressing down firmly to compact it. If you want a thicker crust, add a little more, but don’t overdo it or it will overwhelm the filling. (10 minutes)
- Chill the crust: Pop the crust-lined pan into the fridge while you prepare the filling. This helps the crust set firm and ready for the creamy topping. (At least 10 minutes)
- Make the filling: In a large bowl, beat 8 ounces (225g) softened cream cheese with ¾ cup (90g) powdered sugar and 1 teaspoon vanilla extract until smooth and creamy. Scrape down the sides as needed to avoid lumps. (5 minutes)
- Whip the cream: In a separate cold bowl, whip 1 cup (240ml) heavy whipping cream until soft peaks form. Be careful not to over-whip or you’ll get grainy texture. (5 minutes)
- Fold whipped cream into cream cheese mixture: Gently fold the whipped cream into the cream cheese mixture in 2-3 additions, using a spatula. This keeps the filling light and airy—don’t rush this step or you’ll lose the fluffiness. (3 minutes)
- Assemble cheesecakes: Spoon the filling onto each chilled crust, smoothing the tops gently with the back of a spoon or spatula. Fill each cup nearly to the top, but be careful not to overflow. (10 minutes)
- Chill until set: Place the assembled mini cheesecakes in the fridge for at least 2 hours, or overnight if you can wait. The longer chilling time helps them firm up nicely without losing that creamy texture.
- Serve and enjoy: Remove from fridge about 10 minutes before serving for the best creamy mouthfeel. Add any toppings like fresh berries or chocolate shavings just before serving.
Quick tip: If your cream cheese isn’t fully softened, pop it in the microwave for 10 seconds to avoid lumps. Also, make sure your heavy cream is very cold for easier whipping. If the crust feels too crumbly, add a touch more melted butter next time.
Cooking Tips & Techniques
Making no-bake cheesecakes might seem simple, but a few tricks make all the difference. I’ve learned the hard way that cream cheese temperature is everything—too cold, and lumps sneak in; too warm, and the filling gets runny. Aim for room temperature but still cool.
Whipping the cream just right is another balancing act. Stop at soft peaks to keep the filling airy without curdling. I usually test by lifting the whisk—if the cream holds a gentle peak that folds over a bit, you’re good.
Pressing the crust firmly into the pans is essential to avoid a crumbly mess. I like to use the bottom of a shot glass or a small measuring cup to pack it evenly.
Chilling time can’t be rushed. I once tried serving right after assembly and the filling was too soft. Patience pays off with these mini cheesecakes—it’s worth the wait.
When folding the whipped cream into the cream cheese mixture, use slow, gentle strokes to keep that cloud-like texture. Rushing or stirring aggressively deflates the mixture.
Finally, clean edges make for prettier mini cheesecakes. If the filling spills over, simply wipe the sides with a damp cloth before chilling.
Variations & Adaptations
- Fruit Swirl: Gently fold in ¼ cup of your favorite fruit jam or preserves (like raspberry or blueberry) into the filling before assembly for a sweet burst of flavor.
- Chocolate Lovers: Add 2 tablespoons of cocoa powder to the cream cheese mixture and sprinkle mini chocolate chips into the crust for a rich twist.
- Gluten-Free Option: Use gluten-free graham crackers or almond flour mixed with a bit of sugar and butter for the crust.
- Dairy-Free Version: Swap cream cheese with a vegan cream cheese alternative and replace heavy cream with whipped coconut cream. The texture is slightly different but still deliciously creamy.
- Lemon Zest Brightness: Add 1 teaspoon of fresh lemon zest to the filling for a refreshing contrast that cuts through the richness.
Personally, I often make the fruit swirl version in summer, using fresh strawberry jam from my farmer’s market. It adds just the right touch of natural sweetness and a pretty pink hue.
Serving & Storage Suggestions
These mini cheesecakes are best served chilled but not ice-cold—letting them sit out for 10 minutes before serving softens the texture and releases their rich flavors. Arrange them on a pretty platter, maybe with fresh berries or a drizzle of chocolate for a simple yet elegant presentation.
They pair wonderfully with a hot cup of coffee or a glass of sparkling wine if you’re feeling fancy. For brunch or dessert tables, having a variety of toppings ready lets guests customize their own.
Store leftover cheesecakes in an airtight container in the refrigerator for up to 3 days. If you want to keep them longer, freeze them on a tray first, then transfer to a freezer-safe container—thaw overnight in the fridge before serving.
Reheating isn’t really needed, but if you want to soften them quickly, leave them at room temperature for about 15 minutes. The flavors tend to develop over time, so they often taste even better the next day.
Nutritional Information & Benefits
Each mini cheesecake (about 2 inches in diameter) contains approximately 150 calories, 10 grams of fat, 8 grams of carbohydrates, and 3 grams of protein. The recipe offers a decent source of calcium thanks to the cream cheese and cream.
Using real cream cheese and heavy cream means some saturated fat, but the portion size keeps it reasonable for an occasional treat. You can reduce sugar slightly if you prefer a less sweet dessert.
For those avoiding gluten or dairy, the substitutions mentioned keep the recipe inclusive without sacrificing much creaminess. The recipe is vegetarian-friendly and free from artificial preservatives.
Honestly, it’s a dessert that feels indulgent but doesn’t require guilt—especially when you control portions by making them mini. I appreciate that balance between treating yourself and keeping things simple.
Conclusion
This creamy no-bake mini cheesecakes recipe is a quiet little champion in my dessert repertoire. It’s proof that indulgence doesn’t have to be complicated or time-consuming. The combination of smooth, tangy filling and crunchy crust in a tiny, perfect bite has made it a frequent visitor in my kitchen.
Feel free to tweak the flavors, try different toppings, or switch up the crust to suit your taste. It’s a recipe that welcomes creativity without fuss. I love how it brings comfort and a bit of joy, especially on busy days or when unexpected guests arrive.
Give it a shot—you might just find your new favorite “grab-and-go” dessert that fits effortlessly into your life. And hey, if you try it, drop a comment or share your twist—I always love hearing how these little cheesecakes brighten someone else’s day.
Here’s to simple pleasures and sweet moments!
FAQs
Can I make these mini cheesecakes ahead of time?
Absolutely! They actually taste better after chilling overnight, which helps them set firmly and develop flavor.
What if I don’t have a mini muffin pan?
You can use small ramekins, silicone candy molds, or even mini cupcake liners placed on a baking sheet as a substitute.
How long do these cheesecakes last in the fridge?
Stored in an airtight container, they keep well for up to 3 days. Beyond that, the texture may start to change.
Can I add toppings before chilling?
It’s best to add fresh toppings like fruit or chocolate shavings just before serving to keep them looking and tasting fresh.
Is there a way to make these cheesecakes less sweet?
Yes! You can reduce the powdered sugar by up to half without losing the creamy texture, though the flavor will be less sweet.
Pin This Recipe!
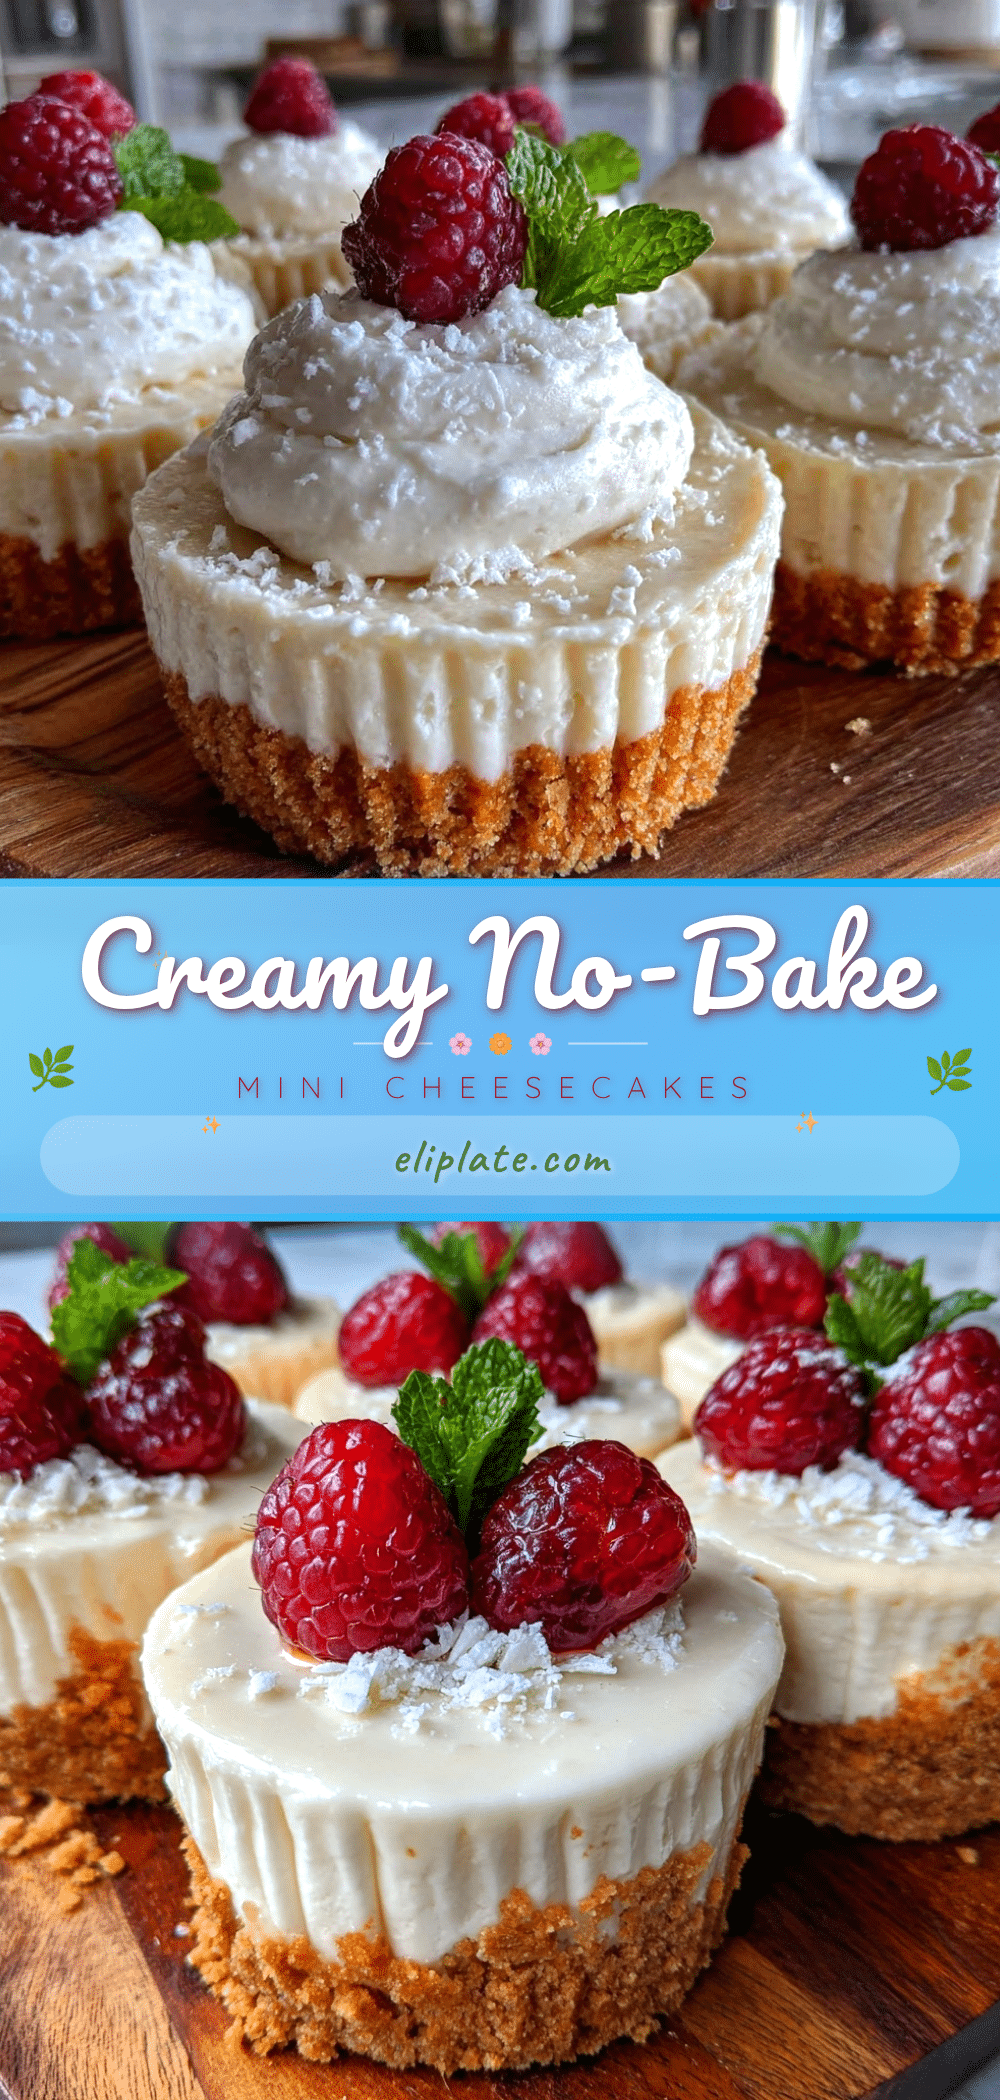
Creamy No-Bake Mini Cheesecakes

A quick and easy no-bake mini cheesecake recipe with just five main ingredients, perfect for a creamy, indulgent dessert without the oven.
- Prep Time: 20 minutes
- Cook Time: 0 minutes
- Total Time: 2 hours 20 minutes
- Yield: 24 mini cheesecakes 1x
- Category: Dessert
- Cuisine: American
Ingredients
- 1 cup (100g) graham cracker crumbs
- 4 tablespoons (57g) unsalted butter, melted
- 8 ounces (225g) cream cheese, softened
- 3/4 cup (90g) powdered sugar
- 1 teaspoon vanilla extract
- 1 cup (240ml) heavy whipping cream, cold
- Optional toppings: fresh berries, fruit compote, mini chocolate chips, shaved chocolate, lemon zest
Instructions
- Prepare the crust: In a medium bowl, combine graham cracker crumbs with melted unsalted butter. Mix until crumbs are evenly coated and resemble wet sand. (About 5 minutes)
- Press crust into molds: Line a mini muffin pan with paper liners or lightly grease molds. Press about 1 tablespoon of crumb mixture into the bottom of each cup, pressing down firmly to compact it. (10 minutes)
- Chill the crust: Refrigerate the crust-lined pan for at least 10 minutes to set the crust.
- Make the filling: In a large bowl, beat softened cream cheese with powdered sugar and vanilla extract until smooth and creamy. Scrape down sides as needed. (5 minutes)
- Whip the cream: In a separate cold bowl, whip heavy whipping cream until soft peaks form. (5 minutes)
- Fold whipped cream into cream cheese mixture gently in 2-3 additions using a spatula to keep filling light and airy. (3 minutes)
- Assemble cheesecakes: Spoon filling onto each chilled crust, smoothing tops gently. Fill nearly to the top without overflowing. (10 minutes)
- Chill until set: Refrigerate assembled mini cheesecakes for at least 2 hours or overnight.
- Serve and enjoy: Remove from fridge about 10 minutes before serving. Add optional toppings just before serving.
Notes
Ensure cream cheese is softened to avoid lumps. Use cold heavy cream for easier whipping. Press crust firmly to avoid crumbling. Chill cheesecakes for at least 2 hours or overnight for best texture. Add toppings just before serving. For dairy-free, use cashew-based cream cheese and coconut cream. For gluten-free, use gluten-free crackers or almond flour for crust.
Nutrition
- Serving Size: 1 mini cheesecake (a
- Calories: 150
- Sugar: 6
- Sodium: 90
- Fat: 10
- Saturated Fat: 6
- Carbohydrates: 8
- Protein: 3
Keywords: no-bake cheesecake, mini cheesecakes, easy dessert, 5-ingredient dessert, creamy cheesecake, party dessert, quick dessert