“You want what flavor again?” my niece asked, peering over the kitchen counter where five colorful jars lined up like a rainbow on a summer afternoon. Honestly, I wasn’t sure I’d pull off making snow cone syrup from scratch—store-bought always felt like the easy way out. But after a random text from a friend boasting about their kid’s “epic backyard snow cone party,” I figured, why not give it a whirl? Spoiler alert: it wasn’t just easy, it turned into a bit of an obsession for a whole week.
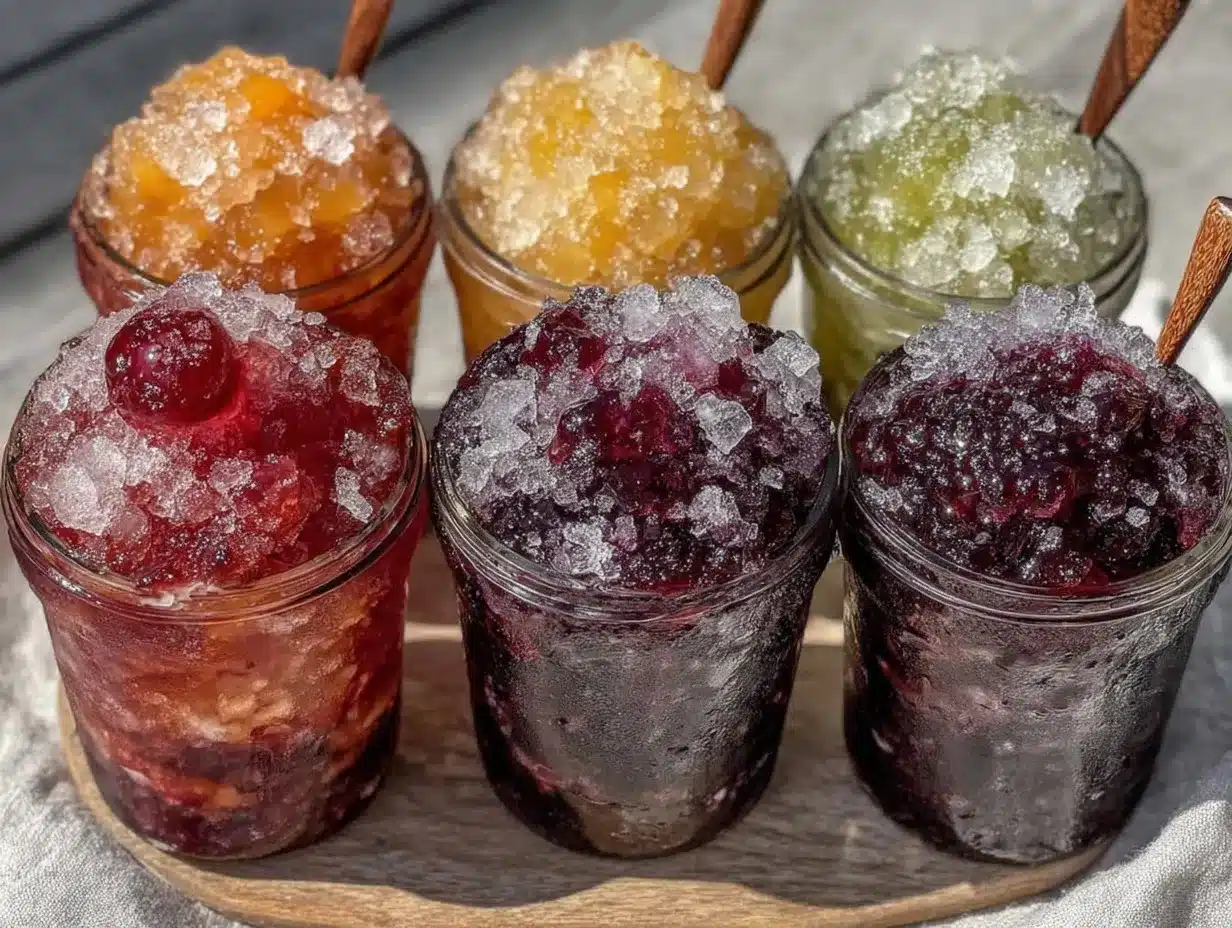
There’s something about those vibrant syrups, the way they melt into crushed ice and burst with flavor, that instantly takes me back to sun-drenched afternoons and sticky fingers. Except, store-bought versions always seemed a little too sweet or artificial to me. So, I started tinkering with simple ingredients, fresh juices, and natural extracts. The result? Five bright, refreshing homemade snow cone syrups that each bring something unique to the party.
What’s funny is how these syrups didn’t just satisfy a craving; they became a small weekend ritual — friends dropping by, kids grinning with colorful tongues, and even grown-ups sneaking a cup or two. It’s not just about the snow cones themselves, but the little moments they create. This recipe stuck with me because it’s the kind of thing you can whip up without stress, impress without fuss, and enjoy without guilt. So, if you’re ready to shake up your warm-weather treats, this homemade snow cone syrup recipe in five vibrant flavors might just become your new favorite go-to.
Why You’ll Love This Recipe
Over the years, I’ve tried plenty of snow cone syrups—from the overly sugary to the oddly artificial—and this homemade version wins hands down. Tested through countless backyard get-togethers and summer afternoons, it’s been a hit with both kids and adults alike. Here’s why I keep coming back to this recipe:
- Quick & Easy: Each syrup comes together in about 15 minutes, perfect for those spontaneous cravings or last-minute plans.
- Simple Ingredients: No hunting down weird additives—just everyday pantry staples and fresh fruit juices.
- Perfect for Any Occasion: Whether it’s a neighborhood block party or a quiet afternoon snack, these vibrant syrups add color and fun.
- Crowd-Pleaser: The balance of natural sweetness and tartness makes these syrups irresistible to kids and adults, trust me.
- Unbelievably Delicious: I swear, the texture and flavor combo give that perfect refreshing punch that homemade just nails better than store-bought.
What sets this recipe apart is the little twists I added to each flavor—like using fresh lemon zest in the lemonade syrup or a hint of cinnamon in the cherry. These aren’t just run-of-the-mill syrups; they have personality. Honestly, it’s the kind of recipe that makes you close your eyes after the first bite and say, “Now that’s summer.” If you want a refreshing treat that feels both nostalgic and fresh, this homemade snow cone syrup recipe is exactly what you need.
What Ingredients You Will Need
This recipe uses simple, wholesome ingredients to deliver bold flavor and satisfying texture without the fuss. Most are pantry staples, and you can easily swap or tweak a few to suit what you have on hand.
- Granulated sugar: The base sweetener, essential for that syrupy texture. I prefer cane sugar for a clean taste.
- Water: To dissolve the sugar and create the syrup base.
- Fresh fruit juices and purees:
- Strawberry puree: Fresh or frozen strawberries, blended smooth (adds natural sweetness and vibrant color)
- Lemon juice and zest: Freshly squeezed lemons provide that bright, tart kick (zest adds aromatic depth)
- Blueberry puree: Fresh or frozen blueberries, a sweet and slightly tangy flavor boost
- Orange juice: Fresh-squeezed is best for a sweet citrus punch
- Cherry juice or puree: Tart and rich, gives a classic snow cone vibe
- Natural flavor extracts: Such as vanilla or almond extract, just a splash to round out flavors
- Citric acid or lemon juice (optional): For extra tartness if you like your syrups zingy
- Food coloring (optional): All-natural food coloring can be used to boost vibrancy if desired, but often the fresh juices provide enough color.
If you want to make this gluten-free or vegan, rest assured the recipe is naturally both. For a lower-sugar option, you can experiment with honey or agave, but note the flavor and texture will shift slightly. For best results, I recommend using fresh, firm strawberries and small-curd purees to avoid graininess. In summer, swapping frozen berries with fresh ones adds a punch of freshness that’s unbeatable.
Equipment Needed
Making homemade snow cone syrup doesn’t require fancy gadgets, which is part of its charm. Here’s what you’ll want handy:
- Medium saucepan: For simmering and dissolving sugar into the fruit juices.
- Blender or food processor: To puree fruits smoothly. I use a simple countertop blender, but a stick blender works great too.
- Fine mesh strainer: To remove seeds and pulp for a silky syrup texture.
- Measuring cups and spoons: Precision helps, especially for balancing sweetness and tartness.
- Clean glass jars or bottles: For storing the syrups. Mason jars work perfectly and keep the syrup fresh.
If you don’t have a strainer, you can skip it, but be prepared for a more rustic texture with bits of fruit pulp. For budget-friendly options, a simple sieve from your kitchen drawer will do the trick. And if you’re looking for an easy way to crush ice for those perfect snow cones, a basic handheld ice crusher or even a food processor can be your best friend.
Preparation Method
- Prepare your fruit purees: Rinse your berries or cherries and blend them until smooth (about 1-2 minutes). For citrus, zest the lemons or oranges first, then juice them. This step usually takes 5-7 minutes.
- Strain the purees: Pour the blended fruit through a fine mesh strainer into a bowl to remove seeds and pulp. Use a spoon to gently press the puree through. This ensures your syrup is silky smooth. Set aside approximately 10 minutes for this process.
- Make the simple syrup: In a medium saucepan, combine 1 cup (200 g) granulated sugar with 1 cup (240 ml) water. Heat over medium, stirring occasionally, until sugar fully dissolves (about 5 minutes). Avoid boiling vigorously to keep the syrup clear.
- Add fruit juice or puree: Once the sugar is dissolved, remove the pan from heat and stir in 1 cup (240 ml) of your strained fruit juice or puree along with 1 teaspoon (5 ml) of lemon juice or citric acid if desired. Add 1/4 teaspoon (1.25 ml) of natural extract if your recipe calls for it (like vanilla or almond). This step brings out the vibrant flavor.
- Cool and bottle: Let the syrup cool completely at room temperature (about 20-30 minutes), then transfer to clean glass jars or bottles. Seal tightly and refrigerate.
- Repeat for each flavor: Follow the same process for strawberry, blueberry, cherry, orange, and lemonade syrups.
Tip: If the syrup crystallizes after refrigeration, gently warm it in a saucepan over low heat and stir until smooth again. The syrup should be bright, glossy, and pour easily over crushed ice. Watch for any thickening or cloudiness—those are signs it’s time to refresh the batch.
From my experience, prepping all five syrups in one afternoon is totally doable and makes for a colorful, ready-to-go stash. It pairs amazingly well with crunchy snacks or even a light meal like crispy lemon herb chicken with roasted veggies, especially when the day calls for something bright and fresh.
Cooking Tips & Techniques
Making snow cone syrup from scratch is pretty straightforward, but a few tips can keep your batches tasting fresh and vibrant every time.
- Use fresh citrus zest: Adding zest rather than just juice introduces essential oils that boost aroma and depth, making your lemonade syrup stand out.
- Don’t boil sugar too hard: A gentle simmer dissolves sugar without caramelizing it, keeping your syrups clear and vibrant instead of dark and bitter.
- Strain thoroughly: Seeds and pulp can dull the texture and color. I learned this the hard way after some grainy batches.
- Balance sweetness and tartness: Taste as you go. If it’s too sweet, a splash more lemon juice or citric acid can brighten it up without overpowering.
- Store properly: Refrigerate syrups in airtight containers and use within two weeks for peak freshness.
- Multitask: While the syrup cools, crush ice or prep toppings. This keeps the flow smooth and you avoid waiting impatiently.
One of my early fails was rushing the cooling step—poured warm syrup over ice and ended up with a watery mess. Lesson learned: patience really pays off. Also, if you want a slightly thicker syrup, reduce it gently by simmering a bit longer, but watch carefully to avoid burning.
Variations & Adaptations
It’s fun to play around with these syrups, and the recipe is flexible enough for different tastes and dietary needs.
- Dietary swaps: Use coconut sugar or maple syrup instead of granulated sugar for a different flavor profile and a touch of natural sweetness.
- Flavor twists: Add fresh herbs like mint or basil to the syrup while it simmers for an herbal note, or infuse with a pinch of cinnamon or ginger for warmth.
- Seasonal fruit swaps: In fall, try apple or pear juice with a dash of cinnamon; in summer, swap berries for fresh peaches or watermelon puree.
- Low-sugar option: Mix fruit purees with sparkling water and a touch of honey for a lighter syrup-like drink that still dresses up your crushed ice.
- Alcoholic twist: For adults, add a splash of rum or vodka to the syrup before serving for a grown-up snow cone experience.
I once tried infusing the cherry syrup with a few crushed cardamom pods, and it added an unexpectedly delightful spice that had friends asking for the recipe twice. Don’t hesitate to experiment; these syrups are forgiving and rewarding.
Serving & Storage Suggestions
Snow cones are best enjoyed fresh and cold, so make sure your ice is finely crushed for maximum syrup absorption. I like serving these syrups chilled, straight from the fridge, so the contrast with the ice is refreshing and sharp.
- Serve syrups in small pitchers or squeeze bottles for easy drizzling.
- Pair your snow cones with light snacks like fresh fruit or crunchy nuts to balance sweetness.
- Store leftover syrups in airtight glass containers in the refrigerator, where they keep well for up to two weeks.
- For longer storage, freeze the syrups in ice cube trays and thaw portions as needed.
- Reheat gently if the syrup thickens, but avoid boiling after storage to keep that fresh flavor.
Flavors tend to mellow slightly over time, which can be nice if you prefer a subtler taste. You might find yourself reaching for a snow cone after a long day, just like I do sometimes, especially when paired with a hearty meal like a creamy bacon cheeseburger casserole that needs a bright, cooling contrast.
Nutritional Information & Benefits
Each serving of homemade snow cone syrup is roughly 60 calories per 2 tablespoons (30 ml), mostly from natural sugars found in fruit and added sugar. Since the syrups are made with fresh fruit juices and no artificial additives, they offer antioxidants and vitamins like vitamin C, especially from citrus-based flavors.
This recipe is naturally gluten-free and vegan. For those watching sugar intake, you can reduce the sugar amount or substitute with natural sweeteners, but keep in mind this may affect the syrup’s texture and shelf life.
Compared to store-bought syrups loaded with artificial colors and preservatives, these homemade versions provide a cleaner, more wholesome option that aligns with a balanced lifestyle without sacrificing fun.
Conclusion
Making your own snow cone syrup isn’t just a fun way to enjoy summer—it’s a simple pleasure that brings a splash of color and a burst of flavor to any day. With five vibrant options to suit every mood, this recipe is versatile enough for impromptu parties or quiet afternoons alike. I love how easy it is to customize and how it brings people together without fuss.
Give yourself the freedom to tweak these syrups, try new fruit combos, and savor the moments they create. Whether you’re serving up to a crowd or just treating yourself, homemade snow cone syrup turns ordinary ice into something memorable. So, why not start mixing up your own batch and share your favorite flavor story? I’d love to hear how you make it your own.
FAQs
- Can I use frozen fruit for the syrups? Absolutely! Frozen berries or cherries work well—just thaw and puree them before straining.
- How long does homemade snow cone syrup last? Stored in the fridge in airtight containers, it keeps fresh for up to two weeks.
- Can I make these syrups without sugar? You can reduce sugar or replace it with honey or agave, but the syrup may be less thick and have a different taste.
- What’s the best way to crush ice for snow cones? A handheld ice crusher or food processor works well to get fine, fluffy ice that soaks up syrup perfectly.
- Can I make the syrups ahead of time for a party? Yes! They store well and can even be frozen in ice cube trays for easy portioning.
Pin This Recipe!
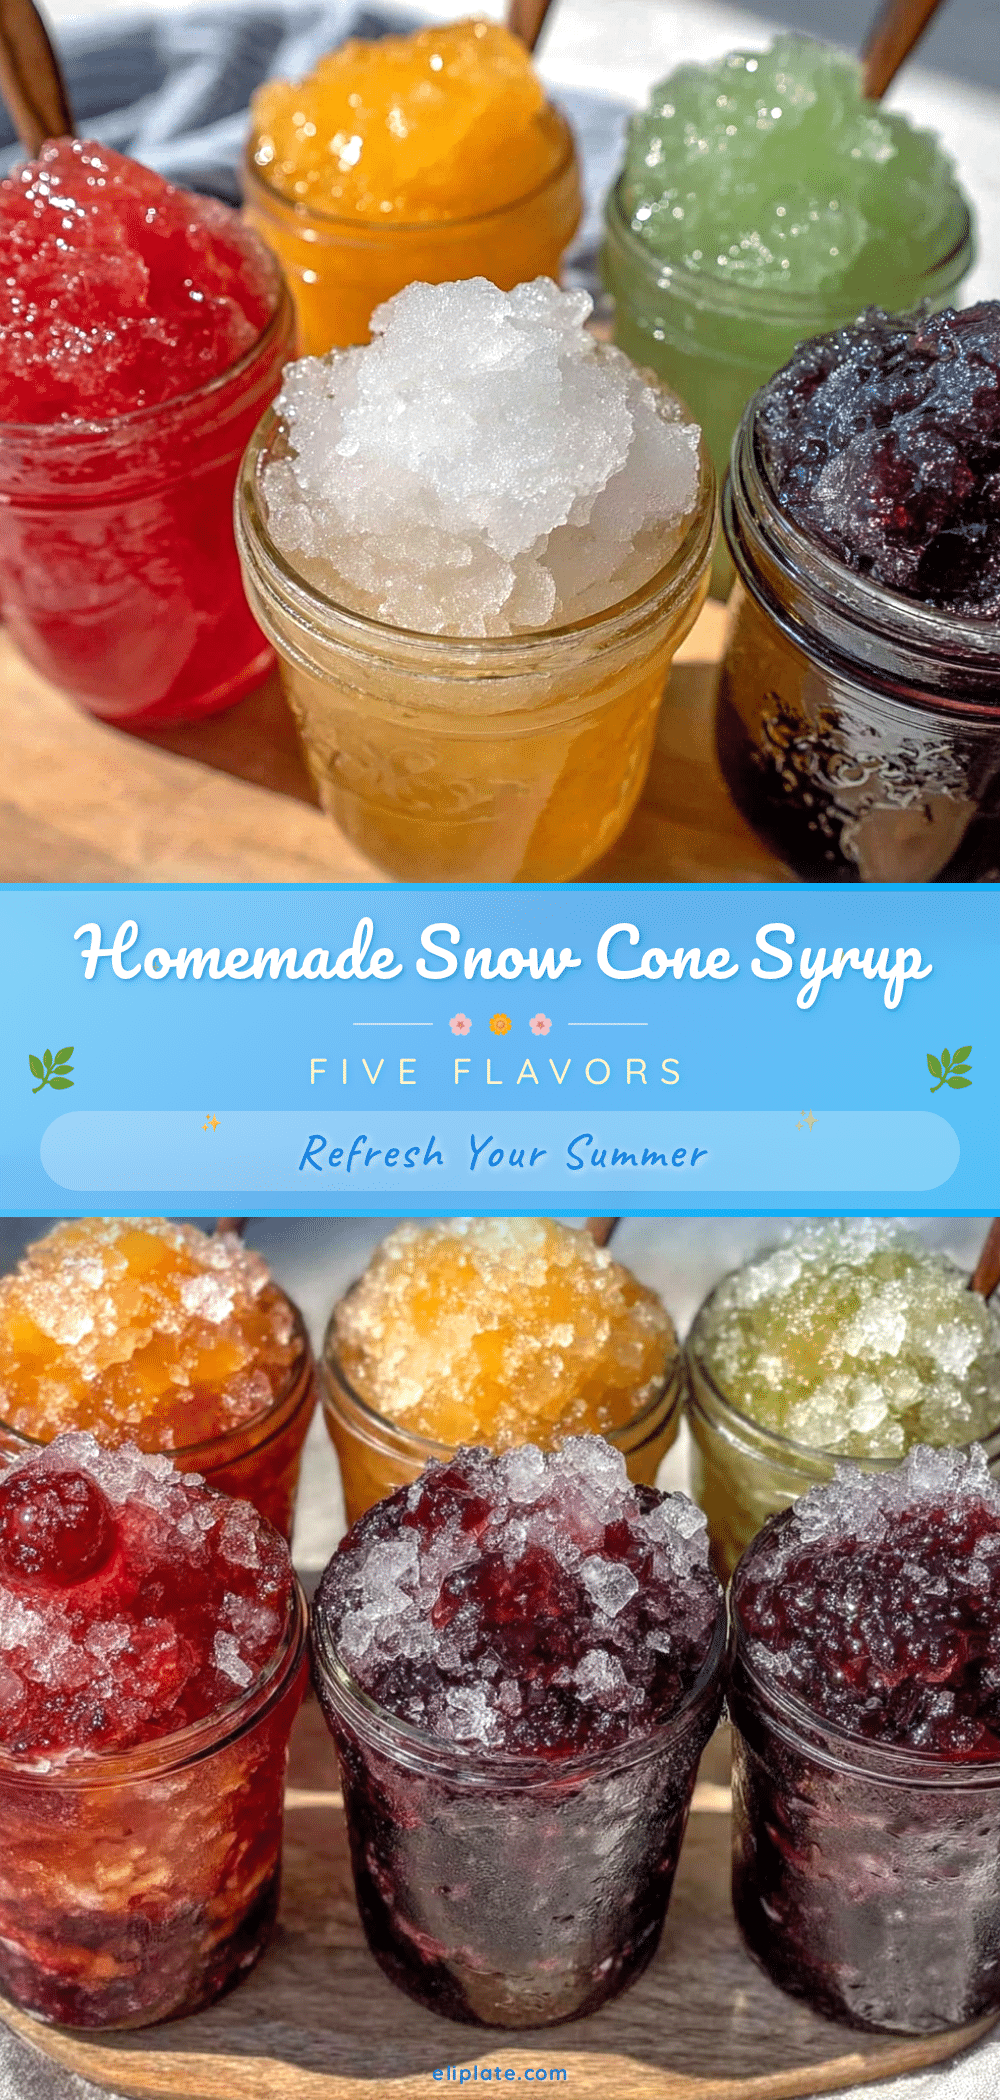
Homemade Snow Cone Syrup Recipe Easy 5 Vibrant Flavor Guide

This recipe provides five vibrant, easy-to-make homemade snow cone syrups using simple ingredients and fresh fruit juices, perfect for refreshing summer treats.
- Prep Time: 15 minutes
- Cook Time: 5 minutes
- Total Time: 20 minutes
- Yield: About 1 cup syrup per flavor, serves approximately 8 servings per cup 1x
- Category: Dessert
- Cuisine: American
Ingredients
- 1 cup granulated sugar (preferably cane sugar)
- 1 cup water
- 1 cup strawberry puree (fresh or frozen, blended smooth)
- 1 cup blueberry puree (fresh or frozen, blended smooth)
- 1 cup cherry juice or puree
- 1 cup orange juice (fresh-squeezed)
- 1 cup lemonade (fresh lemon juice and zest)
- 1 teaspoon lemon juice or citric acid (optional, for extra tartness)
- 1/4 teaspoon natural flavor extract (vanilla or almond, optional)
- Food coloring (optional, all-natural)
- Additional fresh fruit juices or purees as desired
Instructions
- Prepare your fruit purees: rinse berries or cherries and blend until smooth (about 1-2 minutes). For citrus, zest lemons or oranges first, then juice them (5-7 minutes).
- Strain the purees through a fine mesh strainer into a bowl to remove seeds and pulp, pressing gently with a spoon for a silky syrup texture (about 10 minutes).
- Make the simple syrup: in a medium saucepan, combine 1 cup granulated sugar with 1 cup water. Heat over medium, stirring occasionally, until sugar fully dissolves (about 5 minutes). Avoid boiling vigorously.
- Remove the pan from heat and stir in 1 cup of strained fruit juice or puree along with 1 teaspoon lemon juice or citric acid if desired. Add 1/4 teaspoon natural extract if using.
- Let the syrup cool completely at room temperature (20-30 minutes), then transfer to clean glass jars or bottles. Seal tightly and refrigerate.
- Repeat the process for each flavor: strawberry, blueberry, cherry, orange, and lemonade syrups.
Notes
If syrup crystallizes after refrigeration, gently warm over low heat and stir until smooth. Use fresh citrus zest for enhanced aroma. Avoid boiling sugar vigorously to keep syrup clear. Store syrups in airtight containers in the fridge for up to two weeks. For thicker syrup, simmer gently longer but avoid burning.
Nutrition
- Serving Size: 2 tablespoons (30 ml
- Calories: 60
- Sugar: 15
- Carbohydrates: 15
Keywords: snow cone syrup, homemade syrup, summer treats, snow cones, fruit syrup, easy syrup recipe, natural syrup, vibrant flavors