That craving for something tangy and crunchy hits me out of nowhere, and I realize I want pickles—fresh, garlicky, and zingy pickles. The problem? I don’t want to wait forever for them to be ready. Lucky for me, this recipe for quick garlic dill refrigerator pickles comes together fast and delivers that punchy pickle goodness in just 24 hours. Honestly, it’s a bit of a game changer because it skips the long fermentation but still has that satisfying snap and garlicky dill flavor that makes you keep reaching for more. I usually keep a jar in the fridge, and it’s become my go-to snack, especially when I’m nibbling between meals or need a crunchy side for something like my crispy air fryer chicken wings. There’s something about the way the garlic and dill soak into the cucumbers overnight that just feels like it’s rewarding all the waiting—even if it’s only a day.
What I love most is how simple and honest this recipe is—no weird ingredients, no special gear, just straightforward pickling that fits into my busy kitchen life. Plus, I’m always impressed when I can whip up something homemade that tastes so much better than store-bought, without the preservatives or that overly sweet brine. If you’ve ever thought about making pickles but shied away because of the time or fuss, this recipe really makes it approachable. It’s a quiet little victory in the fridge, waiting there to brighten sandwiches, salads, or even snack plates like my favorite creamy no-stir mushroom risotto.
So yeah, these quick garlic dill refrigerator pickles stuck with me because they’re simple, fast, and just right—not too sour, not too soft, with that perfect balance that turns everyday cucumbers into something special. And I trust that once you try them, you’ll find yourself making these pickles a permanent part of your fridge rotation too.
Why You’ll Love This Recipe
- Quick & Easy: Ready in just 24 hours, making it perfect for last-minute cravings or a weekend project without the long wait.
- Simple Ingredients: Uses pantry staples and fresh garden cucumbers—no need for fancy or hard-to-find items.
- Perfect for Snacks & Meals: Adds a crunchy, flavorful punch to sandwiches, burgers, or as a tangy side for your dinners.
- Crowd-Pleaser: Friends and family always ask for the recipe after tasting these pickles because they strike the right balance of garlic and dill.
- Unbelievably Delicious: The garlic infuses beautifully, giving the pickles a savory depth without overpowering the freshness of the cucumbers.
- What Makes This Recipe Different: Instead of the traditional weeks-long fermentation, the quick refrigerator method lets the cucumbers absorb flavors fast while keeping their crispness intact. Also, I add a pinch of mustard seeds and fresh dill sprigs for that authentic deli-style vibe.
- Emotionally Satisfying: There’s something comforting about homemade pickles—like a small kitchen victory that rewards your patience without making you wait forever.
What Ingredients You Will Need
This recipe uses simple, wholesome ingredients to create bold garlic dill flavor and crunchy texture without fuss. Most are pantry staples, and the cucumbers are the star, fresh and crisp. Here’s what you’ll gather:
- Fresh cucumbers: About 1 pound (450g) of small to medium pickling cucumbers, sliced into spears or rounds. Look for firm, blemish-free ones for the best crunch.
- Garlic cloves: 4-5 large cloves, peeled and smashed to release flavor.
- Fresh dill: 3-4 sprigs, including the fronds and stems. Fresh dill makes a huge difference here—don’t substitute dried if you can help it.
- White vinegar: 1 cup (240ml) – I use distilled white vinegar for its clean acidity, but apple cider vinegar works nicely for a slightly fruitier tang.
- Water: 1 cup (240ml) – To balance the vinegar and prevent overpowering sourness.
- Salt: 1 tablespoon kosher salt or pickling salt. Table salt can be used, but reduce to 2 teaspoons to avoid over-salting.
- Granulated sugar: 1 teaspoon – just a touch to round out the flavors.
- Mustard seeds: 1 teaspoon – optional but adds a subtle warmth and complexity.
- Black peppercorns: 5-6 whole – for a gentle peppery bite.
- Red pepper flakes: A pinch, optional if you like a little heat in your pickles.
If you want to swap ingredients, almond flour isn’t relevant here, but you can swap the vinegar for rice vinegar if you prefer a milder acidity or use garlic powder in a pinch (though fresh garlic is best). These pickles are naturally gluten-free and low-carb, making them a great snack for many diets.
Equipment Needed
- A clean quart-sized (1-liter) glass jar with a tight-fitting lid. Mason jars work perfectly because they’re easy to seal and keep flavors fresh.
- A sharp knife and cutting board for slicing cucumbers.
- A small saucepan to gently heat the vinegar brine (vinegar, water, salt, sugar, and spices).
- Measuring cups and spoons for accuracy—especially important to balance the brine’s acidity and salt.
- Optional: A wooden spoon or chopstick to press down the cucumbers and release any trapped air pockets.
I’ve tried using plastic containers, but glass jars keep the flavor pure and clean. Also, heating the brine in a saucepan rather than microwaving helps the salt and sugar dissolve evenly without overheating. If you don’t have a mason jar, a clean recycled glass jar with a sealable lid works fine too.
Preparation Method
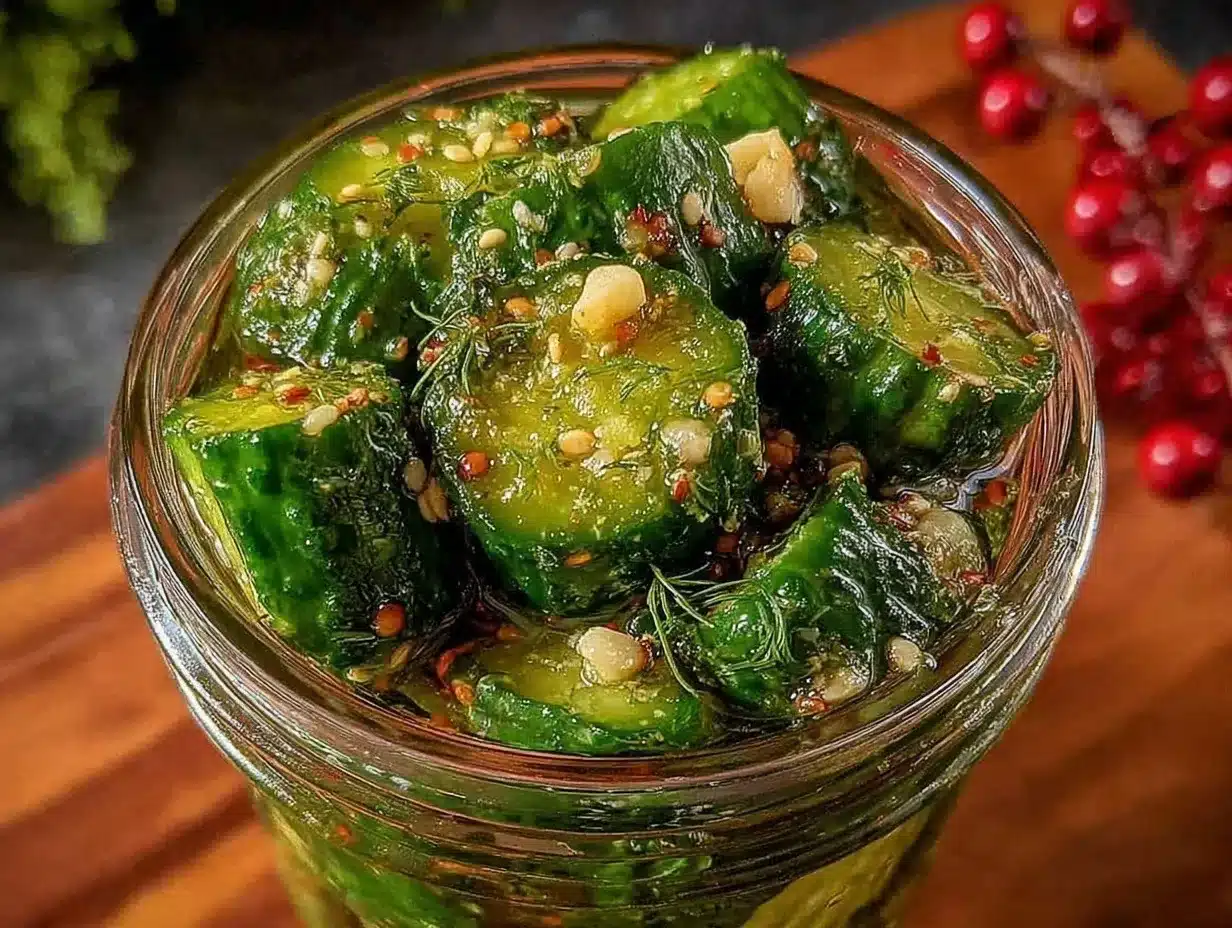
- Prepare the cucumbers: Wash and dry the cucumbers well. Slice them into spears about 3-4 inches (7.5-10cm) long or rounds if you prefer. The key is uniform thickness (about ¼ inch or 6mm) for even pickling. Set aside.
- Make the brine: In a small saucepan, combine 1 cup (240ml) white vinegar, 1 cup (240ml) water, 1 tablespoon kosher salt, 1 teaspoon sugar, 1 teaspoon mustard seeds, 5-6 black peppercorns, and a pinch of red pepper flakes if using. Heat gently over medium heat, stirring occasionally until salt and sugar completely dissolve. Remove from heat and let cool slightly.
- Pack the jar: Place the smashed garlic cloves and fresh dill sprigs into the bottom of your clean glass jar. Pack the cucumber slices in tightly but without crushing them. Press down gently to remove air pockets, leaving about ½ inch (1.25cm) of headspace at the top.
- Pour the brine: Carefully pour the warm brine over the cucumbers until they’re fully submerged. Give the jar a gentle tap on the counter to release trapped air bubbles. Seal the jar with the lid.
- Refrigerate: Place the jar in the refrigerator for at least 24 hours. The cucumbers will soak up the garlic dill flavors and turn crisp, tangy, and flavorful.
- Ready to enjoy: After 24 hours, taste a pickle spear. If it’s reached your desired tang and crunch, it’s ready to eat! Store the jar in the fridge and consume within 2-3 weeks for best freshness.
Quick tip: If you want extra crispness, soak the sliced cucumbers in ice water for 30 minutes before pickling. That little trick always makes a noticeable difference in snap. Also, I keep a small jar of these pickles next to my fresh lemon garlic grilled salmon for a refreshing contrast on the plate.
Cooking Tips & Techniques
Making refrigerator pickles is straightforward, but a few insider tips can really improve the outcome. First, don’t skip the salt and vinegar proportions—they’re crucial for safe, tasty pickling. I learned the hard way that too little salt leads to bland pickles, and too much vinegar can make them harsh. Balance is key.
Next, smash the garlic cloves just enough to release their flavor but not so much that they break apart completely. Whole-ish cloves infuse the brine gently and look pretty in the jar. Also, packing cucumbers tightly but gently helps maximize flavor absorption without squashing them into mush.
Heating the brine to dissolve salt and sugar is important, but avoid boiling because it can dull the fresh flavors and soften the cucumbers prematurely. A gentle simmer until dissolved is just right. The brine should cool slightly before pouring over the cucumbers to prevent them from getting cooked.
Lastly, patience is your friend. While these pickles are ready in just 24 hours, taste-testing along the way helps you find your perfect balance of tang and crunch. If you like them more sour, leave them in the fridge an extra day or two. And keep the jar sealed tightly to maintain freshness and crispness.
Variations & Adaptations
- Spicy Garlic Dill Pickles: Increase red pepper flakes to ¼ teaspoon and add 1 sliced jalapeño for a fiery kick.
- Sweet & Tangy Pickles: Add 2 tablespoons of honey or brown sugar to the brine for a sweeter profile that pairs great with grilled meats.
- Low-Sodium Version: Reduce salt to 1 teaspoon and add a splash of lemon juice for brightness, but keep in mind this shortens shelf life.
- Herb Variations: Swap fresh dill for fresh tarragon or basil for a unique herbal twist.
- Quick Pickled Vegetables: Use this same brine recipe for sliced carrots, green beans, or radishes for an easy crunchy snack.
Once, I tried adding fresh ginger slices for an Asian-inspired twist, and it was surprisingly good alongside a simple Korean beef bowl. Adjust spices and herbs based on your mood—this recipe is forgiving and fun to customize.
Serving & Storage Suggestions
These quick garlic dill refrigerator pickles are best served chilled straight from the fridge. They add a vibrant crunch to sandwiches, burgers, or salads. Personally, I love pairing them with rich dishes like creamy risottos or smoky grilled meats to cut through the richness.
Store pickles in the sealed jar in the refrigerator. They’ll stay fresh for up to 3 weeks but are best enjoyed within the first 10 days when the cucumbers are at their crispiest. If the pickles soften over time, they’re still tasty but lose that satisfying snap.
For reheating ideas, these pickles are usually eaten cold or room temperature, but you can chop and stir them into warm potato salads or pasta dishes for a bright burst of flavor. Over time, the garlic and dill flavors continue to deepen, making leftovers delicious for sandwiches and snack platters.
Nutritional Information & Benefits
One serving (about 3 spears) of these quick garlic dill refrigerator pickles contains roughly:
| Calories | 10-15 |
|---|---|
| Carbohydrates | 2-3g |
| Protein | 0g |
| Fat | 0g |
| Sodium | 300-400mg |
Pickles are low in calories and carbs, making them a smart snack for weight-conscious eaters. The garlic offers antioxidant benefits and supports immune health, while dill has digestive properties. Because this recipe is made without added preservatives or artificial flavors, it’s a wholesome choice. It’s naturally gluten-free and keto-friendly, perfect for many dietary preferences.
Conclusion
This quick garlic dill refrigerator pickles recipe is one of those kitchen wins that’s simple, rewarding, and delicious every time. It’s proof that you don’t need to wait weeks or own fancy equipment to enjoy crunchy, flavorful pickles at home. The balance of garlic, dill, and just enough tang makes these pickles a versatile companion to countless meals or snacks.
Feel free to tweak the herbs, spice level, or sweetness to make it truly your own. I’ve found that having this jar in my fridge makes even the simplest sandwiches feel special, and it’s a great way to brighten up a plate without fuss. If you try this recipe, I’d love to hear how you customize your pickles or what dishes you pair them with—drop a comment below and share your pickle story.
Don’t forget, if you enjoy quick and flavorful recipes that fit busy lifestyles, you might also appreciate the easy crockpot Asian style pork tenderloin or the quick lemon garlic shrimp linguine—both perfect companions for your homemade pickles.
FAQs About Quick Garlic Dill Refrigerator Pickles
How long do refrigerator pickles last?
They typically last about 2-3 weeks in the fridge. For best crunch and flavor, enjoy them within the first 10 days.
Can I use regular cucumbers instead of pickling cucumbers?
You can, but pickling cucumbers are firmer and produce crisper pickles. Regular slicing cucumbers might become softer faster.
Do I need to boil the cucumbers before pickling?
Nope! These quick refrigerator pickles stay crisp because the cucumbers are raw and soaked in cold brine.
Can I make these pickles spicy?
Absolutely! Add red pepper flakes, sliced jalapeños, or even a dash of hot sauce to the brine for some heat.
Why do my pickles sometimes get soft?
Soft pickles can result from overripe cucumbers, too much heat during preparation, or keeping them too long. Using fresh, firm cucumbers and proper brine temperature helps keep them crisp.
Pin This Recipe!
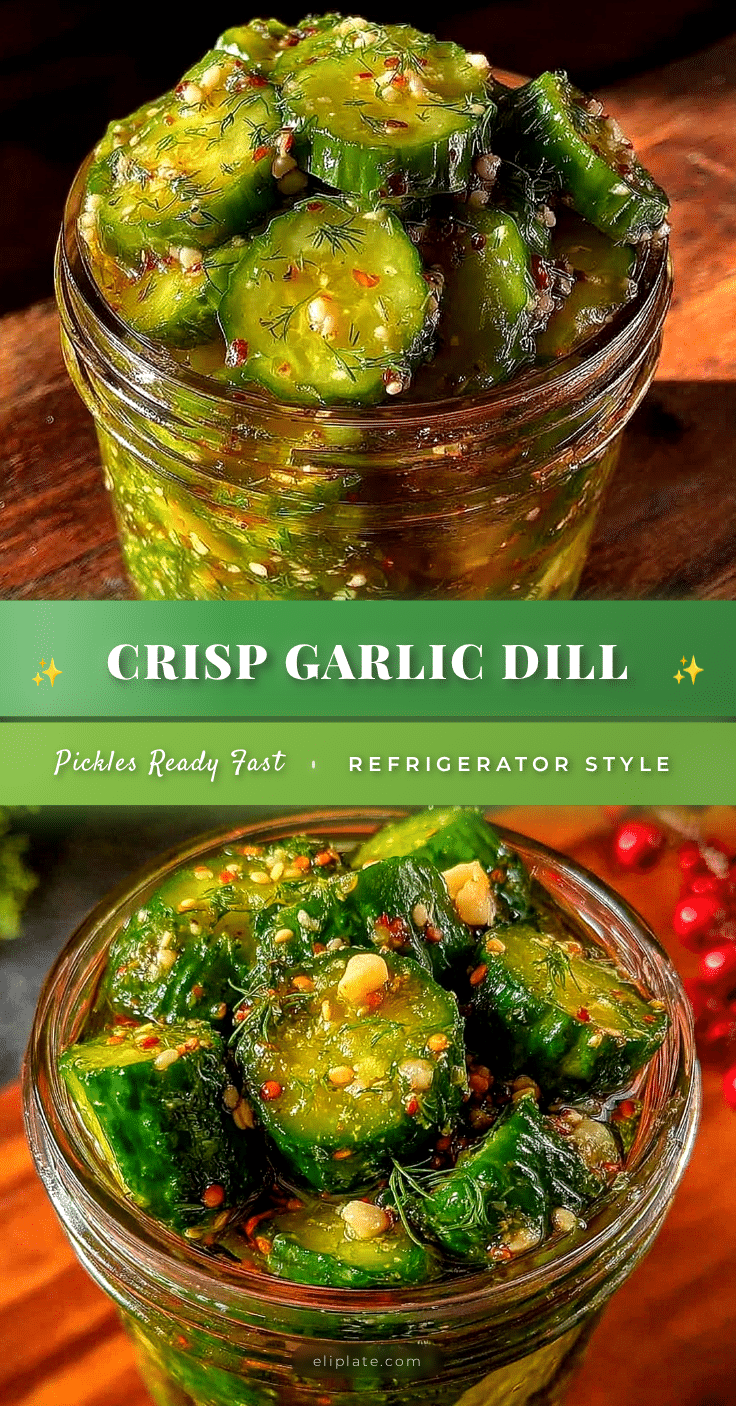
Quick Garlic Dill Refrigerator Pickles Recipe Easy Ready in 24 Hours

This quick garlic dill refrigerator pickles recipe delivers tangy, crunchy pickles in just 24 hours without long fermentation. Perfect for snacks or as a flavorful side, these pickles balance garlic and dill for a satisfying homemade treat.
- Prep Time: 15 minutes
- Cook Time: 10 minutes
- Total Time: 24 hours 25 minutes
- Yield: About 4 servings 1x
- Category: Snack
- Cuisine: American
Ingredients
- 1 pound (450g) small to medium pickling cucumbers, sliced into spears or rounds
- 4–5 large garlic cloves, peeled and smashed
- 3–4 sprigs fresh dill, including fronds and stems
- 1 cup (240ml) white vinegar (distilled or apple cider vinegar)
- 1 cup (240ml) water
- 1 tablespoon kosher salt or pickling salt (or 2 teaspoons table salt)
- 1 teaspoon granulated sugar
- 1 teaspoon mustard seeds (optional)
- 5–6 whole black peppercorns
- Pinch of red pepper flakes (optional)
Instructions
- Wash and dry the cucumbers well. Slice into spears about 3-4 inches long or rounds about 1/4 inch thick for even pickling.
- In a small saucepan, combine vinegar, water, salt, sugar, mustard seeds, black peppercorns, and red pepper flakes if using. Heat gently over medium heat, stirring occasionally until salt and sugar dissolve. Remove from heat and let cool slightly.
- Place smashed garlic cloves and fresh dill sprigs into the bottom of a clean quart-sized glass jar.
- Pack cucumber slices tightly but gently into the jar, pressing down to remove air pockets and leaving about 1/2 inch headspace at the top.
- Pour the warm brine over the cucumbers until fully submerged. Tap the jar gently to release trapped air bubbles. Seal the jar with the lid.
- Refrigerate the jar for at least 24 hours to allow flavors to develop and cucumbers to become crisp and tangy.
- After 24 hours, taste a pickle spear. If desired tang and crunch are reached, enjoy. Store pickles in the fridge and consume within 2-3 weeks for best freshness.
Notes
For extra crispness, soak sliced cucumbers in ice water for 30 minutes before pickling. Use fresh dill rather than dried for best flavor. Heat brine gently to dissolve salt and sugar but avoid boiling. Taste pickles after 24 hours and refrigerate sealed for up to 3 weeks, best within 10 days. Variations include adding jalapeños for spice or honey for sweetness.
Nutrition
- Serving Size: About 3 pickle spear
- Calories: 1015
- Sodium: 300400
- Carbohydrates: 23
Keywords: quick pickles, garlic dill pickles, refrigerator pickles, easy pickles, homemade pickles, crunchy pickles, tangy pickles, no fermentation pickles