Ripped open a can of Hatch green chiles at 5:15 PM on a Tuesday, staring into the fridge like it held the answers to the universe. Ground chicken thawed on the counter. Half a block of cream cheese. A bag of shredded Monterey Jack that was definitely on its last day. The kids were already circling, asking what’s for dinner, and I had exactly zero energy for anything complicated.
That’s the honest truth about how these creamy Hatch green chili chicken enchiladas came to life. Not some grand family recipe passed down through generations. Just a Tuesday night panic and a freezer full of roasted Hatch chiles I’d hoarded during the fall roasting season at the grocery store. You know how it is—you buy six bags of those things when they’re in season because you’re afraid you’ll never see them again, and then they sit in your freezer until you absolutely have to use them.
I rolled those enchiladas up in a sort of desperate hurry, poured a quick cream sauce over the top, and threw them in the oven hoping for the best. What came out was honestly the best enchilada I’d made in years. The creamy sauce soaked into the tortillas, the green chiles gave it that mild heat that makes you take another bite before you’ve finished the first one, and the chicken stayed so tender. My oldest asked for seconds before I’d even sat down. That’s when I knew this one was sticking around.
Why You’ll Love This Recipe
These creamy Hatch green chili chicken enchiladas hit different. I’ve tested this recipe at least six times to get the sauce consistency just right—not too thick, not too thin, with that perfect level of creaminess that coats every bite without feeling heavy. Here’s why you’ll keep coming back to it:
- Quick & Easy: From fridge to table in about 40 minutes. Perfect for those nights when you need dinner on the table fast but still want something that feels special.
- Simple Ingredients: No fancy grocery store trips required. Chicken, green chiles, cream cheese, tortillas, and cheese—that’s the backbone of this dish.
- Perfect for Busy Weeknights: Great for meal prep, feeding a crowd, or just making your Tuesday feel a little more exciting.
- Crowd-Pleaser: My picky eater devours these. My spice-loving husband loads extra salsa on top. Everyone finds something to love.
- Unbelievably Delicious: The cream sauce, the tender chicken, the subtle kick from the Hatch chiles—it’s comfort food that actually delivers.
What makes these different from every other enchilada recipe out there? It’s the sauce. Most recipes rely on canned cream of chicken soup or heavy cream that separates in the oven. I use a blend of cream cheese and sour cream that melts into this silky, stable sauce that holds up beautifully during baking. Plus, the Hatch green chiles add a flavor you just can’t get from regular canned chiles. They’re fruitier, smokier, and have this warmth that builds slowly without overwhelming you.
This is the kind of meal that makes you close your eyes after that first bite. It’s comfort food reimagined—faster than traditional enchiladas, but with the same soul-soothing satisfaction. Perfect for impressing guests without stress, or turning a simple Tuesday into something memorable.
What Ingredients You Will Need
This recipe uses simple, wholesome ingredients to deliver bold flavor and satisfying texture without the fuss. Most of these are pantry staples or easy to find at any grocery store.
- For the Filling:
- 1 ½ pounds ground chicken (or shredded rotisserie chicken if you’re short on time)
- 1 medium yellow onion, diced (adds sweetness and depth)
- 3 cloves garlic, minced (fresh is best here)
- 1 (4-ounce) can diced Hatch green chiles (mild or hot, your call)
- ½ teaspoon ground cumin
- ½ teaspoon smoked paprika
- Salt and black pepper to taste
- 4 ounces cream cheese, softened (full-fat works best for the creamiest texture)
- For the Cream Sauce:
- 2 tablespoons unsalted butter
- 2 tablespoons all-purpose flour
- 1 cup chicken broth (low-sodium preferred)
- ½ cup sour cream (full-fat, room temperature so it doesn’t curdle)
- ½ cup heavy cream
- 1 (4-ounce) can diced Hatch green chiles (yes, another can—trust me)
- ½ teaspoon garlic powder
- Salt and white pepper to taste
- For Assembly:
- 8-10 flour tortillas (fajita size works great; corn tortillas are fine too but soften them first)
- 2 cups shredded Monterey Jack cheese (I recommend Tillamook for best melt)
- ½ cup shredded sharp cheddar cheese (adds color and sharpness)
- Fresh cilantro, chopped (for garnish)
- Optional: sliced jalapeños, diced avocado, or extra sour cream for serving
Ingredient Selection Tips: Look for Hatch green chiles that are fire-roasted if you can find them—the flavor is noticeably better. I usually buy a case during the fall and freeze them. If you can’t find Hatch chiles, Anaheim chiles are a decent substitute, though they’re milder. For the cream cheese, Philadelphia is my go-to brand because it melts so smoothly. And please don’t use low-fat sour cream here—it can separate and make the sauce grainy.
Substitution Guidance: Use shredded rotisserie chicken instead of ground chicken for a quicker version. Swap the heavy cream with half-and-half if you want a lighter sauce (just know it won’t be as thick). For a gluten-free option, use corn tortillas and a gluten-free flour blend for the roux. Dairy-free? Try cashew cream and vegan cream cheese—I’ve tested it and it works, though the texture is slightly different.
Equipment Needed
- Large skillet or sauté pan (for cooking the chicken filling)
- Medium saucepan (for the cream sauce)
- 9×13-inch baking dish (glass or ceramic works best)
- Whisk (for a lump-free sauce)
- Cutting board and sharp knife
- Measuring cups and spoons
- Spatula or wooden spoon
- Aluminum foil (for covering during baking)
If you don’t have a 9×13 dish, a 10-inch cast iron skillet works beautifully—just adjust your baking time slightly. I actually prefer glass baking dishes because I can see the sauce bubbling around the edges. No whisk? A fork works in a pinch, but you’ll work harder to get the lumps out. And honestly, I’ve made the sauce in the same skillet I cooked the chicken in to save on dishes. Works fine, just wipe it out first.
Preparation Method
- Preheat the oven to 375°F (190°C). Lightly grease your 9×13 baking dish with butter or non-stick spray so nothing sticks.
- Cook the chicken filling. Heat a large skillet over medium-high heat. Add the ground chicken and cook, breaking it apart with a spatula, until browned and cooked through—about 6-8 minutes. Don’t rush this step; you want some browning for flavor. Drain any excess fat if needed (I usually don’t with ground chicken).
- Add aromatics and spices. Push the chicken to one side of the skillet. Add the diced onion and cook for 3-4 minutes until softened and translucent. Add the minced garlic and cook for 30 seconds until fragrant—don’t let it burn. Stir everything together. Add the first can of Hatch green chiles, cumin, smoked paprika, salt, and pepper. Cook for another 2 minutes, stirring occasionally.
- Add the cream cheese. Reduce heat to low. Add the softened cream cheese to the skillet and stir until it’s fully melted and incorporated into the chicken mixture. The filling should look thick and creamy. Remove from heat and set aside.
- Make the cream sauce. In a medium saucepan over medium heat, melt the butter. Once it’s bubbling, whisk in the flour and cook for 1-2 minutes, stirring constantly. This is your roux—it should smell nutty and look like wet sand. Slowly pour in the chicken broth while whisking continuously to prevent lumps. Bring to a gentle simmer, then reduce heat to low.
- Finish the sauce. Whisk in the sour cream, heavy cream, the second can of Hatch green chiles, garlic powder, salt, and white pepper. Continue whisking until the sauce is smooth and slightly thickened—about 3-4 minutes. Don’t let it boil or the sour cream might curdle. Taste and adjust seasoning. The sauce should be creamy, slightly tangy, and warm from the chiles.
- Assemble the enchiladas. Spread about ½ cup of the cream sauce on the bottom of your prepared baking dish. This prevents the tortillas from sticking and adds flavor to the bottom layer. Take a tortilla, place about ⅓ cup of the chicken filling down the center, and sprinkle a little Monterey Jack cheese on top. Roll it up tightly and place it seam-side down in the dish. Repeat with the remaining tortillas, arranging them snugly in a single layer.
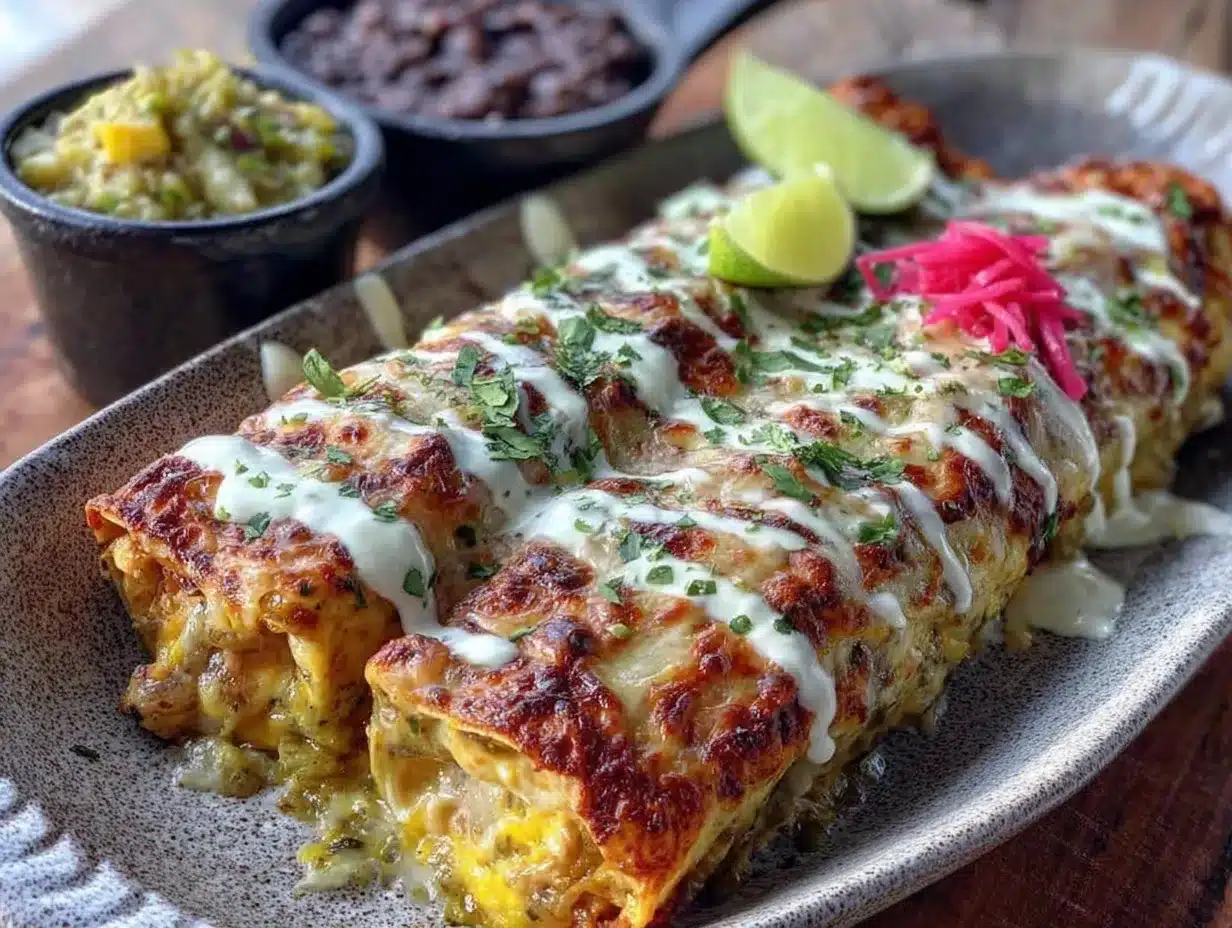
- Top with sauce and cheese. Pour the remaining cream sauce evenly over the enchiladas, making sure to cover the edges so they don’t dry out. Sprinkle the remaining Monterey Jack and cheddar cheese over the top. Don’t skimp here—the cheese is what gives you that golden, bubbly crust.
- Bake. Cover the dish with aluminum foil and bake for 20 minutes. Remove the foil and bake for another 10-15 minutes until the cheese is melted, bubbly, and starting to turn golden brown in spots. The sauce should be bubbling around the edges. Let the enchiladas rest for 5 minutes before serving—this helps them set so they don’t fall apart when you cut into them.
- Garnish and serve. Sprinkle fresh cilantro over the top. Add sliced jalapeños, diced avocado, or a dollop of sour cream if you like. Serve hot and watch everyone go quiet.
Sensory Cues: When the roux is ready, it should smell like toasted butter and flour—not raw. The sauce should coat the back of a spoon but still drip off easily. The enchiladas are done when the cheese is bubbling around the edges and the top is golden in spots. If you stick a knife in the center, it should come out hot.
Troubleshooting Tip: If your sauce seems too thin, let it simmer a few more minutes—it will thicken as it cools. If it’s too thick, add a splash of chicken broth. And if your tortillas crack when rolling, warm them in the microwave for 20 seconds wrapped in a damp paper towel. They’ll be much more pliable.
Cooking Tips & Techniques
I’ve made these creamy Hatch green chili chicken enchiladas at least ten times now, and I’ve learned a few things the hard way. Let me save you the trouble.
Don’t overfill your tortillas. I know it’s tempting to pile in as much filling as possible, but overstuffed tortillas burst open during baking and make a mess. Stick to about ⅓ cup per tortilla. You’ll get cleaner rolls and prettier presentation.
Room temperature ingredients matter. Cold cream cheese won’t melt smoothly into the chicken filling—you’ll end up with white lumps. Let it sit on the counter for 30 minutes before you start. Same goes for the sour cream in the sauce. Cold sour cream straight from the fridge can curdle when it hits the warm roux. Trust me, I learned this after staring at a grainy sauce wondering where I went wrong.
Toast your tortillas first. This is a game-changer. Lightly toast your flour tortillas in a dry skillet for about 30 seconds per side before filling them. It adds a subtle char and prevents them from getting soggy in the sauce. I didn’t do this the first time and ended up with mushy bottoms. Never again.
Let the enchiladas rest. I know you’re hungry. Everyone is hungry. But if you cut into these right out of the oven, the filling will slide right out and you’ll have a beautiful mess instead of beautiful enchiladas. Five minutes of patience makes all the difference.
Double the sauce. Honestly, the sauce is the best part. I always make extra and keep it in the fridge for drizzling over leftovers or using as a dip for chips. It’s also fantastic on honey sriracha grilled chicken thighs if you want to switch things up.
Variations & Adaptations
This recipe is incredibly flexible. Here are some variations I’ve tried and loved:
- Vegetarian Version: Swap the chicken for two cans of drained black beans and a cup of roasted corn. The texture is different but just as satisfying. Add a little extra cumin and smoked paprika to boost the flavor.
- Spicy Version: Use hot Hatch green chiles instead of mild, and add a diced jalapeño to the filling. Top with sliced serranos before serving if you really want to feel the heat. My husband loves this version—I stick with mild.
- Breakfast Enchiladas: Use the same cream sauce and filling, but swap the chicken for scrambled eggs and breakfast sausage. Bake as directed and top with a fried egg. It’s ridiculous in the best way.
- Dairy-Free Adaptation: Use vegan cream cheese, dairy-free sour cream, and a cashew-based cream sauce. I’ve tested this for a friend with dairy allergies and it worked surprisingly well. The texture is slightly less creamy, but the flavor is still fantastic.
- Seasonal Twist: In the summer, I add fresh corn cut off the cob and diced zucchini to the filling. In the fall, roasted butternut squash cubes are amazing in here. The cream sauce works with pretty much any vegetable you throw at it.
Serving & Storage Suggestions
These enchiladas are best served hot, straight out of the oven, with all the garnishes you can think of. I like to set up a little topping bar—diced avocado, fresh cilantro, sliced jalapeños, extra sour cream, and a squeeze of lime. It makes the meal feel festive even on a random Tuesday.
What to serve alongside: A simple side salad with lime vinaigrette cuts through the richness perfectly. Mexican rice or cilantro-lime rice is always a hit. And if you’re feeding a crowd, start with fresh loaded cowboy caviar for a bright, fresh starter that complements the creamy enchiladas beautifully.
Storage: Leftover enchiladas keep in the fridge for up to 4 days in an airtight container. The sauce will thicken as it sits, so don’t be alarmed. To reheat, cover with foil and warm in a 350°F oven for 15-20 minutes, or microwave individual portions for 2-3 minutes. The microwave is faster, but the oven keeps the texture better.
Freezing: These freeze beautifully. Assemble the enchiladas in a freezer-safe baking dish, but don’t bake them. Cover tightly with plastic wrap and then foil, and freeze for up to 3 months. To bake from frozen, remove the plastic wrap, cover with foil, and bake at 375°F for 45 minutes. Remove the foil and bake another 15 minutes until bubbly. The flavor actually gets better after freezing—the chiles and spices meld together beautifully.
Flavor Development: These enchiladas taste even better the next day. The sauce soaks into the tortillas overnight, and the flavors mellow and deepen. I sometimes make them a day ahead on purpose. Just assemble, cover, and refrigerate. Bake as directed, adding 5-10 minutes to the covered baking time since you’re starting from cold.
Nutritional Information & Benefits
Per serving (2 enchiladas): approximately 520 calories, 32g protein, 28g fat, 35g carbohydrates, 3g fiber, 8g sugar. These numbers are estimates and will vary based on your specific ingredients and portion sizes.
This dish packs a surprising amount of protein thanks to the chicken and cheese. The Hatch green chiles are rich in vitamin C and capsaicin, which can boost metabolism and reduce inflammation. Cream cheese and sour cream provide calcium and vitamin A, though they’re also higher in saturated fat—so enjoy in moderation.
If you’re watching your carbs, use low-carb tortillas or make enchilada stacks instead of rolling them. You can also swap the heavy cream for half-and-half to reduce the fat content. I’ve made a lighter version with Greek yogurt instead of sour cream, and it works—just be careful not to overheat it or it will separate.
This recipe is not gluten-free (unless you use corn tortillas and gluten-free flour), and it’s definitely not dairy-free. But for a comforting, satisfying meal that fills you up without weighing you down? It hits the spot. I love that I can serve this to my family knowing they’re getting a solid dose of protein and veggies, even if it’s wrapped in cheese and cream.
Conclusion
These creamy Hatch green chili chicken enchiladas have become my go-to for so many occasions. Busy weeknights, casual dinner parties, lazy Sundays—they work for all of them. The sauce is rich without being heavy, the chiles add warmth without overwhelming heat, and the whole thing comes together faster than you’d expect for something that tastes this good.
I love that this recipe is forgiving. You can swap ingredients, adjust the spice level, double the batch for a crowd, or make it ahead. It’s the kind of recipe that feels like a hug on a plate—comforting, familiar, but just exciting enough to keep things interesting.
If you try these enchiladas, I’d love to hear how they turn out. Leave a comment below and let me know what variations you tried, or tag me in your photos. And if you’re looking for another creamy, comforting dish to add to your rotation, don’t miss my creamy marry me chicken—it’s got that same rich, satisfying energy with a completely different flavor profile.
Now go make some enchiladas. You deserve them.
Frequently Asked Questions
Can I use canned green chiles instead of Hatch?
Yes, but the flavor won’t be quite the same. Hatch chiles have a distinct fruity, smoky flavor that regular green chiles lack. If you can’t find Hatch, use Anaheim chiles or a mix of mild and hot green chiles for the closest match.
Can I make these enchiladas ahead of time?
Absolutely. Assemble the enchiladas in the baking dish, cover, and refrigerate for up to 24 hours before baking. You may need to add 5-10 minutes to the covered baking time since you’re starting from cold. The flavors actually get better overnight.
How do I prevent my tortillas from getting soggy?
Two tips: lightly toast your tortillas in a dry skillet before filling them, and don’t oversaturate them with sauce. Spread a thin layer of sauce on the bottom of the dish, but don’t drown the tortillas. The toasting creates a barrier that helps them hold up.
Can I freeze these enchiladas?
Yes! Assemble them in a freezer-safe dish, wrap tightly in plastic wrap and foil, and freeze for up to 3 months. Bake from frozen at 375°F for 45 minutes covered, then 15 minutes uncovered. They taste just as good as fresh.
What can I use instead of cream cheese?
Neufchâtel cheese works well and has less fat. For a dairy-free option, use vegan cream cheese or a thick cashew cream. Just know that the texture will be slightly different—less creamy and more dense. Greek yogurt can also work in a pinch, but it won’t be as rich.
Pin This Recipe!
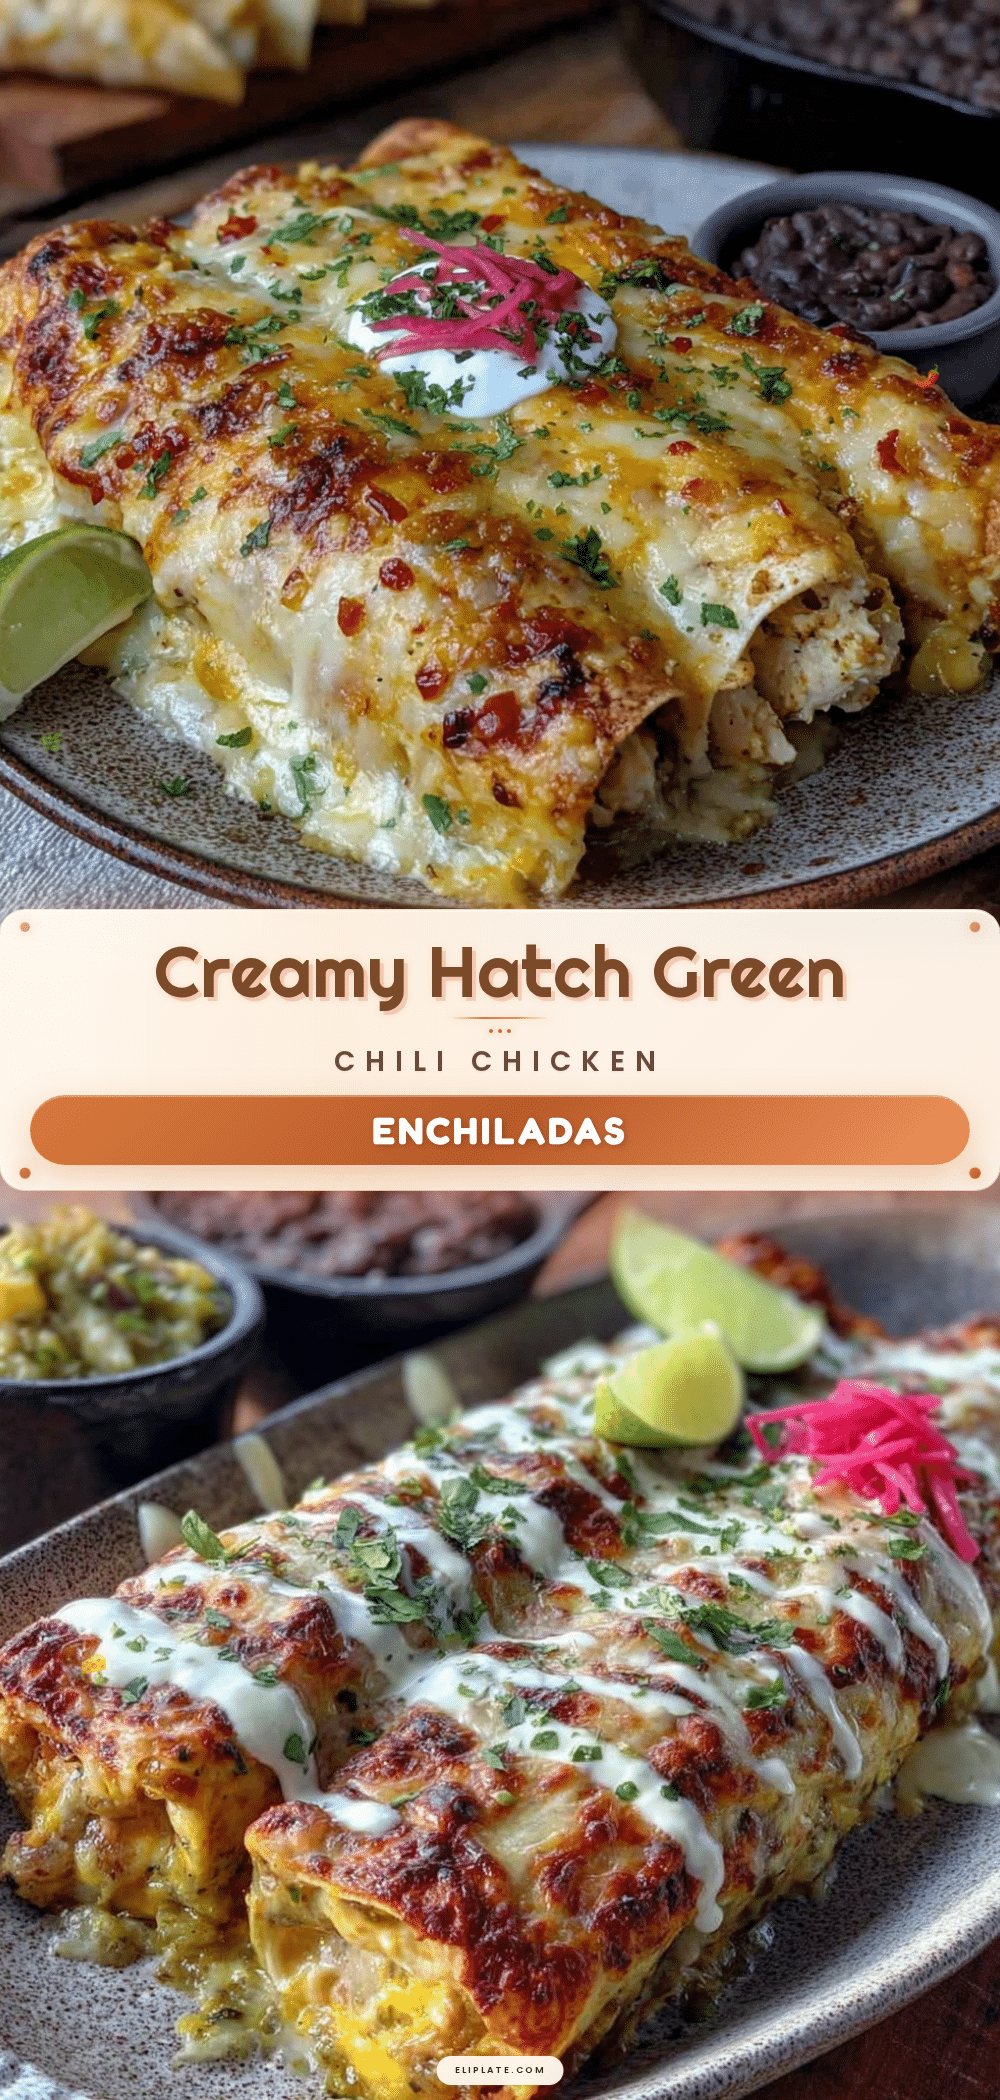
Easy Creamy Hatch Green Chili Chicken Enchiladas

Creamy Hatch green chili chicken enchiladas with a silky cream sauce, tender chicken, and just the right amount of heat. Ready in about 40 minutes, this easy weeknight dinner is a crowd-pleaser that feels special without the fuss.
- Prep Time: 15 minutes
- Cook Time: 30 minutes
- Total Time: 45 minutes
- Yield: 4 servings 1x
- Category: Main Course
- Cuisine: Mexican
Ingredients
- 1 ½ pounds ground chicken (or shredded rotisserie chicken)
- 1 medium yellow onion, diced
- 3 cloves garlic, minced
- 2 (4-ounce) cans diced Hatch green chiles (mild or hot)
- ½ teaspoon ground cumin
- ½ teaspoon smoked paprika
- Salt and black pepper to taste
- 4 ounces cream cheese, softened
- 2 tablespoons unsalted butter
- 2 tablespoons all-purpose flour
- 1 cup chicken broth (low-sodium preferred)
- ½ cup sour cream (full-fat, room temperature)
- ½ cup heavy cream
- ½ teaspoon garlic powder
- Salt and white pepper to taste
- 8–10 flour tortillas (fajita size)
- 2 cups shredded Monterey Jack cheese
- ½ cup shredded sharp cheddar cheese
- Fresh cilantro, chopped (for garnish)
- Optional: sliced jalapeños, diced avocado, or extra sour cream for serving
Instructions
- Preheat the oven to 375°F (190°C). Lightly grease a 9×13-inch baking dish with butter or non-stick spray.
- Cook the chicken filling: Heat a large skillet over medium-high heat. Add ground chicken and cook, breaking it apart, until browned and cooked through (6-8 minutes). Drain excess fat if needed.
- Add aromatics and spices: Push chicken to one side. Add diced onion and cook 3-4 minutes until softened. Add minced garlic and cook 30 seconds until fragrant. Stir in first can of Hatch green chiles, cumin, smoked paprika, salt, and pepper. Cook 2 minutes.
- Add cream cheese: Reduce heat to low. Add softened cream cheese and stir until fully melted and incorporated. Remove from heat.
- Make the cream sauce: In a medium saucepan over medium heat, melt butter. Whisk in flour and cook 1-2 minutes (roux). Slowly pour in chicken broth while whisking continuously. Bring to a gentle simmer, then reduce heat to low.
- Finish the sauce: Whisk in sour cream, heavy cream, second can of Hatch green chiles, garlic powder, salt, and white pepper. Cook 3-4 minutes until smooth and slightly thickened. Do not let it boil.
- Assemble the enchiladas: Spread ½ cup of cream sauce on the bottom of the prepared baking dish. Place about ⅓ cup of chicken filling down the center of each tortilla, sprinkle with a little Monterey Jack cheese, roll tightly, and place seam-side down in the dish.
- Top with sauce and cheese: Pour remaining cream sauce evenly over enchiladas. Sprinkle remaining Monterey Jack and cheddar cheese on top.
- Bake: Cover with aluminum foil and bake for 20 minutes. Remove foil and bake 10-15 minutes more until cheese is melted, bubbly, and golden. Let rest 5 minutes before serving.
- Garnish and serve: Sprinkle with fresh cilantro. Add optional toppings like sliced jalapeños, diced avocado, or sour cream. Serve hot.
Notes
For best results, use room temperature cream cheese and sour cream to prevent lumps and curdling. Lightly toast tortillas in a dry skillet before filling to prevent sogginess. Let enchiladas rest 5 minutes after baking to set. Double the sauce for extra drizzling. Leftovers keep 4 days in the fridge or freeze for up to 3 months.
Nutrition
- Serving Size: 2 enchiladas
- Calories: 520
- Sugar: 8
- Sodium: 780
- Fat: 28
- Saturated Fat: 16
- Carbohydrates: 35
- Fiber: 3
- Protein: 32
Keywords: Hatch green chili enchiladas, creamy chicken enchiladas, easy enchilada recipe, weeknight dinner, green chile enchiladas, Mexican casserole