The first time my son asked for thermos mac and cheese for school lunch, I nearly laughed. Not because it was a bad idea, but because I’d spent two years perfecting my packed lunch game, and hot food in a thermos felt like the final boss of mom-hood. I’d seen the sad, soggy noodles other kids came home with. The ones that looked more like paste than pasta. I wanted better for him.
So I started testing. Batch after batch of creamy, cheesy goodness, poured into a thermos at 6:30 AM, hoping it would still be warm and perfect by noon. The first few tries were a disaster. Too dry. Too watery. Too clumpy. But then, I figured out the trick. The secret isn’t just the cheese blend, it’s the technique. It’s about building a sauce that stays silky even after hours in a vacuum-sealed container.
This recipe is the result of all those early mornings and failed attempts. It’s the one that finally came home with an empty thermos and a sticky note that said, “Can you make this again tomorrow?” And honestly, that note made my whole week. This isn’t just mac and cheese. It’s a little bit of comfort packed into a lunchbox, and it works every single time.
Why You’ll Love This Recipe
Let me tell you why this thermos mac and cheese recipe is a total game-changer for school lunch prep. I’ve tested this more times than I care to count, and it never lets me down.
- Stays Warm for Hours: The sauce is engineered to hold its temperature. No more cold, congealed noodles by lunchtime.
- Perfectly Creamy, Not Soggy: This recipe uses a precise pasta-to-sauce ratio that keeps the macaroni al dente, even after sitting in a thermos for four hours.
- Simple Pantry Ingredients: You probably have everything you need in your kitchen right now. No fancy cheese required.
- Kid-Approved and Parent-Trusted: My kids devour this, and I feel good knowing exactly what’s in it. It’s comfort food without the guilt.
- Make-Ahead Friendly: You can prep this the night before and reheat it in the morning. School mornings just got a whole lot easier.
This isn’t just another mac and cheese recipe. It’s the one that solves the thermos problem for good. The texture stays creamy, the flavor is rich, and it tastes just as good at room temperature as it does fresh off the stove. If you’ve ever dealt with a sad, cold lunchbox, this recipe is your new best friend.
What Ingredients You Will Need
This recipe relies on simple, everyday ingredients that come together to create something truly special. Each one plays a specific role in making sure your thermos mac and cheese stays creamy and delicious.
- Elbow Macaroni (2 cups, dry): The classic choice. I prefer Barilla or De Cecco for pasta that holds its shape. Cook it just shy of al dente, since it will continue to cook in the thermos.
- Unsalted Butter (3 tablespoons): This forms the base of our roux. It adds richness and helps thicken the sauce without making it grainy.
- All-Purpose Flour (3 tablespoons): The thickening agent. Whisk it into the melted butter to create a smooth paste. This prevents lumps in your cheese sauce.
- Whole Milk (2 cups): Whole milk gives the sauce the best creamy texture. You can use 2%, but avoid skim milk, as it can make the sauce watery.
- Heavy Cream (1/2 cup): This is the secret ingredient for extra richness. It helps the sauce stay smooth and prevents it from breaking down in the thermos.
- Sharp Cheddar Cheese (2 cups, freshly shredded): Never buy pre-shredded cheese! It contains anti-caking agents that prevent smooth melting. Shred your own from a block for the creamiest sauce.
- Monterey Jack Cheese (1 cup, freshly shredded): This adds incredible meltability and a mild, buttery flavor that balances the sharp cheddar.
- Salt (1/2 teaspoon): Enhances all the flavors. I use fine sea salt.
- Garlic Powder (1/4 teaspoon): A subtle savory note that kids love. Don’t skip it—it rounds out the cheese flavor beautifully.
- Dry Mustard Powder (1/4 teaspoon): This is my secret weapon. It doesn’t make the mac and cheese taste like mustard; it just amplifies the cheesy flavor.
Substitution Notes: If you need a gluten-free option, use gluten-free elbow pasta and a 1-to-1 gluten-free flour blend. For a dairy-free version, substitute the butter with vegan butter, use oat milk or unsweetened almond milk, and use a high-quality dairy-free cheddar shred. The texture will be slightly different, but still delicious.
Equipment Needed
You don’t need a ton of fancy gadgets for this recipe, but a few key tools make all the difference.
- Large Pot: For boiling the pasta. I use a 5-quart pot.
- Medium Saucepan: For making the cheese sauce. A heavy-bottomed pan works best to prevent scorching.
- Whisk: Essential for a lump-free roux and smooth sauce.
- Box Grater: For shredding your own cheese. It takes two extra minutes, but the result is so much better.
- Colander: For draining the pasta.
- Thermos: A wide-mouth thermos is best for this. I use a 16-ounce Thermos brand food jar, and it keeps the mac and cheese hot for hours. Pre-heating the thermos with boiling water for 5 minutes before adding the food is a non-negotiable step.
- Wooden Spoon or Silicone Spatula: For stirring everything together.
Budget-Friendly Tip: You don’t need an expensive thermos. Even a basic one from a discount store will work if you pre-heat it properly. Just make sure it has a wide mouth for easy filling and eating.
Preparation Method
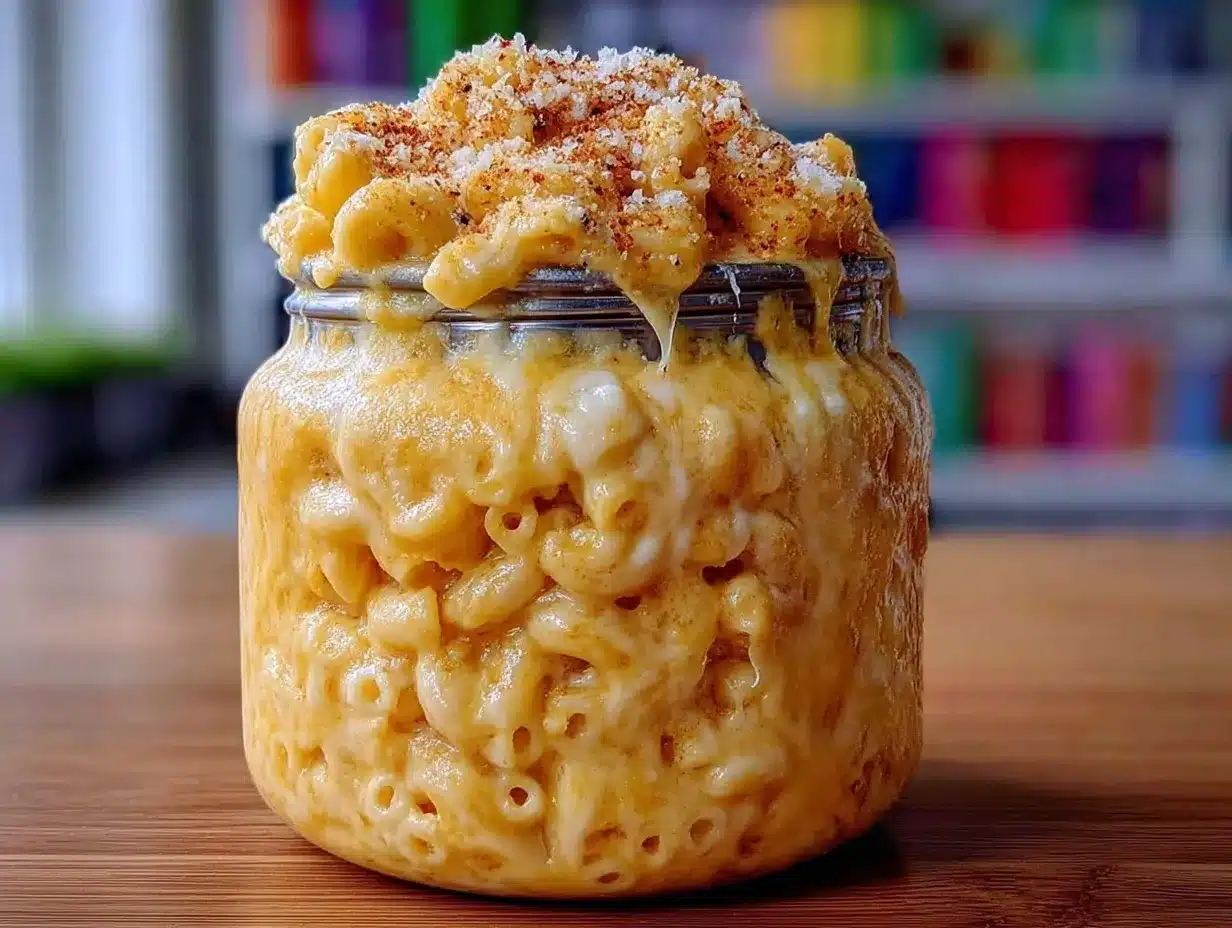
Follow these steps carefully, and you will have the best thermos mac and cheese of your life. The timing and technique are everything here.
- Bring a large pot of salted water to a rolling boil. Use about 1 tablespoon of salt per 4 quarts of water. This is your only chance to season the pasta from the inside out.
- Add the elbow macaroni and cook for 1 minute LESS than the package directions for al dente. For most brands, that’s about 6-7 minutes. You want the pasta to be firm to the bite. It will continue to cook and soften in the hot thermos.
- While the pasta cooks, start the cheese sauce. In a medium saucepan, melt the butter over medium heat. Once it’s fully melted and bubbly, whisk in the flour. Cook for 1-2 minutes, stirring constantly. This cooks out the raw flour taste. The mixture should look like a thick, golden paste.
- Slowly pour in the milk and heavy cream, whisking constantly. Don’t dump it all in at once. A slow, steady stream prevents lumps from forming. Continue whisking until the mixture thickens slightly, about 3-4 minutes. It should be thick enough to coat the back of a spoon.
- Reduce the heat to low. Add the salt, garlic powder, and dry mustard powder. Whisk to combine.
- Add the shredded cheeses one handful at a time, stirring until each addition is fully melted before adding the next. This is crucial for a smooth, silky sauce. If you dump all the cheese in at once, it can seize up and become grainy.
- Drain the pasta well. Do not rinse it. The starch on the surface helps the sauce cling to the noodles.
- Pour the drained pasta directly into the pot with the cheese sauce. Stir gently with a wooden spoon or silicone spatula until every piece of macaroni is evenly coated. The sauce will seem a little loose at this point, but that’s exactly what you want.
- Pre-heat your thermos. Fill it with boiling water, screw the lid on, and let it sit for 5 minutes. This is the most important step for keeping the food hot.
- Empty the water from the thermos. Immediately spoon the hot mac and cheese into the thermos, packing it in tightly. The more full the thermos is, the longer it will stay hot. Screw the lid on securely.
Pro Tip: If your sauce seems a little thin after adding the cheese, don’t panic. It will thicken as it cools slightly in the thermos. The residual heat will also help the pasta absorb some of the sauce, making it perfectly creamy by lunchtime.
Cooking Tips & Techniques
I learned these tricks the hard way—through a few truly tragic lunchbox moments. Trust me on these.
- Don’t Overcook the Pasta: This is the number one mistake. If your pasta is fully soft when you pack it, it will be mush by noon. Cook it very al dente, just until it bends but still has a white core when you bite into it.
- Pre-heat the Thermos EVERY Time: I cannot stress this enough. A cold thermos will suck the heat right out of your food. Pouring boiling water in and letting it sit for 5 minutes creates a hot environment that keeps your mac and cheese warm for hours.
- Use Full-Fat Dairy: Skim milk and low-fat cheese will break down and become watery in the thermos. Whole milk, heavy cream, and full-fat cheeses create a stable emulsion that stays creamy.
- Shred Your Own Cheese: Pre-shredded cheese is coated in cellulose and starch to prevent clumping. This also prevents it from melting smoothly. Freshly shredded cheese melts like a dream.
- Let It Rest Before Packing: Let the mac and cheese sit in the pot for 2-3 minutes after stirring. This allows the sauce to slightly thicken and cling better to the pasta, preventing a watery mess.
Variations & Adaptations
Once you’ve mastered the basic recipe, feel free to play around. Here are a few of my favorite twists.
- Broccoli and Cheddar: Steam some small broccoli florets and stir them in with the cheese sauce. The broccoli stays bright green and adds a nice crunch. My kids actually eat their veggies this way.
- Buffalo Chicken Mac: Stir in 1/2 cup of shredded rotisserie chicken and 2 tablespoons of buffalo sauce. It’s a little spicy and incredibly satisfying. Perfect for older kids or adults packing their own lunch.
- Mexican Street Corn Mac: Add 1/2 cup of corn kernels (frozen and thawed), a sprinkle of chili powder, and a squeeze of lime juice. Top with crumbled cotija cheese before packing. It’s tangy, smoky, and delicious.
- Gluten-Free Version: Use your favorite gluten-free elbow pasta and a 1-to-1 gluten-free flour blend in the roux. Cook the pasta 2 minutes less than the package directions, as gluten-free pasta tends to get mushy faster.
I once tried a version with roasted red peppers and smoked gouda, and it was incredible. The smoky flavor paired perfectly with the creamy cheese sauce. Don’t be afraid to experiment!
Serving & Storage Suggestions
This recipe is designed to be eaten right out of the thermos at lunchtime. But there are a few things you should know about serving and storing it.
- Serving Temperature: The mac and cheese should be piping hot when you pack it. By lunchtime, it will be warm, not scalding. That’s perfect for kids. If you’re packing it for an adult, you can let it cool for a few extra minutes before sealing the thermos.
- What to Serve With It: I like to pack a side of apple slices, baby carrots, or a simple creamy cucumber tomato salad for a fresh contrast. A handful of easy 5-ingredient peanut butter energy bites also makes a great dessert.
- Storage: If you have leftover mac and cheese (which rarely happens in my house), store it in an airtight container in the refrigerator for up to 3 days. To reheat, add a splash of milk and microwave in 30-second intervals, stirring in between. The texture won’t be quite as creamy as fresh, but it’s still delicious.
- Freezing: I don’t recommend freezing this recipe. The sauce can separate and become grainy upon thawing. It’s best enjoyed fresh or within a few days.
Nutritional Information & Benefits
This thermos mac and cheese is comfort food, but it also has some nutritional perks worth noting.
- Estimated Values (per serving, about 1.5 cups): Calories: 520, Fat: 28g, Carbohydrates: 45g, Protein: 22g, Calcium: 350mg.
- Good Source of Protein: The combination of milk, cream, and cheese provides a solid amount of protein, which helps keep kids full and focused through the afternoon.
- Calcium-Rich: Dairy products are one of the best sources of calcium for growing bones and teeth. One serving of this mac and cheese provides about 35% of the daily recommended intake.
- Dietary Considerations: This recipe is vegetarian. For a gluten-free or dairy-free version, see the substitutions section above. It is not suitable for a low-carb diet.
I feel good about sending this in my kid’s lunchbox because I know exactly what’s in it. It’s a balanced, satisfying meal that fuels them for the rest of the school day.
Conclusion
This easy thermos mac and cheese for school lunch is more than just a recipe. It’s a solution to a problem that every parent faces: packing a hot, delicious lunch that kids actually want to eat. It’s creamy, it’s cheesy, and it stays warm for hours without getting soggy.
I love this recipe because it brings a little bit of home into the middle of a busy school day. It’s comfort in a thermos, and it always makes my kids smile when they open their lunchbox. You can customize it with mix-ins, adjust the cheese blend to your family’s taste, or keep it classic. Either way, it’s a winner.
I’d love to hear how it turns out for you! Leave a comment below and let me know what variations you tried, or tag me in your lunchbox photos. Happy packing!
Frequently Asked Questions
Can I use a different type of pasta?
Absolutely! While elbow macaroni is the classic choice, you can use any small pasta shape like shells, rotini, or cavatappi. Just make sure to cook it 1 minute less than al dente to account for the extra cooking time in the thermos.
How long will the mac and cheese stay hot in the thermos?
If you pre-heat the thermos with boiling water for 5 minutes and pack the mac and cheese while it’s piping hot, it should stay warm for 4-5 hours. For best results, fill the thermos as full as possible, as more food retains heat better.
Can I make this recipe the night before?
Yes, you can make the mac and cheese the night before and store it in the refrigerator. In the morning, reheat it on the stovetop or in the microwave until it’s steaming hot, then pack it into a pre-heated thermos. The texture might be slightly less creamy, but it still works great.
Why did my cheese sauce turn out grainy?
Grainy cheese sauce is usually caused by overheating or using pre-shredded cheese. Always shred your own cheese from a block, and melt it over low heat. If the sauce gets too hot, the proteins in the cheese can separate and become grainy.
Can I add vegetables or protein to this recipe?
Definitely! Cooked broccoli, peas, corn, or shredded rotisserie chicken all work well. Just make sure any add-ins are fully cooked and not too watery, as excess moisture can make the mac and cheese soggy. Stir them in right before packing the thermos.
Pin This Recipe!
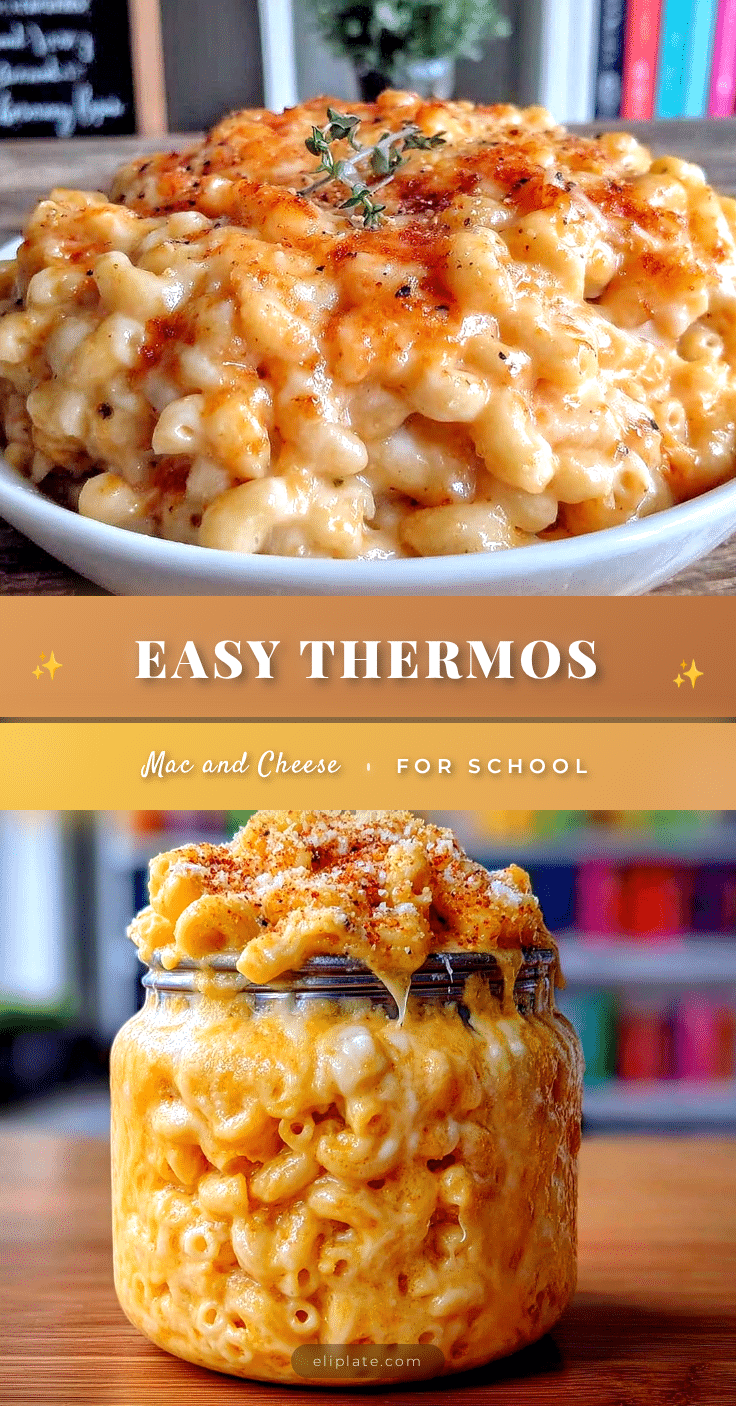
Easy Thermos Mac and Cheese: Best School Lunch Recipe

This creamy, cheesy thermos mac and cheese stays warm and perfect for hours, making it the ultimate school lunch solution. It’s kid-approved, parent-trusted, and uses simple pantry ingredients.
- Prep Time: 15 minutes
- Cook Time: 15 minutes
- Total Time: 30 minutes
- Yield: 4 servings 1x
- Category: Main Course
- Cuisine: American
Ingredients
- 2 cups dry elbow macaroni
- 3 tablespoons unsalted butter
- 3 tablespoons all-purpose flour
- 2 cups whole milk
- 1/2 cup heavy cream
- 2 cups freshly shredded sharp cheddar cheese
- 1 cup freshly shredded Monterey Jack cheese
- 1/2 teaspoon fine sea salt
- 1/4 teaspoon garlic powder
- 1/4 teaspoon dry mustard powder
Instructions
- Bring a large pot of salted water to a rolling boil. Use about 1 tablespoon of salt per 4 quarts of water.
- Add the elbow macaroni and cook for 1 minute less than the package directions for al dente (about 6-7 minutes for most brands).
- While the pasta cooks, start the cheese sauce. In a medium saucepan, melt the butter over medium heat. Once melted and bubbly, whisk in the flour. Cook for 1-2 minutes, stirring constantly, until the mixture looks like a thick, golden paste.
- Slowly pour in the milk and heavy cream, whisking constantly. Continue whisking until the mixture thickens slightly, about 3-4 minutes, until it coats the back of a spoon.
- Reduce the heat to low. Add the salt, garlic powder, and dry mustard powder. Whisk to combine.
- Add the shredded cheeses one handful at a time, stirring until each addition is fully melted before adding the next.
- Drain the pasta well. Do not rinse it.
- Pour the drained pasta directly into the pot with the cheese sauce. Stir gently until every piece of macaroni is evenly coated.
- Pre-heat your thermos by filling it with boiling water, screwing the lid on, and letting it sit for 5 minutes.
- Empty the water from the thermos. Immediately spoon the hot mac and cheese into the thermos, packing it in tightly. Screw the lid on securely.
Notes
Pre-heating the thermos with boiling water for 5 minutes is non-negotiable for keeping the food hot. Cook pasta 1 minute less than al dente to prevent mushiness. Use full-fat dairy and freshly shredded cheese for the creamiest sauce. Let the mac and cheese rest for 2-3 minutes after stirring before packing to allow the sauce to thicken slightly.
Nutrition
- Serving Size: 1.5 cups
- Calories: 520
- Sugar: 8
- Sodium: 680
- Fat: 28
- Saturated Fat: 17
- Carbohydrates: 45
- Fiber: 2
- Protein: 22
Keywords: thermos mac and cheese, school lunch, creamy mac and cheese, easy mac and cheese, kid-friendly lunch, hot lunch for school