I’d been wanting a snack that actually stayed crisp. Not the kind that starts off promising and turns sad and limp within ten minutes. Something with crunch, real crunch, that didn’t require deep frying a whole vat of oil. Every version I tried before had that problem—baked zucchini slices that looked good coming out of the oven but wilted before you could finish the first handful. The coating slid off. The centers turned watery. Honestly, I just accepted for a while that crispy zucchini wasn’t going to happen without a fryer basket and a lot of paper towels.
Then I started messing around with a combination of panko and Parmesan, and something clicked. The air fryer helped, sure, but it was really about how you prep the zucchini first. You have to draw out that moisture before anything else hits it. That one step changed everything. I finally had chips that stayed crunchy even after they cooled down, which felt like a small miracle in my kitchen.
The first time I made these, I ate half the batch standing at the counter. They were that good. And the best part? No greasy fingers, no heavy feeling afterward. Just a satisfying, salty, cheesy crunch that made me wonder why I hadn’t figured this out sooner.
This recipe stuck because it solved a real problem—how to get that crispy texture without the fuss. It’s the kind of snack you can make on a Tuesday afternoon and feel good about.
Why You’ll Love This Recipe
Let’s be honest—most vegetable snacks are a compromise. You eat them because you should, not because you actually crave them. These crispy baked Parmesan zucchini chips are different. They’re the snack you actually want to reach for.
- Quick & Easy : From slicing to snacking in under 25 minutes. The air fryer does most of the work.
- Simple Ingredients : You likely have everything already—zucchini, Parmesan, panko, eggs, and a few spices. No special trips required.
- Perfect for Snack Time : Great for afternoon cravings, game day spreads, or a lighter side dish with dinner.
- Crowd-Pleaser : Even people who swear they don’t like zucchini end up reaching for seconds. My kids fought over the last chip.
- Unbelievably Delicious : The combination of salty Parmesan, crunchy panko, and tender zucchini is next-level comfort food. You won’t miss the deep fryer.
What makes this recipe different from the rest is the moisture-drawing step. Most recipes skip it or rush through it, and that’s why they end up soggy. I tested this method multiple times to get that perfect crunch that lasts. It’s not just another version—it’s my best version.
This is the kind of snack that makes you close your eyes after the first bite. It’s comfort food reimagined—lighter, faster, but with the same soul-soothing satisfaction. Perfect for impressing guests without stress, or turning a simple afternoon into something memorable.
What Ingredients You Will Need
This recipe uses simple, wholesome ingredients to deliver bold flavor and satisfying crunch without the fuss. Most of these are pantry staples, which makes this an easy last-minute snack.
- Zucchini (2 medium, about 8 ounces each) — Look for firm, medium-sized zucchini. Smaller ones have fewer seeds and less water content, which means crispier chips. Avoid the giant ones; they’re watery and bland.
- Kosher salt (1 teaspoon) — This is for drawing out moisture. Don’t skip it. I use Diamond Crystal brand because it dissolves evenly without making things too salty.
- Panko breadcrumbs (¾ cup) — Regular breadcrumbs won’t give you the same crunch. Panko is lighter and flakier, which is exactly what you want here. I prefer Kikkoman brand for consistent texture.
- Grated Parmesan cheese (½ cup, plus more for garnish) — Use the real stuff from a block, not the green can. Freshly grated Parmesan melts better and has more flavor. Pecorino Romano works too if you want a sharper taste.
- Dried oregano (½ teaspoon) — Adds a subtle herbiness that complements the cheese. You can swap in Italian seasoning if that’s what you have.
- Garlic powder (½ teaspoon) — Don’t use fresh garlic here; it burns in the air fryer. Garlic powder gives you the flavor without the bitterness.
- Black pepper (¼ teaspoon, freshly ground) — A little goes a long way. Freshly ground tastes noticeably better than pre-ground.
- Large eggs (2) — These help the coating stick. Make sure they’re at room temperature for even coating.
- Olive oil spray or avocado oil spray — Essential for browning. Avocado oil has a higher smoke point, which works beautifully in the air fryer. I use Chosen Foods brand.
For serving (optional):
- Marinara sauce or ranch dressing — Both pair wonderfully. If you’re feeling adventurous, try this with the creamy ranch from my creamy BLT pasta salad—it’s a game changer.
- Fresh parsley or basil (chopped) — For a pop of color and freshness at the end.
Substitution notes: For a gluten-free version, use gluten-free panko. Almond flour mixed with Parmesan also works in a pinch, though the texture will be denser. If you’re dairy-free, swap the Parmesan for nutritional yeast (about ¼ cup) and add an extra pinch of salt.
Equipment Needed
You don’t need a fancy kitchen to make these chips, but having the right tools makes the process smoother.
- Air fryer (3.5-quart or larger) — I use a Cosori 5.8-quart model and love it. If you have a smaller one, just work in batches. Don’t overcrowd the basket.
- Sharp knife or mandoline slicer — A mandoline gives you perfectly even slices, which means even cooking. I’ve used both, and the mandoline is faster. Just watch your fingers—trust me on that one.
- Cutting board — Any sturdy board works. I prefer wood because it’s gentler on knife blades.
- Mixing bowls (2 medium) — One for the egg wash, one for the breadcrumb mixture.
- Paper towels or clean kitchen towel — For patting the zucchini dry after salting. This step is non-negotiable.
- Tongs — For dipping and transferring the coated slices. Your fingers will get messy otherwise.
- Cooling rack — Placing the cooked chips on a rack instead of a plate keeps them from steaming and getting soft. A wire baking rack works perfectly.
Budget-friendly tip: If you don’t have a mandoline, just use a sharp knife and slice as evenly as you can. It takes a little longer, but the chips will still turn out great. And if you don’t have an air fryer, you can bake these in a regular oven at 425°F for 12-15 minutes, flipping halfway through. They won’t be quite as crispy, but they’ll still be delicious.
Preparation Method
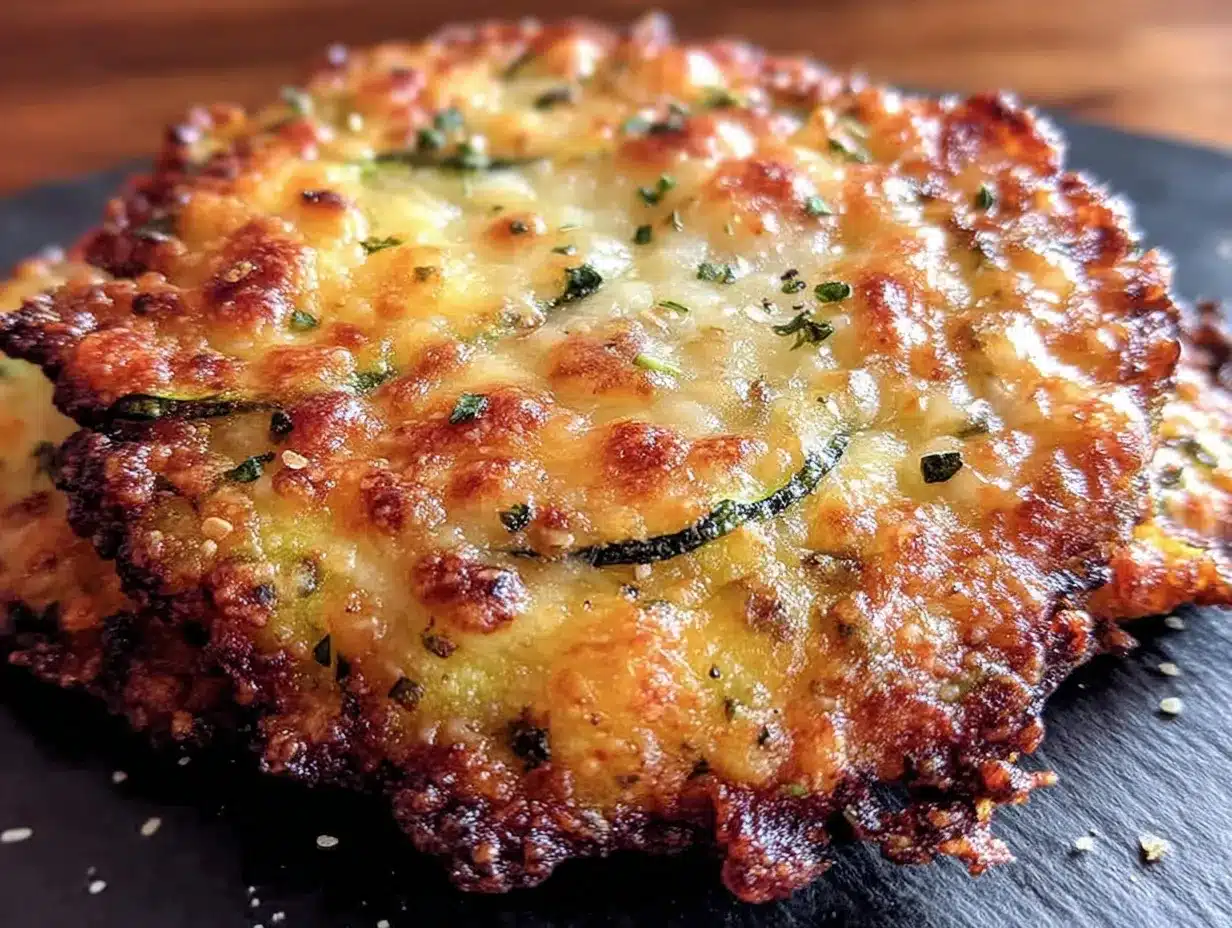
This method is straightforward, but each step matters. Don’t rush the salting part—that’s where the magic happens.
- Prep the zucchini. Wash and dry the zucchini. Trim off the ends. Slice into ¼-inch thick rounds. Too thin and they’ll burn; too thick and they won’t get crispy. A mandoline set to ¼ inch is perfect. If using a knife, aim for even thickness across all slices.
- Draw out the moisture. Place the slices in a colander set over a bowl. Sprinkle with the kosher salt and toss gently. Let them sit for 10 minutes. You’ll see beads of water forming on the surface—that’s the salt doing its job. After 10 minutes, pat each slice dry with paper towels. This step is crucial. Skip it, and you’ll have soggy chips every time.
- Set up your coating station. In one shallow bowl, whisk the eggs until frothy. In another shallow bowl, combine the panko, grated Parmesan, dried oregano, garlic powder, and black pepper. Mix with a fork until everything is evenly distributed.
- Coat the zucchini. Working one slice at a time, dip each zucchini round into the egg wash, letting any excess drip off. Then press it into the panko mixture, coating both sides evenly. I use my fingers for this—tongs don’t give you the same control. Place the coated slices on a plate or cutting board in a single layer. Don’t stack them or they’ll stick together.
- Preheat the air fryer. Set your air fryer to 400°F (200°C) and let it preheat for 3 minutes. Preheating ensures the chips start cooking immediately, which helps them crisp up faster.
- Arrange in the basket. Lightly spray the air fryer basket with oil. Place the coated zucchini slices in a single layer, leaving a little space between each one. You want air to circulate freely. Depending on your air fryer size, you’ll need to work in 2-3 batches. Don’t overcrowd—this is the number one mistake people make.
- Spray and cook. Lightly spray the tops of the chips with oil. This helps them brown and get that golden color. Cook at 400°F for 8-10 minutes, flipping halfway through. At the 5-minute mark, check them. If they’re browning too fast, reduce the temperature to 375°F. Every air fryer runs a little differently, so keep an eye on them the first time.
- Check for doneness. The chips should be golden brown and firm to the touch. A few darker spots are fine—that’s the Parmesan caramelizing. If they still feel soft in the center, give them another 1-2 minutes. But watch closely; they go from perfect to burnt quickly.
- Cool on a rack. Transfer the cooked chips to a cooling rack immediately. Don’t leave them in the basket or they’ll steam and lose their crunch. Let them cool for 2-3 minutes before serving. They actually get crispier as they cool.
- Repeat with remaining batches. Let the air fryer come back to temperature for a minute between batches. Keep the finished chips on the cooling rack until you’re ready to serve.
Cooking Tips & Techniques
I learned most of these the hard way—through batches that turned out sad and soggy. Let me save you the trouble.
Don’t skip the salting step. I know it adds an extra 10 minutes, but it makes all the difference. Zucchini is mostly water, and that water needs to come out before the coating can get crispy. I once skipped this step because I was in a rush, and the chips turned out limp and pale. Never again.
Pat them really dry. After salting, use a clean kitchen towel or paper towels to press each slice firmly. You want the surface as dry as possible before the egg wash goes on. Wet zucchini = steam = sad chips.
Use a light hand with the oil spray. You don’t need to drench them. A quick, even spray is enough. Too much oil makes them greasy instead of crispy. I use a mister bottle with avocado oil for better control.
Don’t crowd the basket. This is the second biggest mistake. If the slices are touching, they’ll steam each other instead of crisping up. Leave at least ¼ inch between each slice. It’s worth doing an extra batch.
Flip halfway through. The air fryer circulates hot air, but the bottoms don’t get as much direct heat. Flipping ensures even browning on both sides. Use tongs and be gentle—the coating is still delicate at this point.
Work in batches and keep warm. If you’re making a big batch, keep the finished chips on a cooling rack in a 200°F oven while you cook the rest. Don’t cover them with foil or they’ll steam. This trick keeps them crispy for up to 30 minutes.
For a similar crispy technique, check out my crispy air fryer chicken thighs—the same principle of drawing out moisture applies, and the results are just as satisfying.
Variations & Adaptations
This recipe is flexible. Once you master the basic method, you can switch things up based on what you have or what you’re craving.
- Spicy version: Add ½ teaspoon of cayenne pepper or red pepper flakes to the panko mixture. The heat pairs beautifully with the salty Parmesan. I made this version for a game day snack and it disappeared in minutes.
- Herb garden version: Swap the dried oregano for 1 tablespoon of fresh chopped herbs—rosemary, thyme, or chives all work well. Fresh herbs give a brighter flavor that’s perfect for spring and summer.
- Gluten-free adaptation: Use gluten-free panko or crushed pork rinds for a keto-friendly option. The pork rind version is actually incredibly crispy—my husband couldn’t tell the difference.
- Cheese swap: Try Pecorino Romano for a sharper, saltier flavor, or mix in some finely grated cheddar for a different profile. Just avoid pre-shredded cheese; it contains anti-caking agents that prevent proper melting.
- Air fryer vs. oven: If you don’t have an air fryer, bake these at 425°F on a parchment-lined baking sheet for 12-15 minutes, flipping halfway. They won’t be quite as crunchy, but they’re still delicious. For extra crispiness in the oven, place the baking sheet on the bottom rack.
If you’re in the mood for another zucchini-based treat, try my cozy brown butter zucchini bread—it’s the perfect way to use up extra zucchini and tastes amazing with a cup of coffee.
Serving & Storage Suggestions
These chips are best served fresh, but there are ways to enjoy them later too.
Serving temperature: Serve warm or at room temperature. They’re actually at their crispiest after cooling for about 5 minutes. I like to arrange them on a wooden board with a small bowl of marinara sauce in the center for dipping.
What to serve with them: These chips pair beautifully with a simple creamy cucumber tomato salad for a light lunch or appetizer spread. They also work great alongside grilled chicken or fish for a low-carb dinner side.
Storage instructions: Store leftovers in an airtight container at room temperature for up to 2 days. Do not refrigerate—the moisture in the fridge will make them soft. If you must refrigerate, reheat them in the air fryer at 375°F for 3-4 minutes to restore some crunch.
Freezing: I don’t recommend freezing these. The texture changes too much, and they end up watery when thawed. Make a fresh batch instead—it only takes 25 minutes.
Reheating tips: The air fryer is your best friend here. Reheat at 375°F for 3-4 minutes. A toaster oven works too, but skip the microwave—it turns them into sad, rubbery discs. I learned that one the hard way.
Flavor development: Honestly, these are best the day they’re made. The crunch diminishes after a few hours, but the flavor holds up. If you have leftovers, use them as a topping for salads or grain bowls the next day—they add a nice salty crunch even if they’re not as crispy.
Nutritional Information & Benefits
These chips are a lighter alternative to traditional fried snacks, and they pack some surprising nutritional benefits.
Estimated nutrition per serving (about 12 chips, based on 4 servings):
- Calories: 145
- Protein: 9g
- Carbohydrates: 12g
- Fiber: 2g
- Fat: 7g
- Saturated Fat: 3g
- Sodium: 380mg
Health benefits: Zucchini is low in calories but high in antioxidants like vitamin C and beta-carotene. It also contains lutein, which supports eye health. The Parmesan adds calcium and protein, making this a more balanced snack than traditional chips. The air frying method uses minimal oil, so you’re getting the crunch without the deep-fried fat.
Dietary considerations: This recipe is naturally low-carb and vegetarian. For a keto-friendly version, use almond flour or crushed pork rinds instead of panko. It’s also easily adaptable for gluten-free diets (see variations above).
Potential allergens: Contains dairy (Parmesan) and eggs. If you’re dairy-free, try the nutritional yeast substitution mentioned in the ingredients section. For egg-free, a mixture of milk (dairy or plant-based) and a tablespoon of flaxseed meal can work as a binder, though the coating won’t stick quite as well.
I love that I can feel good about eating a whole batch of these. They satisfy that crunchy, salty craving without the guilt, and my kids actually ask for vegetables now—which feels like a parenting win.
Conclusion
These crispy baked Parmesan zucchini chips are proof that healthy snacks don’t have to be boring. They’re crunchy, cheesy, and satisfying in a way that makes you forget you’re eating vegetables. The air fryer does most of the heavy lifting, and the salting step is the only trick you need to know for guaranteed crispiness.
I’d love for you to make these your own. Play with the seasonings, try different cheeses, or double the batch for your next party. They’re forgiving enough for beginners and rewarding enough for experienced cooks. And if you come up with a variation I haven’t tried, please share it in the comments—I’m always looking for new ideas.
Drop a comment below and let me know how yours turned out. Did you add extra spice? Try a different dipping sauce? I genuinely want to hear about it. And if you loved these, share this post with a friend who needs a new snack in their life. Happy cooking, friends.
Frequently Asked Questions
Can I make these without an air fryer?
Absolutely. Bake them at 425°F on a parchment-lined baking sheet for 12-15 minutes, flipping halfway. They won’t be quite as crunchy as the air fryer version, but they’re still delicious. Place the baking sheet on the bottom rack for extra crispiness.
Why did my zucchini chips turn out soggy?
This usually happens for one of three reasons: you skipped the salting step, you didn’t pat them dry enough, or you overcrowded the air fryer basket. Make sure to salt the slices for 10 minutes, pat them thoroughly dry, and leave space between each slice in the basket.
Can I use yellow squash instead of zucchini?
Yes, yellow squash works perfectly in this recipe. It has a similar water content and texture, so the same method applies. You can even mix zucchini and yellow squash for a colorful batch.
How do I keep leftovers crispy?
Store them in an airtight container at room temperature (not the fridge) for up to 2 days. To re-crisp them, pop them back in the air fryer at 375°F for 3-4 minutes. Don’t use the microwave—it will make them soggy.
Can I prep these ahead of time?
You can slice the zucchini and salt it up to a few hours ahead. Keep the salted slices in the fridge, then pat them dry and coat them right before cooking. The coating is best applied fresh—if you coat them too early, the breadcrumbs will get gummy.
Pin This Recipe!
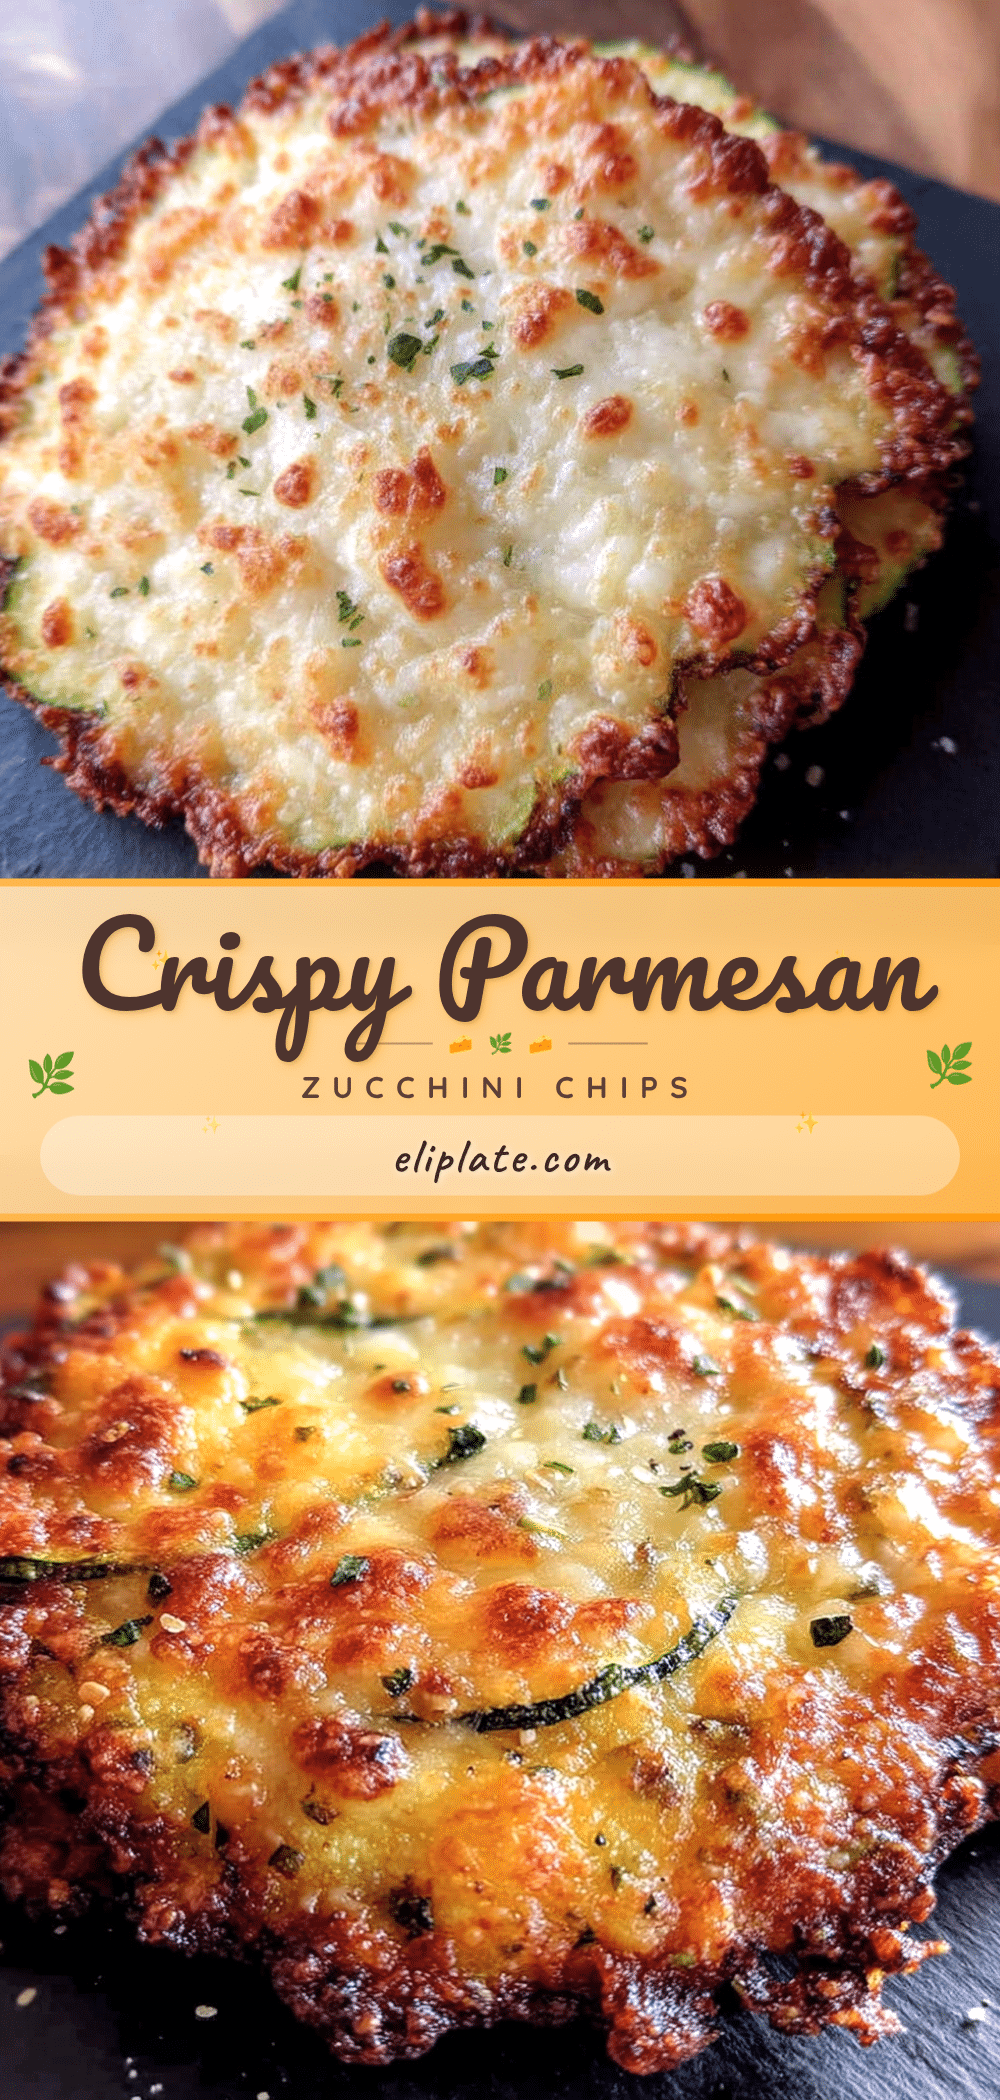
Crispy Baked Parmesan Zucchini Chips in Air Fryer (Easy)

These crispy baked Parmesan zucchini chips are proof that healthy snacks don’t have to be boring. They’re crunchy, cheesy, and satisfying in a way that makes you forget you’re eating vegetables.
- Prep Time: 15 minutes
- Cook Time: 10 minutes
- Total Time: 25 minutes
- Yield: 4 servings 1x
- Category: Snack
- Cuisine: American
Ingredients
- 2 medium zucchini (about 8 ounces each)
- 1 teaspoon kosher salt
- ¾ cup panko breadcrumbs
- ½ cup grated Parmesan cheese, plus more for garnish
- ½ teaspoon dried oregano
- ½ teaspoon garlic powder
- ¼ teaspoon freshly ground black pepper
- 2 large eggs, at room temperature
- Olive oil spray or avocado oil spray
- Marinara sauce or ranch dressing (for serving, optional)
- Fresh parsley or basil, chopped (for garnish, optional)
Instructions
- Prep the zucchini. Wash and dry the zucchini. Trim off the ends. Slice into ¼-inch thick rounds.
- Draw out the moisture. Place the slices in a colander set over a bowl. Sprinkle with the kosher salt and toss gently. Let them sit for 10 minutes. After 10 minutes, pat each slice dry with paper towels.
- Set up your coating station. In one shallow bowl, whisk the eggs until frothy. In another shallow bowl, combine the panko, grated Parmesan, dried oregano, garlic powder, and black pepper. Mix with a fork until evenly distributed.
- Coat the zucchini. Working one slice at a time, dip each zucchini round into the egg wash, letting any excess drip off. Then press it into the panko mixture, coating both sides evenly. Place the coated slices on a plate or cutting board in a single layer.
- Preheat the air fryer. Set your air fryer to 400°F (200°C) and let it preheat for 3 minutes.
- Arrange in the basket. Lightly spray the air fryer basket with oil. Place the coated zucchini slices in a single layer, leaving a little space between each one. Work in 2-3 batches if needed.
- Spray and cook. Lightly spray the tops of the chips with oil. Cook at 400°F for 8-10 minutes, flipping halfway through. At the 5-minute mark, check them. If they’re browning too fast, reduce the temperature to 375°F.
- Check for doneness. The chips should be golden brown and firm to the touch. If they still feel soft in the center, give them another 1-2 minutes.
- Cool on a rack. Transfer the cooked chips to a cooling rack immediately. Let them cool for 2-3 minutes before serving.
- Repeat with remaining batches. Let the air fryer come back to temperature for a minute between batches. Keep the finished chips on the cooling rack until ready to serve.
Notes
Don’t skip the salting step—it draws out moisture and ensures crispiness. Pat the zucchini slices really dry after salting. Use a light hand with the oil spray. Don’t crowd the air fryer basket. Flip halfway through cooking. For a gluten-free version, use gluten-free panko or crushed pork rinds. For dairy-free, swap Parmesan for nutritional yeast (about ¼ cup) and add an extra pinch of salt.
Nutrition
- Serving Size: about 12 chips
- Calories: 145
- Sodium: 380
- Fat: 7
- Saturated Fat: 3
- Carbohydrates: 12
- Fiber: 2
- Protein: 9
Keywords: zucchini chips, air fryer zucchini, Parmesan zucchini, crispy zucchini, healthy snack, low-carb snack, vegetarian snack