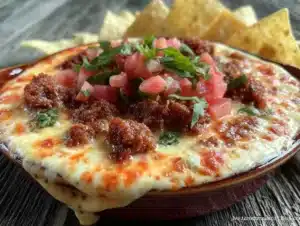
I figured a game day snack board would be a simple pile of chips with stuff dumped on top. It took about ten minutes of watching people circle the coffee table like hungry sharks for that assumption to fall apart completely. The first board I made was a beautiful disaster—soggy chips, cold cheese, and a sad little pile of jalapeños that nobody touched. I stood there, spatula in hand, watching my carefully arranged masterpiece get picked apart in the most unflattering way possible.
That was the moment I realized a nacho board isn’t just about throwing ingredients together. It’s about architecture. You have to build it with intention, layer by layer, so every single chip gets its fair share of toppings. No one wants to be the person stuck with a dry chip at the bottom of the pile. Honestly, that’s a party foul I refuse to commit.
This Ultimate Loaded Nacho Football Board was born from that failure. It’s the result of trial, error, and a few late-night test runs that my neighbors were more than happy to judge. The key is structure—both in how you arrange the chips and how you distribute the toppings. Once you get that down, it’s pure magic. People don’t just eat this board; they hover around it, claiming their territory. It becomes the centerpiece of the whole game day spread, and honestly, that’s exactly what you want.
Why You’ll Love This Recipe
Let me tell you why this board has become my go-to for every football party, playoff game, and lazy Sunday gathering. It’s not just another snack—it’s an experience.
- Feeds a Crowd with Zero Fuss: This board serves 8-10 people easily, and you don’t need to stand over a stove for hours. Everything comes together in about 30 minutes, which means you can actually enjoy the game instead of being trapped in the kitchen.
- Completely Customizable: Don’t like black beans? Leave them out. Want extra heat? Pile on the jalapeños. This board is a choose-your-own-adventure situation, and everyone gets exactly what they want.
- Perfect for Game Day: Whether it’s the Super Bowl, a Monday night game, or just a casual Sunday with friends, this board screams “football.” It’s messy, it’s indulgent, and it’s exactly what you want to be eating while yelling at the TV.
- Always a Crowd-Pleaser: I’ve served this to kids, adults, picky eaters, and spice lovers. Every single time, the board is empty within an hour. There’s something about nachos that brings people together—maybe it’s the communal aspect, or maybe it’s just the melted cheese.
- Better Than Restaurant Nachos: Most restaurant nachos are a sad affair—a few chips with cheese on top, and everything else is an afterthought. This board ensures every chip is loaded, every bite is satisfying, and nobody leaves hungry.
What sets this board apart is the layering technique. Instead of piling everything on top, you create a sturdy base, add a middle layer of toppings, then finish with a final flourish. This way, even the chips at the bottom get some love. It’s not rocket science, but it makes all the difference. The first time I tried this method, my friend Mike actually said, “These are the best nachos I’ve ever had.” That’s the kind of feedback that keeps me experimenting.
This recipe isn’t just good—it’s the kind that makes you close your eyes after the first bite. The crunch of the chips, the gooey cheese, the kick of the jalapeños, the creaminess of the guacamole—it’s a symphony of textures and flavors that hits every single note. Perfect for impressing guests without stress, or turning a simple game day into something memorable.
What Ingredients You Will Need
This recipe uses simple, mostly pantry-staple ingredients to deliver bold flavor and satisfying texture without the fuss. Most of these you probably already have on hand, which is half the beauty of it.
- For the Nacho Base:
- 1 large bag (13-16 oz) restaurant-style tortilla chips (I prefer Tostitos Scoops for maximum topping holding capacity)
- 2 cups shredded Mexican blend cheese (or a mix of cheddar and Monterey Jack)
- 1 cup shredded pepper jack cheese (adds a nice subtle heat)
- For the Meat Layer:
- 1 lb ground beef (80/20 works best for flavor)
- 1 packet taco seasoning (I use Old El Paso, but any brand works)
- 1/2 cup water
- For the Toppings:
- 1 can (15 oz) black beans, drained and rinsed
- 1 cup canned corn, drained
- 1 cup cherry tomatoes, diced
- 1/2 cup pickled jalapeños (adjust based on heat preference)
- 1/2 cup sliced black olives
- 1/2 cup chopped fresh cilantro
- 1/2 cup sour cream
- 1/2 cup guacamole (store-bought or homemade)
- 1/4 cup sliced green onions
- Optional Add-Ins:
- 1/2 cup pico de gallo (adds freshness)
- 1/4 cup crumbled queso fresco (for a creamy finish)
- 1 diced avocado (if you want extra creaminess)
For the meat, I recommend 80/20 ground beef because it has enough fat to stay juicy and flavorful. If you’re using leaner meat, add a tablespoon of oil when browning. The taco seasoning is non-negotiable—it brings all those warm, smoky flavors that make nachos taste like nachos. I usually keep a few extra packets in the pantry because you never know when a nacho emergency might strike.
For the beans, I prefer black beans over refried because they hold their shape better and add a nice texture contrast. Rinsing them is important—it removes the excess sodium and that slightly metallic can taste. Same goes for the corn. Give everything a good rinse and pat it dry before adding to the board. Wet toppings lead to soggy chips, and soggy chips are the enemy of good nachos.
If you’re feeling ambitious, you can make your own guacamole. Just mash two ripe avocados with lime juice, salt, and a little diced onion. But honestly, store-bought works perfectly fine for this board. The key is to have everything prepped and ready before you start assembling. Trust me, you don’t want to be chopping tomatoes while the cheese is melting and people are waiting.
Equipment Needed
You don’t need anything fancy to pull this off. Here’s what I use:
- Large Baking Sheet or Wooden Board: A half-sheet pan works perfectly, or you can use a large wooden cutting board if you want that rustic look. I’ve used both, and honestly, the baking sheet is easier for cleanup.
- Skillet or Frying Pan: For browning the ground beef. A 12-inch skillet gives you plenty of room.
- Small Saucepan or Microwave-Safe Bowl: For melting the cheese. You can do it on the stove or in the microwave—both work.
- Spatula or Wooden Spoon: For breaking up the meat as it cooks.
- Measuring Cups and Spoons: For the toppings and seasoning.
- Chef’s Knife and Cutting Board: For dicing tomatoes, slicing green onions, and chopping cilantro.
- Small Bowls: For holding the toppings before assembly. I use little prep bowls to keep everything organized.
- Aluminum Foil or Parchment Paper: To line the baking sheet for easy cleanup. This is a game-changer.
If you don’t have a large board, you can use two smaller baking sheets and arrange them side by side. I’ve done that for bigger parties, and it works great. The key is to have enough surface area to spread the chips in a single layer without overcrowding. Overcrowding leads to uneven topping distribution, and nobody wants that.
Also, a tip from experience: line your board or baking sheet with foil before you start. When the cheese melts, it can get a little messy, and scrubbing baked-on cheese is not how you want to spend your post-party time. Foil makes cleanup a breeze—just peel it off and toss it.
Preparation Method
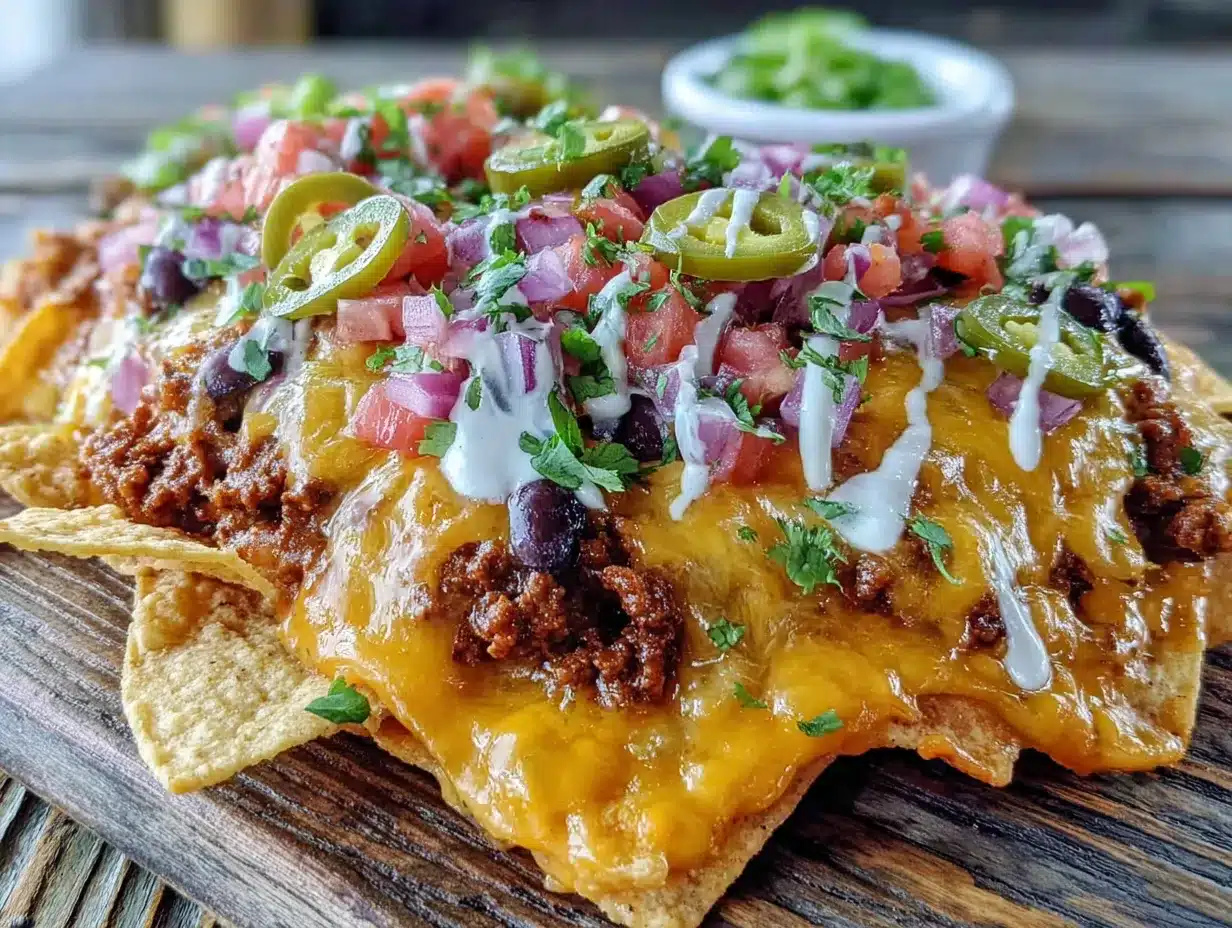
Alright, let’s get to the good part. This is where the magic happens. Follow these steps, and you’ll have a board that disappears in minutes.
- Preheat your oven to 375°F (190°C). While it’s heating, line your large baking sheet with aluminum foil or parchment paper. This will make cleanup so much easier.
- Cook the ground beef. Heat a large skillet over medium-high heat. Add the ground beef and break it apart with a spatula. Cook for 6-8 minutes, until browned and no longer pink. Drain any excess grease (I usually leave about a tablespoon for flavor). Reduce heat to low, add the taco seasoning and 1/2 cup water. Stir well and let it simmer for 3-4 minutes, until the liquid thickens slightly. Set aside.
- Prep all your toppings. While the beef is cooking, dice the cherry tomatoes, slice the green onions, chop the cilantro, and drain the beans and corn. Arrange everything in small bowls so you can grab and go during assembly. This is your mise en place moment—trust me, it makes everything smoother.
- Layer the chips. Spread the tortilla chips in an even layer on the prepared baking sheet. Don’t pile them too high—you want a single layer with a few overlapping edges. If you’re using Scoops, arrange them with the scooped side up to catch all the toppings.
- Add the first layer of toppings. Sprinkle half of the shredded Mexican blend cheese and half of the pepper jack cheese evenly over the chips. Then spoon the seasoned ground beef over the cheese, followed by the black beans and corn. This middle layer ensures every chip gets some meat and beans.
- Add the second layer of cheese. Top everything with the remaining shredded cheese. This is the glue that holds everything together. Don’t skimp here—more cheese means more gooey goodness.
- Bake until bubbly. Place the baking sheet in the preheated oven and bake for 10-12 minutes, until the cheese is fully melted and starting to bubble around the edges. Keep an eye on it—you want melted cheese, not burnt chips. Every oven is different, so check at the 8-minute mark if yours runs hot.
- Add the fresh toppings. Remove the board from the oven and let it cool for 2 minutes. Then sprinkle the diced tomatoes, pickled jalapeños, black olives, and chopped cilantro over the top. The heat from the nachos will slightly warm the fresh toppings, which is perfect.
- Finish with the creamy toppings. Dollop the sour cream and guacamole in small piles across the board. You can also drizzle some hot sauce or salsa if you want extra heat. Sprinkle the sliced green onions over everything for a final pop of color.
- Serve immediately. This board is best enjoyed warm, right out of the oven. Place it in the center of the table and watch it disappear. I like to put out extra napkins and a few small plates, but honestly, most people just grab and go.
One thing I learned the hard way: don’t add the fresh toppings before baking. The tomatoes will turn into a watery mess, and the cilantro will wilt. Always add them after the cheese is melted. Also, if you’re making this for a big party, you can prep everything ahead of time—cook the beef, chop the veggies, shred the cheese—and assemble right before baking. It’s a lifesaver when you’re juggling multiple dishes.
Cooking Tips & Techniques
Over the years, I’ve made a lot of nacho boards, and I’ve learned a few things the hard way. Here are my best tips to ensure yours turns out perfect every time.
- Don’t Overload the Chips: It’s tempting to pile everything on, but too many toppings will make the chips soggy. Stick to a single layer of chips with moderate toppings. You can always make a second board if you’re feeding a crowd.
- Use Room Temperature Ingredients: Cold cheese doesn’t melt evenly. Let your shredded cheese sit out for 15-20 minutes before assembling. Same goes for the sour cream and guacamole—they’ll spread more easily at room temperature.
- Toast the Chips First: For extra crunch, spread the chips on the baking sheet and toast them in the oven for 3-4 minutes before adding toppings. This step is optional, but it makes a noticeable difference, especially if you’re using thicker chips.
- Layer Strategically: The order matters. Chips on the bottom, then cheese, then meat and beans, then more cheese on top. This creates a barrier that prevents the chips from getting soggy while ensuring every bite has flavor.
- Watch the Oven Closely: Cheese can go from perfectly melted to burnt in about 30 seconds. Set a timer and check at the 8-minute mark. If the cheese is bubbling and golden, it’s ready. If not, give it another 2 minutes.
- Let It Rest: After baking, let the board sit for 2-3 minutes before adding fresh toppings. This allows the cheese to set slightly and prevents the hot chips from wilting the fresh ingredients.
- Serve Immediately: Nachos are a race against time. The longer they sit, the soggier they get. Have your guests ready to eat as soon as the board hits the table.
I once made the mistake of using pre-shredded cheese from a bag. It didn’t melt well because of the anti-caking agents. Now I always shred my own cheese from a block. It takes an extra 5 minutes, but the melt is so much better. Also, if you’re using a convection oven, reduce the temperature by 25°F to prevent the edges from burning before the center is melted.
Variations & Adaptations
This board is incredibly versatile. Here are some of my favorite variations to keep things interesting.
- Chicken Nacho Board: Swap the ground beef for shredded rotisserie chicken. Toss it with taco seasoning and a splash of lime juice before adding to the board. It’s lighter but just as satisfying.
- Vegetarian Nacho Board: Skip the meat entirely and double up on the beans and corn. Add sautéed bell peppers and onions for extra texture. You can also add roasted sweet potatoes or black bean patties crumbled on top.
- Spicy Nacho Board: Use hot pepper jack cheese, add extra jalapeños, and drizzle with sriracha or chipotle crema. You can also mix cayenne pepper into the taco seasoning for an extra kick.
- Breakfast Nacho Board: Top the nachos with scrambled eggs, crumbled bacon, and a drizzle of queso. It’s a fun twist for a game day brunch or a lazy Sunday morning.
- Low-Carb Nacho Board: Swap the tortilla chips for pork rinds or baked cheese crisps. Use ground turkey instead of beef, and load up on fresh veggies. It’s surprisingly good and keto-friendly.
- Seafood Nacho Board: Top with grilled shrimp or blackened fish instead of beef. Add a drizzle of cilantro lime crema and some fresh mango salsa. It’s a coastal twist that works beautifully.
I once tried a “dessert nacho” version with cinnamon sugar chips, melted white chocolate, and fresh berries. It was a hit at a summer party, but honestly, nothing beats the savory original. If you’re feeling adventurous, you can also try a “loaded potato nacho” version using crispy potato rounds instead of chips. The possibilities are endless.
Serving & Storage Suggestions
This board is best served immediately, but here are some tips for making it work for your schedule.
- Serving Temperature: Serve the nachos warm, right out of the oven. The cheese should be gooey and the chips should still have a slight crunch. If you’re serving outdoors, keep the board in a warm oven until everyone is ready.
- Presentation Tips: Arrange the toppings in small piles or rows for a visually appealing board. I like to put the sour cream and guacamole in opposite corners so people can choose their own adventure. Garnish with extra cilantro and a few whole jalapeños for a pop of color.
- Complementary Dishes: This board pairs beautifully with a side of fresh loaded cowboy caviar for extra freshness. You can also serve it alongside buffalo chicken dip stuffed mini peppers for a complete game day spread. A cold beer or a margarita is the perfect drink pairing.
- Storage Instructions: If you have leftovers (unlikely, but possible), store them in an airtight container in the refrigerator for up to 2 days. The chips will soften, but the flavor will still be good. I don’t recommend freezing—the texture just isn’t the same.
- Reheating Tips: To reheat, spread the leftovers on a baking sheet and warm them in a 350°F oven for 5-7 minutes. Avoid the microwave—it will turn everything into a soggy mess. You can also reheat in an air fryer at 350°F for 3-4 minutes for a quick crunch.
- Flavor Development: The flavors actually meld together nicely after a day in the fridge. I’ve been known to eat cold nacho leftovers straight from the container—don’t judge me. The cheese firms up, and the spices deepen. It’s a different experience, but still delicious.
Nutritional Information & Benefits
Let’s be real: this is an indulgent dish. But that doesn’t mean it can’t have some redeeming qualities. Here’s a rough estimate per serving (based on 8 servings):
| Nutrient | Amount Per Serving |
|---|---|
| Calories | 450-550 |
| Protein | 25g |
| Carbohydrates | 35g |
| Fat | 28g |
| Fiber | 6g |
| Sodium | 800mg |
- Protein Power: The ground beef and cheese provide a solid protein boost, which helps keep you full and satisfied. If you’re watching your intake, use ground turkey or lean beef.
- Fiber from Beans: Black beans are packed with fiber, which aids digestion and helps stabilize blood sugar. They also add a nice earthy flavor that balances the richness of the cheese.
- Healthy Fats: The avocado in the guacamole provides heart-healthy monounsaturated fats. Plus, it adds that creamy texture that makes every bite better.
- Vitamins from Fresh Toppings: Tomatoes are rich in vitamin C and lycopene, while cilantro provides antioxidants. Even the jalapeños have capsaicin, which can boost metabolism.
- Dietary Considerations: This recipe can be made gluten-free by using certified gluten-free chips and seasoning. For a dairy-free version, use vegan cheese and skip the sour cream. It’s also easily adaptable for low-carb diets by swapping the chips for pork rinds.
I’m not going to pretend this is a health food. But if you’re going to indulge, you might as well do it with ingredients that offer some nutritional value. Balance is key—enjoy this board on game day, and maybe have a salad the next day. That’s my philosophy, anyway.
Conclusion
This Ultimate Loaded Nacho Football Board has become a staple in my game day rotation for a reason. It’s easy, it’s customizable, and it’s guaranteed to impress. Whether you’re hosting a Super Bowl party, a Monday night game, or just a casual gathering with friends, this board delivers every single time.
The best part? You can make it your own. Swap the proteins, adjust the heat level, or pile on your favorite toppings. The structure is the same, but the possibilities are endless. I’ve made this board more times than I can count, and it never gets old. There’s something about the combination of crunchy chips, gooey cheese, and fresh toppings that just hits the spot.
I’d love to hear how yours turns out. Leave a comment below and let me know what variations you tried. Did you add something unexpected? Did your guests fight over the last chip? Share your stories—I read every single one. And if you’re looking for more game day inspiration, check out my easy mini caprese skewers with balsamic glaze for a lighter option, or the flavorful smoky chipotle bacon burger for something heartier.
Now go make that board. Your game day guests will thank you.
Frequently Asked Questions
Can I make this nacho board ahead of time?
Yes, you can prep all the components ahead of time. Cook the meat, shred the cheese, and chop the veggies up to a day in advance. Store everything separately in the fridge, then assemble and bake right before serving. Just don’t add the fresh toppings until after baking.
What’s the best way to keep the chips from getting soggy?
The key is layering. Put cheese directly on the chips first, then add the meat and beans, then top with more cheese. This creates a barrier that protects the chips. Also, don’t overload the board—stick to a single layer of chips with moderate toppings.
Can I use a different type of meat?
Absolutely. Shredded chicken, pulled pork, ground turkey, or even chorizo all work beautifully. Just season them well with taco seasoning or your favorite spice blend. For a vegetarian option, double up on the beans and add roasted veggies.
How do I adjust the spice level?
For milder nachos, use regular cheddar instead of pepper jack and skip the jalapeños. For extra heat, add more jalapeños, use hot pepper jack, and drizzle with sriracha or chipotle crema. You can also mix cayenne into the taco seasoning.
Can I make this in a slow cooker or Instant Pot?
You can cook the meat in either appliance, but the actual nacho assembly is best done in the oven. The oven ensures even melting and keeps the chips crunchy. If you’re in a pinch, you can melt the cheese in the microwave and pour it over the chips, but the texture won’t be as good.
Pin This Recipe!
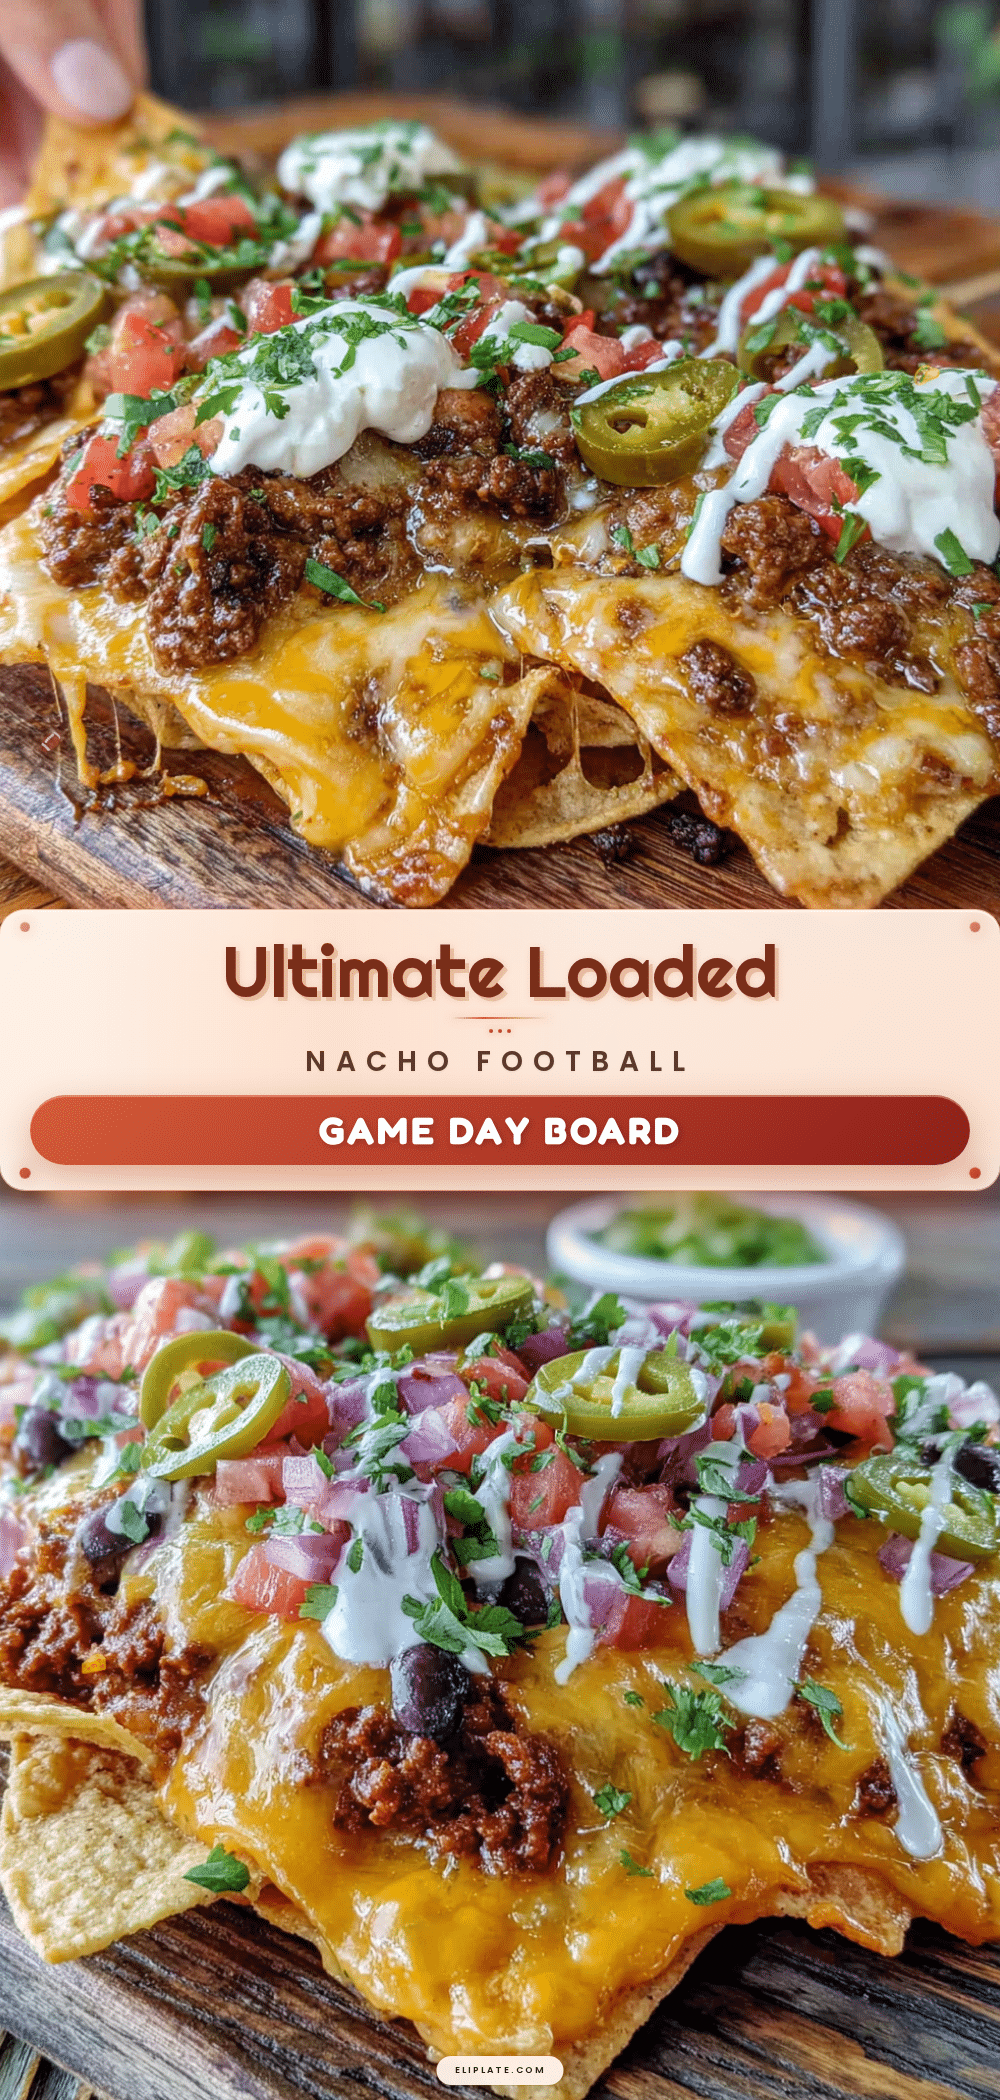
Ultimate Loaded Nacho Football Board – Easy Game Day Appetizer
This Ultimate Loaded Nacho Football Board is the perfect game day appetizer, featuring layers of crunchy tortilla chips, seasoned ground beef, melted cheese, and fresh toppings. It’s a customizable, crowd-pleasing dish that ensures every chip is loaded with flavor.
- Prep Time: 15 minutes
- Cook Time: 20 minutes
- Total Time: 35 minutes
- Yield: 8-10 servings 1x
- Category: Appetizer
- Cuisine: Mexican-American
Ingredients
- 1 large bag (13–16 oz) restaurant-style tortilla chips (preferably Tostitos Scoops)
- 2 cups shredded Mexican blend cheese
- 1 cup shredded pepper jack cheese
- 1 lb ground beef (80/20)
- 1 packet taco seasoning
- 1/2 cup water
- 1 can (15 oz) black beans, drained and rinsed
- 1 cup canned corn, drained
- 1 cup cherry tomatoes, diced
- 1/2 cup pickled jalapeños
- 1/2 cup sliced black olives
- 1/2 cup chopped fresh cilantro
- 1/2 cup sour cream
- 1/2 cup guacamole (store-bought or homemade)
- 1/4 cup sliced green onions
- 1/2 cup pico de gallo (optional)
- 1/4 cup crumbled queso fresco (optional)
- 1 diced avocado (optional)
Instructions
- Preheat your oven to 375°F (190°C). Line a large baking sheet with aluminum foil or parchment paper.
- Cook the ground beef: Heat a large skillet over medium-high heat. Add the ground beef and break it apart with a spatula. Cook for 6-8 minutes until browned and no longer pink. Drain excess grease. Reduce heat to low, add taco seasoning and 1/2 cup water. Stir well and simmer for 3-4 minutes until the liquid thickens. Set aside.
- Prep all toppings: Dice cherry tomatoes, slice green onions, chop cilantro, drain beans and corn. Arrange in small bowls for easy assembly.
- Layer the chips: Spread tortilla chips in an even single layer on the prepared baking sheet, with a few overlapping edges. If using Scoops, arrange with the scooped side up.
- Add first layer of toppings: Sprinkle half of the shredded Mexican blend cheese and half of the pepper jack cheese evenly over the chips. Spoon the seasoned ground beef over the cheese, followed by black beans and corn.
- Add second layer of cheese: Top everything with the remaining shredded cheese.
- Bake until bubbly: Place the baking sheet in the preheated oven and bake for 10-12 minutes, until the cheese is fully melted and starting to bubble around the edges. Check at the 8-minute mark to avoid burning.
- Add fresh toppings: Remove from oven and let cool for 2 minutes. Sprinkle diced tomatoes, pickled jalapeños, black olives, and chopped cilantro over the top.
- Finish with creamy toppings: Dollop sour cream and guacamole in small piles across the board. Sprinkle sliced green onions over everything.
- Serve immediately: Place the board in the center of the table and enjoy warm.
Notes
For best results, shred cheese from a block instead of using pre-shredded cheese to avoid anti-caking agents. Toast chips for 3-4 minutes before adding toppings for extra crunch. Let the board rest for 2-3 minutes after baking before adding fresh toppings. Serve immediately to prevent sogginess.
Nutrition
- Serving Size: 1 serving (based on
- Calories: 450550
- Sugar: 5
- Sodium: 800
- Fat: 28
- Saturated Fat: 12
- Carbohydrates: 35
- Fiber: 6
- Protein: 25
Keywords: nachos, game day, football, appetizer, loaded nachos, party food, tortilla chips, ground beef, cheese, easy recipe