I packed the lunch at 6:47 AM. By 7:15, my son was already asking if he could eat it before second snack. That never happens. Usually, he pokes at whatever I put in his bento box like it might bite back, then trades half of it for a stale cracker from a friend. But this time? He actually asked to eat it later. I pretended to be casual about it, but inside I was doing a little victory dance over the sink.
That first batch of easy homemade turkey lunchable boxes was born from pure desperation, honestly. I was tired of spending seven dollars on those store-bought kits that come with about three bites of food and a tiny chocolate bar that somehow counts as “balanced.” My wallet was crying, and my kid was still hungry twenty minutes after eating. So I grabbed a few things from the fridge, a cookie cutter shaped like a star from a long-forgotten baking phase, and decided to build my own version. It took less than five minutes. And it worked. It actually worked.
I didn’t overthink it. I just wanted something that felt fun, tasted good, and didn’t require me to chop vegetables at dawn. This recipe is that thing. It’s the lunchbox equivalent of a hug, and it keeps showing up in our weekly rotation without anyone complaining. That’s a win in my book.
Why You’ll Love This Recipe
Let me tell you why these easy homemade turkey lunchable boxes have become a non-negotiable in our house. I’ve tested this concept about fifteen different ways, and this version wins every single time. It’s not just about saving money, though that’s a huge bonus. It’s about control, sanity, and actually enjoying what you eat.
- Quick & Easy: This comes together in under five minutes. I’m not exaggerating. If you can open a package and arrange things on a plate, you can do this. Perfect for those mornings when you’re running on coffee and chaos.
- Simple Ingredients: No fancy grocery trips needed. You likely already have everything in your kitchen right now. Turkey, cheese, crackers, and whatever fruit or veggies are hanging out in your crisper drawer.
- Perfect for Busy Days: Great for school lunches, work lunches, road trips, picnics, or even a lazy afternoon snack. It’s portable, mess-free, and doesn’t require reheating.
- Crowd-Pleaser: Honestly, I’ve made these for adults and kids alike, and they disappear fast. There’s something about the DIY, snack-board energy that makes everyone happy.
- Unbelievably Customizable: The texture and flavor combo changes every single time depending on what you add. It never gets boring because you can switch it up endlessly.
What makes this different from the store-bought version? For starters, the quality. You control the ingredients. No weird preservatives, no rubbery meat, no tiny portions that leave you hungry. Plus, you can make it look adorable without any effort. Use a cookie cutter to shape the turkey or cheese into stars or hearts, and suddenly lunch feels special. It’s comfort food reimagined—faster, healthier, but with the same satisfying, pick-at-it energy that makes snacking fun.
What Ingredients You Will Need
This recipe uses simple, wholesome ingredients to deliver a satisfying lunchbox experience without the fuss. Most of these are pantry staples or fridge basics, so you can whip this up anytime.
- Turkey (deli-sliced): About 4-6 slices per box. I prefer oven-roasted or honey-smoked turkey for flavor. Look for low-sodium options if you’re watching salt intake. (Adds a savory, protein-packed base.)
- Cheese (sliced or cubed): Cheddar, Swiss, provolone, or pepper jack all work great. About 2-3 ounces per box. I like using a mix of textures. (Use dairy-free cheese if needed.)
- Crackers: Around 10-15 crackers per box. Whole wheat, gluten-free, or classic saltines. I recommend [Brand] whole wheat crackers for extra fiber and crunch.
- Fruit (fresh): Grapes, apple slices, berries, or clementines. About half a cup per box. Seasonal fruit works best. (In summer, swap in fresh berries instead of apples.)
- Vegetables (optional): Baby carrots, cucumber rounds, cherry tomatoes, or bell pepper strips. About a quarter cup per box. Adds crunch and color.
- Dipping Sauce (optional): Hummus, ranch dressing, or mustard. About 2 tablespoons per box. (Use Greek yogurt-based dips for extra protein.)
- Fun Extras (optional): A small handful of nuts, seeds, dried fruit, or a dark chocolate square. Adds variety and a little treat factor.
For ingredient selection, look for firm, fresh fruit and crisp vegetables for best texture. If you’re using pre-sliced cheese, try to get it from the deli counter rather than the individually wrapped singles—it tastes so much better. And for the turkey, I personally prefer Boar’s Head or Applegate for clean ingredients and great flavor, but any good-quality deli meat works.
Equipment Needed
You don’t need much to make these easy homemade turkey lunchable boxes. Here’s what I use:
- Bento box or compartmentalized container: The key to keeping things separate and pretty. I love the ones with removable dividers for easy cleaning. A simple plate works too if you’re eating at home.
- Small cookie cutters (optional): Star, heart, or animal shapes make everything more fun. I found a set at the dollar store that’s lasted years. Worth it for the smiles.
- Sharp knife and cutting board: For slicing fruit, cheese, and vegetables. A good chef’s knife makes quick work of everything.
- Small cups or silicone muffin liners: Perfect for holding dips, sauces, or small fruits like berries. They keep everything from getting soggy.
- Lunch bag with an ice pack: If you’re packing this for later, keep it cold. A simple insulated bag with a reusable ice pack works perfectly.
If you don’t have a bento box, don’t worry. I’ve used a regular tupperware with a piece of parchment paper as a divider. It’s not fancy, but it gets the job done. For budget-friendly options, check out the snack containers at your local grocery store—they usually have affordable bento-style boxes near the lunch supplies.
Preparation Method
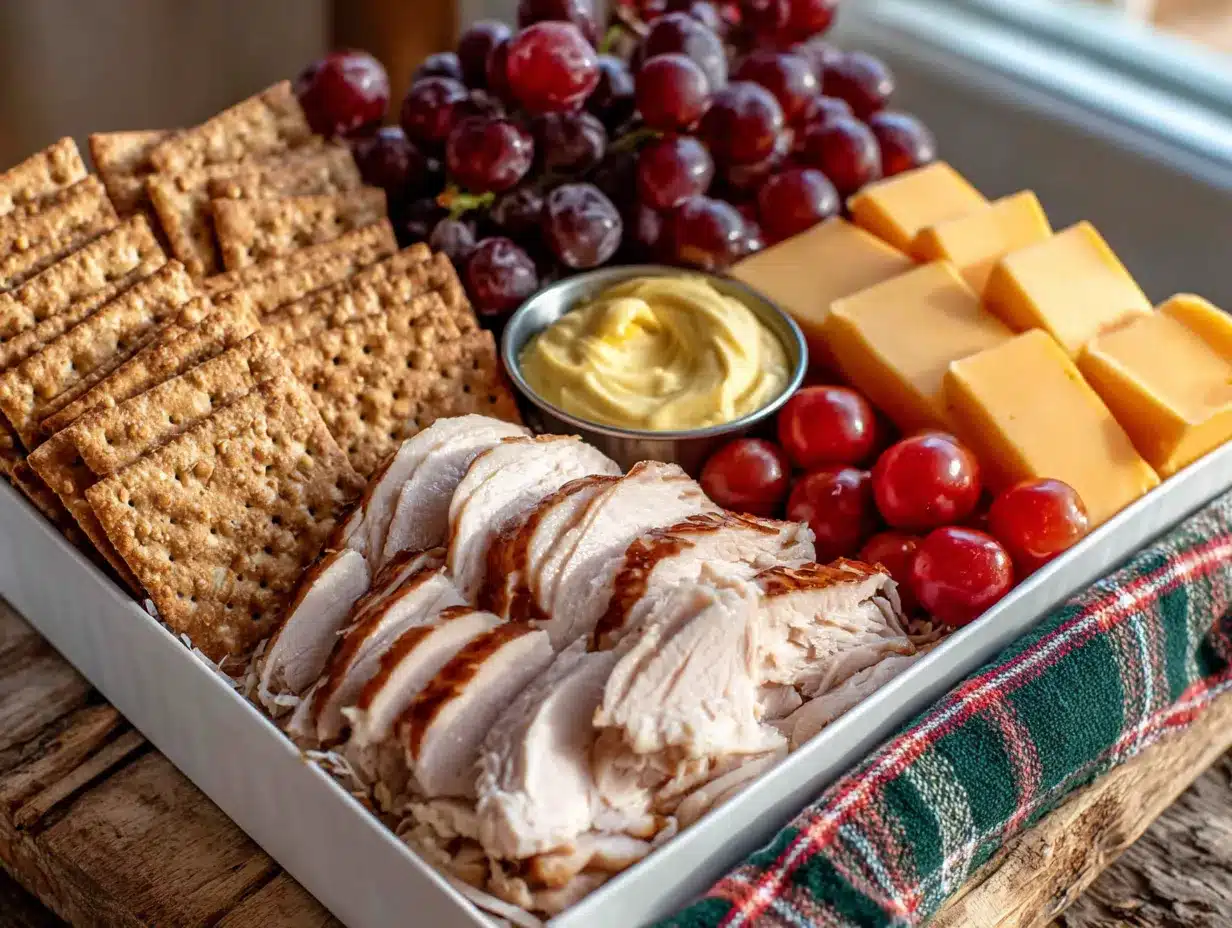
Making these easy homemade turkey lunchable boxes is so simple, you’ll wonder why you ever bought the store-bought ones. Here’s how I do it, step by step.
- Wash and prep your produce. Rinse your fruit and vegetables under cold water. Pat them dry with a clean towel. Slice apples into wedges (toss with a little lemon juice to prevent browning), cut cucumbers into rounds, and halve grapes if serving to small children. This takes about one minute.
- Slice the cheese. If using a block of cheese, cut it into thin slices or small cubes, about 1-inch pieces. If using pre-sliced cheese, you can leave it as is or use a cookie cutter to make fun shapes. I like to cut cheddar into little triangles for a classic lunchable feel. This takes about thirty seconds.
- Prepare the turkey. Lay the turkey slices flat on your cutting board. For a fun twist, use a cookie cutter to stamp out shapes—stars are my go-to. Or simply roll each slice into a little log or fold it into quarters. Kids love the rolled version because it feels like a little pinwheel. This takes about thirty seconds.
- Arrange the crackers. Place your crackers in one compartment of the bento box. I usually count out about 12-15 per box, depending on the size. If you’re using a regular container, group them together in one corner. This takes about fifteen seconds.
- Add the fruit and vegetables. Fill one compartment with your prepared fruit and another with the vegetables. If you’re using a dipping sauce, pour it into a small cup or silicone muffin liner and nestle it into the box. This takes about one minute.
- Finish with fun extras. If you’re adding nuts, seeds, or a treat, place them in their own small section. A single dark chocolate square or a few dried cranberries can make the whole lunch feel special. This takes about ten seconds.
- Close and chill. Secure the lid on your container. If you’re packing this for later, place it in the refrigerator until you’re ready to go. For school or work lunches, add an ice pack to the lunch bag. This takes about five seconds.
A quick note: if you’re making these for a crowd or for the week, you can prep everything in advance. Slice all your cheese and fruit on Sunday, store them in separate containers, and then just assemble each morning. It turns a five-minute task into a one-minute task. Also, if you notice the apple slices browning, a quick squeeze of lemon or lime juice works wonders. Your lunch will look fresh and appetizing even hours later.
Cooking Tips & Techniques
Over the years, I’ve learned a few tricks that make these easy homemade turkey lunchable boxes even better. Let me share what I’ve picked up, including a few mistakes I’ve made so you don’t have to.
Keep wet and dry ingredients separate. This is the number one rule. If you put sliced strawberries next to crackers, the crackers will get soggy fast. Use the compartments in your bento box wisely, or use silicone cups as barriers. I learned this the hard way when I found a mushy cracker disaster in my son’s lunchbox. Never again.
Use a cookie cutter for visual appeal. Honestly, this one trick changed everything. Kids (and adults) eat with their eyes first. A star-shaped piece of turkey or a heart-shaped slice of cheese makes the whole box feel like a treat. It takes five extra seconds but adds so much joy. I keep a small set of metal cookie cutters in my utensil drawer just for this purpose.
Prep in batches on Sunday. If you’re packing lunches for the week, spend ten minutes on Sunday washing, slicing, and portioning everything. Store each ingredient in its own container in the fridge. Then each morning, you just grab and assemble. It’s a game-changer for busy mornings when you’re running on autopilot.
Don’t overfill the box. A common mistake is cramming too much food into one container. It looks messy and things get crushed. Leave a little breathing room. Your lunch will look more appetizing, and nothing will get squished. Trust me on this one—less is more when it comes to arrangement.
Add a small treat for surprise factor. A single dark chocolate square, a few mini marshmallows, or a sticker hidden under the lid can make the whole lunch feel like a present. It’s a small gesture that goes a long way, especially for kids. I’ve been doing this for months, and my son still gets excited every time.
Variations & Adaptations
One of the best things about these easy homemade turkey lunchable boxes is how endlessly adaptable they are. Here are some of my favorite variations.
Vegetarian Version: Swap the turkey for hummus, hard-boiled eggs, or sliced tofu. Add extra cheese and a variety of vegetables. I’ve made this for my vegetarian friend, and she loved it. The hummus doubles as a dip for the veggies, so it’s a win-win.
Gluten-Free Version: Use gluten-free crackers or rice cakes instead of regular crackers. You can also add quinoa salad or gluten-free pretzels for extra crunch. I’ve tested this with several brands, and the texture holds up beautifully.
Low-Carb/Keto Version: Skip the crackers entirely and double up on the turkey and cheese. Add cucumber slices, bell pepper strips, and a side of guacamole or ranch dressing for healthy fats. It’s satisfying and keeps you full for hours.
Seasonal Fruit Swap: In summer, use fresh berries, peach slices, or melon balls. In fall, swap in apple slices, pear wedges, or pomegranate seeds. In winter, clementines and dried cranberries are perfect. It keeps the lunchbox feeling fresh and exciting all year round.
Global Flavors: Try using different deli meats like salami or prosciutto, and pair them with international cheeses. Add olives, roasted red peppers, or marinated artichokes for a Mediterranean twist. I made a version with prosciutto, mozzarella, and basil leaves once, and it felt like a fancy charcuterie board in a box.
My personal favorite variation is the “Breakfast Lunchable” where I swap the turkey for bacon or sausage, use cheddar cheese, and add a side of yogurt and granola. It’s unexpected and delicious, and my kids think it’s hilarious to eat breakfast for lunch.
Serving & Storage Suggestions
These easy homemade turkey lunchable boxes are best served cold or at room temperature. The contrast between the cool turkey, the crisp vegetables, and the crunchy crackers is what makes them so satisfying.
Serving Suggestions: Arrange everything neatly in the compartments so each bite is a mix of flavors. I like to serve them with a small napkin and a fork for the fruit, though most people just use their hands. For a fun presentation, use a bento box with a lid that doubles as a plate. It makes eating feel like a little event.
Storage Instructions: If you’re making these ahead of time, store the assembled boxes in the refrigerator for up to 24 hours. Keep the lid on tight to prevent the crackers from getting stale. For longer storage, prep the ingredients separately and assemble the morning of. The fruit and vegetables will stay fresher this way.
Freezer Instructions: I don’t recommend freezing the assembled boxes because the texture of the turkey, cheese, and crackers will suffer. However, you can freeze individual components like cheese cubes or sliced fruit (grapes freeze beautifully). Just thaw them in the refrigerator overnight before assembling.
Reheating Tips: These are meant to be eaten cold, so no reheating needed. If you want a warm element, you can add a small thermos with soup or a warm side dish. The contrast between the cold lunchable and a warm soup is lovely on a chilly day.
One thing I’ve noticed is that the flavors actually meld together nicely after a few hours in the fridge. The cheese softens slightly, and the turkey absorbs a bit of moisture from the fruit, making everything taste more cohesive. It’s like a mini marination process that happens naturally.
Nutritional Information & Benefits
These easy homemade turkey lunchable boxes are not just delicious—they’re packed with nutritional benefits. Here’s a quick breakdown per serving (based on one box with turkey, cheddar cheese, whole wheat crackers, grapes, and baby carrots).
| Nutrient | Amount |
|---|---|
| Calories | 320-380 |
| Protein | 22-28g |
| Carbohydrates | 30-35g |
| Fiber | 4-6g |
| Fat | 14-18g |
| Saturated Fat | 6-8g |
| Sodium | 600-800mg |
| Sugar | 12-16g (natural from fruit) |
Pin This Recipe!
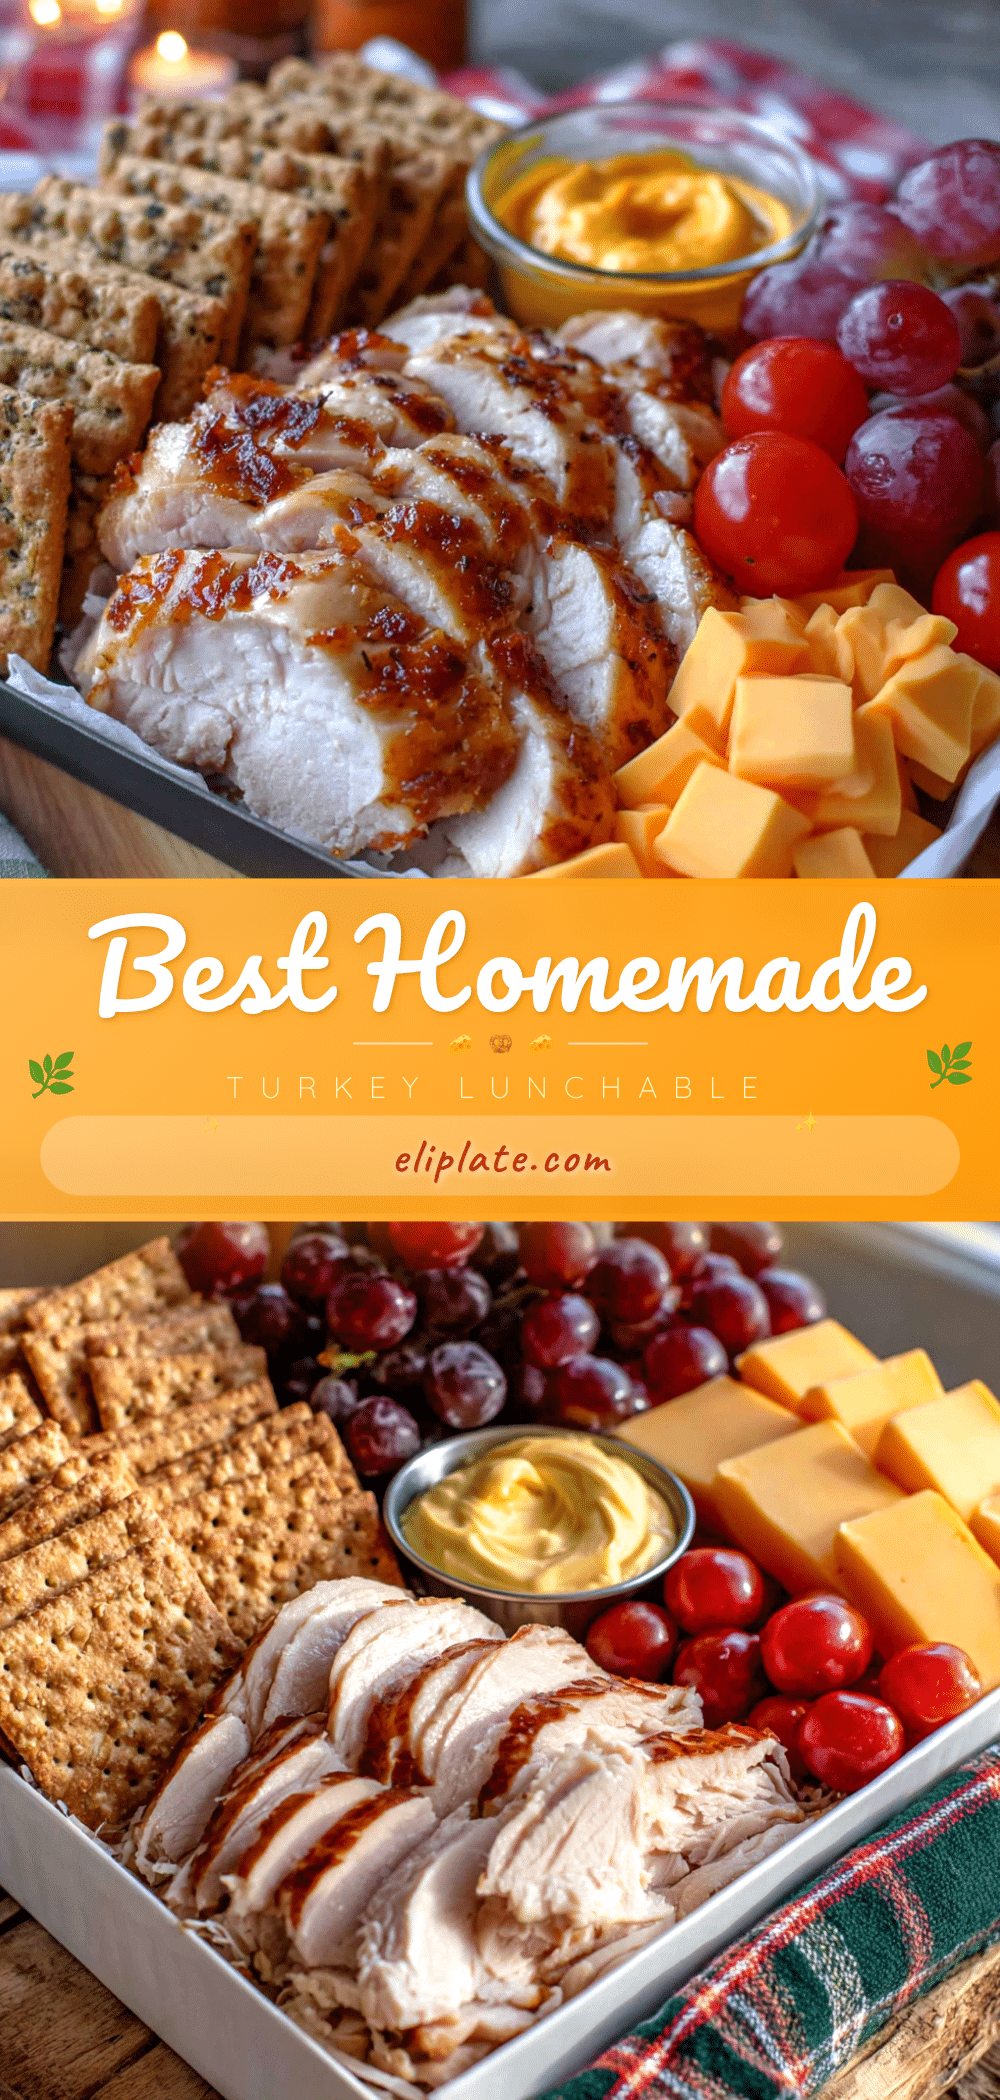
Easy Homemade Turkey Lunchable Boxes: 5-Min Recipe

Quick, customizable, and budget-friendly homemade lunchable boxes with turkey, cheese, crackers, and fresh fruit or veggies. Ready in under 5 minutes, perfect for school lunches, work, or picnics.
- Prep Time: 5 minutes
- Cook Time: 0 minutes
- Total Time: 5 minutes
- Yield: 1 serving 1x
- Category: Lunch
- Cuisine: American
Ingredients
- 4–6 slices deli turkey (oven-roasted or honey-smoked, low-sodium if desired)
- 2–3 ounces cheese (cheddar, Swiss, provolone, or pepper jack), sliced or cubed
- 10–15 crackers (whole wheat, gluten-free, or saltines)
- 1/2 cup fresh fruit (grapes, apple slices, berries, or clementines)
- 1/4 cup vegetables (optional, e.g., baby carrots, cucumber rounds, cherry tomatoes, or bell pepper strips)
- 2 tablespoons dipping sauce (optional, e.g., hummus, ranch dressing, or mustard)
- Optional extras: small handful nuts, seeds, dried fruit, or dark chocolate square
Instructions
- Wash and prep produce: rinse fruit and vegetables, pat dry. Slice apples into wedges (toss with lemon juice to prevent browning), cut cucumbers into rounds, halve grapes if serving to small children.
- Slice cheese: cut block cheese into thin slices or 1-inch cubes. Use pre-sliced cheese as is or cut into fun shapes with a cookie cutter.
- Prepare turkey: lay slices flat, use a cookie cutter to stamp shapes (e.g., stars) or roll each slice into a log or fold into quarters.
- Arrange crackers: place 12-15 crackers in one compartment of a bento box or in a corner of a container.
- Add fruit and vegetables: fill one compartment with fruit, another with vegetables. Pour dipping sauce into a small cup or silicone muffin liner and nestle into the box.
- Finish with fun extras: add nuts, seeds, or a treat in their own section (e.g., dark chocolate square or dried cranberries).
- Close and chill: secure lid, refrigerate if packing for later. For school or work lunches, add an ice pack to the lunch bag.
Notes
Keep wet and dry ingredients separate to prevent sogginess. Use cookie cutters for visual appeal. Prep ingredients in batches on Sunday for quick assembly. Don’t overfill the box. Add a small treat for surprise factor. Apple slices can be tossed with lemon juice to prevent browning.
Nutrition
- Serving Size: 1 box
- Calories: 320380
- Sugar: 1216
- Sodium: 600800
- Fat: 1418
- Saturated Fat: 68
- Carbohydrates: 3035
- Fiber: 46
- Protein: 2228
Keywords: homemade lunchable, turkey lunchable, bento box lunch, easy lunch, kid-friendly lunch, no-cook lunch, school lunch idea