My husband walked through the door holding a massive sheet cake from the grocery store bakery, and I swear I heard the angels sing. It was one of those crazy busy weeks where dinner meant whatever we could scrounge, and dessert was a distant dream. He set that bakery box on the counter, and I caught a glimpse of the peanut butter frosting—thick, fudgy, and swirled with chocolate. We polished off half of it before the kids even finished their homework. I knew right then I had to figure out how to make this at home, only better. No more store-bought mystery ingredients or paying ten bucks for something I could bake myself. This copycat Reese’s peanut butter sheet cake recipe is the result of three separate baking sessions, one near-disaster with a runny frosting, and a lot of taste-testing. It’s the kind of cake that makes people close their eyes when they take a bite. And honestly? It might even be better than the original.
Why You’ll Love This Copycat Reese’s Peanut Butter Sheet Cake
This isn’t just another sheet cake recipe—it’s the one that will earn you permanent hero status at potlucks, birthday parties, and random Tuesday nights. I’ve tested this cake with three different types of peanut butter (creamy, natural, and that weird no-stir kind), and I can tell you with confidence: the classic creamy stuff wins every time. The cake itself is incredibly moist, almost like a cross between a dense brownie and a fluffy cake. And the frosting? It’s a thick, dreamy layer of peanut butter and chocolate that sets up perfectly without being overly sweet.
- Quick & Easy: From start to finish, you’re looking at about 45 minutes. No complicated techniques or fancy equipment.
- Simple Ingredients: You probably have most of these in your pantry right now. No weird extracts or hard-to-find items.
- Perfect for Feeding a Crowd: This sheet cake serves a ton of people—great for game days, family reunions, or when you just want leftovers for breakfast.
- Crowd-Pleaser: Kids go wild for it, adults sneak seconds, and I’ve never seen a slice come back to the kitchen.
- Unbelievably Delicious: The combination of salty peanut butter and rich chocolate is pure comfort food magic.
What makes this recipe different from the dozens of other copycat versions out there is the texture. I spent a lot of time figuring out the right balance of buttermilk and sour cream to keep the cake tender without making it greasy. The frosting technique is also key—you pour it over the hot cake so it soaks in just a little, creating this incredible fudgy layer on top. It’s not just a cake with frosting slapped on top; it’s a cohesive, dreamy dessert experience.
What Ingredients You Will Need
This recipe uses straightforward, pantry-friendly ingredients, but each one plays a specific role in creating that perfect texture and flavor. Let me walk you through what you need and why it matters.
For the Cake
- 2 cups all-purpose flour – Spoon and level it; don’t scoop directly from the bag or you’ll end up with a dry cake.
- 2 cups granulated sugar – Adds sweetness and helps with browning.
- 1 teaspoon baking soda – Helps the cake rise and stay tender.
- ½ teaspoon salt – Balances the sweetness and enhances the peanut butter flavor.
- 1 cup unsalted butter – I like using Land O’Lakes for consistent results. Cut it into pieces so it melts evenly.
- 1 cup water – This creates steam in the oven, making the cake extra moist.
- ¼ cup unsweetened cocoa powder – Use a good quality one like Ghirardelli or Hershey’s Special Dark for deeper flavor.
- ½ cup buttermilk – Adds tanginess and tenderizes the gluten. No buttermilk? Add 1½ teaspoons lemon juice to regular milk and let it sit for 5 minutes.
- 2 large eggs – Room temperature is best so they incorporate smoothly.
- 1 teaspoon vanilla extract – Pure vanilla, not imitation, if you can swing it.
- ½ cup sour cream – This is my secret ingredient for extra moisture and a tender crumb.
For the Peanut Butter Frosting
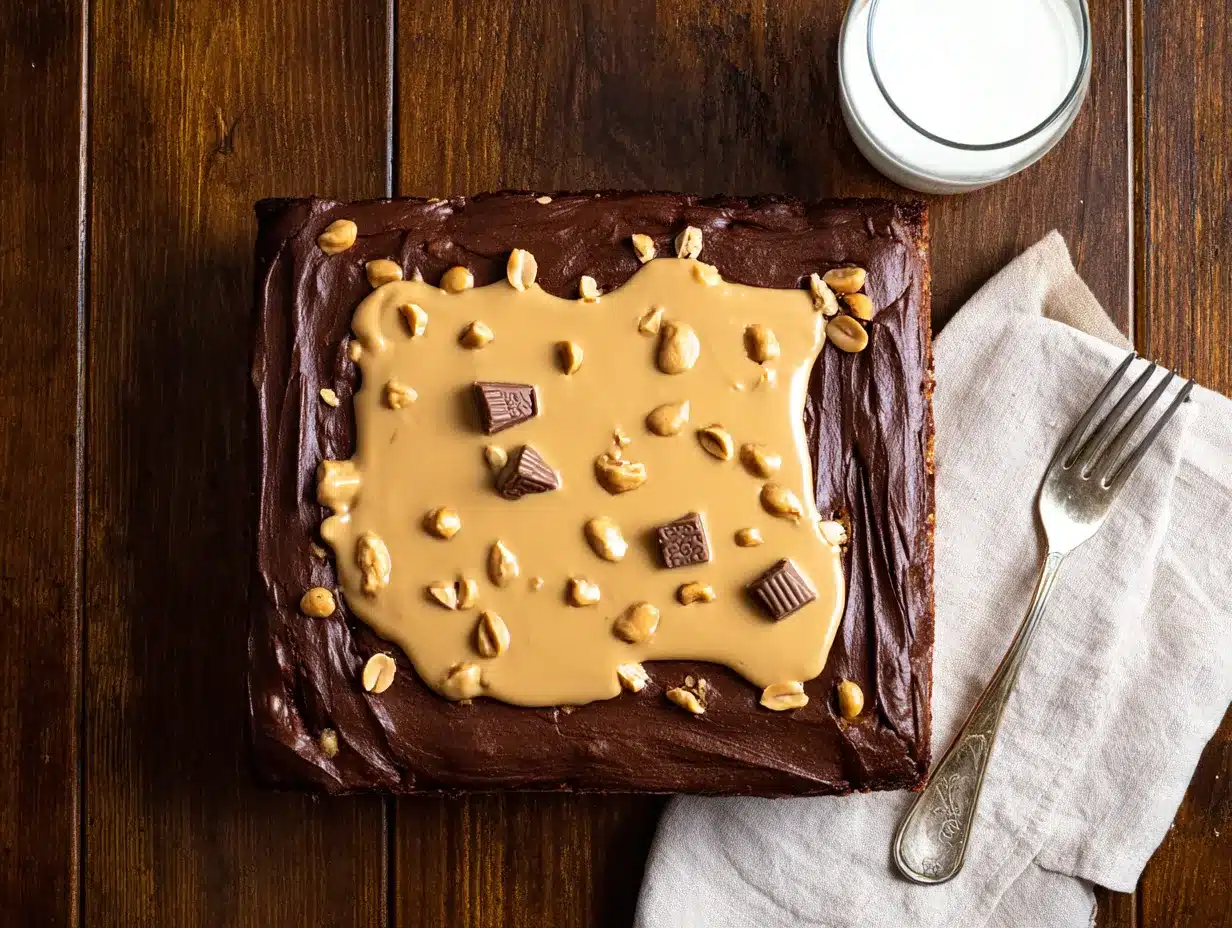
- ½ cup unsalted butter – Softened to room temperature.
- 1 cup creamy peanut butter – Skippy or Jif work great. Avoid natural peanut butter that separates; it can make the frosting grainy.
- 3 cups powdered sugar – Sift it if you want an ultra-smooth frosting, but I’m usually too impatient and it still works fine.
- ⅓ cup milk – Whole milk gives the richest result, but 2% works too.
- 1 teaspoon vanilla extract
For the Chocolate Ganache Topping
- 1 cup semi-sweet chocolate chips – I prefer Ghirardelli 60% cacao for a nice balance of sweetness.
- ½ cup heavy cream – Don’t substitute with milk here; the fat content is crucial for a smooth ganache.
- ¼ cup creamy peanut butter – For swirling into the ganache. Optional but highly recommended.
Equipment Needed
You don’t need a professional bakery setup for this one. Here’s what I used:
- Half-sheet pan (18×13 inches) – This is the standard size for sheet cakes. If you only have a 9×13 pan, the cake will be thicker and need about 5-7 extra minutes of baking time.
- Mixing bowls – One large, one medium.
- Whisk and rubber spatula
- Saucepan – For melting the butter and cocoa mixture.
- Hand mixer or stand mixer – For the frosting. You can do it by hand, but your arm will get a workout.
- Parchment paper – Makes cleanup so much easier. I learned this the hard way after scraping cake off a pan for 20 minutes.
- Cooling rack
Preparation Method
- Preheat and prep your pan. Preheat your oven to 350°F (175°C). Line your half-sheet pan with parchment paper, leaving some overhang on the long sides so you can lift the cake out later. Lightly grease the parchment with non-stick spray.
- Mix the dry ingredients. In a large bowl, whisk together the flour, sugar, baking soda, and salt. Set aside.
- Melt the butter and cocoa. In a medium saucepan over medium heat, combine the butter, water, and cocoa powder. Stir frequently until the butter is completely melted and the mixture is smooth. Don’t let it boil—just heat until it’s hot and steamy. Remove from heat.
- Combine wet and dry. Pour the hot butter mixture into the bowl with the dry ingredients. Stir with a spatula until just combined. The batter will look a bit lumpy, and that’s okay.
- Add the wet ingredients. In a small bowl, whisk together the buttermilk, eggs, vanilla, and sour cream. Pour this into the batter and stir gently until everything comes together. Don’t overmix—stop as soon as you don’t see any streaks of flour. The batter will be thin, almost like a pancake batter. That’s normal.
- Bake the cake. Pour the batter into the prepared pan and spread it evenly. Bake for 18-22 minutes, or until a toothpick inserted in the center comes out with just a few moist crumbs. The cake will look slightly puffed and the edges will be set. Let it cool in the pan on a wire rack for about 10 minutes.
- Make the peanut butter frosting. While the cake cools, beat the softened butter and peanut butter together in a large bowl with a hand mixer until smooth and creamy. Gradually add the powdered sugar, one cup at a time, alternating with splashes of milk. Beat in the vanilla. The frosting should be thick but spreadable. If it’s too stiff, add another tablespoon of milk.
- Frost the warm cake. Spread the peanut butter frosting evenly over the warm cake. The warmth will help it spread smoothly and create that slightly fudgy top layer. Let it set for about 15 minutes.
- Make the ganache. Place the chocolate chips in a heatproof bowl. Heat the heavy cream in a small saucepan until it just begins to simmer (small bubbles around the edges). Pour the hot cream over the chocolate chips and let it sit for 3 minutes. Stir gently until smooth and glossy. If you’re adding the extra peanut butter swirl, drop small spoonfuls of it over the frosting before pouring the ganache.
- Top with ganache. Pour the ganache over the peanut butter frosting and spread it gently to cover. If you added the peanut butter dollops, use a knife to swirl them into the ganache for a marbled effect. Let the cake set at room temperature for about 30 minutes, or refrigerate for 15 minutes to speed it up.
- Slice and serve. Lift the cake out of the pan using the parchment overhang. Slice into squares and try not to eat the whole thing in one sitting.
Cooking Tips & Techniques
Here are some things I learned the hard way so you don’t have to. First, don’t skip the step of pouring the hot butter mixture over the dry ingredients. This isn’t just for mixing—it helps bloom the cocoa powder, which deepens the chocolate flavor significantly. I once tried to shortcut this by melting the butter separately and adding it later, and the cake just tasted flat.
Another tip: don’t overbake this cake. It’s meant to be moist and tender, almost like a brownie. The toothpick test should show a few moist crumbs, not a clean stick. If you bake it until the toothpick comes out dry, you’ll end up with a crumbly, dry cake that nobody wants to finish.
For the frosting, make sure your butter is truly softened—not melted, not cold. If it’s too cold, the frosting will be lumpy. If it’s too warm, it’ll be runny. I usually take the butter out about an hour before I start baking. And when you’re adding the powdered sugar, cover the bowl with a kitchen towel first to avoid a sugar cloud explosion. Trust me on this one.
If you’re making this for a special occasion, you can prepare the cake base a day ahead and frost it the next day. Just wrap the cooled, unfrosted cake tightly in plastic wrap and store it at room temperature. The frosting and ganache are best made fresh, but you can store the assembled cake in the fridge for up to three days. Bring it to room temperature before serving for the best texture.
Variations & Adaptations
This recipe is pretty forgiving, so feel free to play around. Here are some variations I’ve tried:
- Chocolate Peanut Butter Swirl Cake: Before baking, drop spoonfuls of peanut butter over the batter and swirl it in with a knife. It creates pockets of melty peanut butter throughout the cake.
- Gluten-Free Version: Substitute the all-purpose flour with a 1:1 gluten-free baking flour blend. I’ve used King Arthur Measure for Measure with great results. Add an extra tablespoon of buttermilk to compensate for the drier flour.
- Nut-Free Option: Use sunflower seed butter instead of peanut butter. The flavor will be different, but it’s still delicious and safe for school bake sales.
- Extra Crunchy: Fold ½ cup of chopped salted peanuts into the peanut butter frosting before spreading it on the cake. Adds a wonderful texture contrast.
- Dairy-Free Adaptation: Use vegan butter, plant-based milk (like oat or almond), and dairy-free chocolate chips. The texture won’t be exactly the same, but it’s still a solid dessert.
Serving & Storage Suggestions
This cake is best served at room temperature. I know it’s tempting to eat it straight from the fridge, but the flavors really open up when it’s not cold. Slice it into generous squares—about 2×2 inches—and serve it on a nice platter. A scoop of vanilla ice cream on the side takes it over the top, especially if you drizzled a little extra chocolate sauce on top.
For storage, keep the cake in an airtight container at room temperature for up to 2 days. After that, move it to the fridge for up to 5 days. The ganache will firm up in the fridge, but letting the cake sit out for 20 minutes before serving brings back that luscious texture. You can also freeze individual slices wrapped in plastic wrap and placed in a freezer bag for up to 3 months. Thaw them in the fridge overnight or at room temperature for a couple of hours.
One thing I love about this cake is how the flavors meld together overnight. If you can resist eating it all on day one, the second day is even better—the peanut butter and chocolate get all cozy and the cake becomes even more moist.
Nutritional Information & Benefits
Let’s be real: this is a decadent dessert, not a health food. But here’s the estimated breakdown per slice (assuming 24 servings):
- Calories: Approximately 380-420
- Fat: 22g
- Saturated Fat: 12g
- Carbohydrates: 45g
- Protein: 7g
- Sugar: 34g
- Sodium: 280mg
On the bright side, peanut butter does provide some protein and healthy monounsaturated fats. It also contains vitamin E, magnesium, and potassium. The cocoa powder is rich in antioxidants called flavonoids, which can support heart health. So while this isn’t something you’d eat every day, it’s a treat that offers a tiny bit of nutritional redemption. Everything in moderation, right?
Conclusion
This copycat Reese’s peanut butter sheet cake is the kind of dessert that makes you look like a baking hero without actually being one. It’s simple enough for a weekday craving but impressive enough for a birthday party or holiday gathering. The combination of moist chocolate cake, creamy peanut butter frosting, and rich chocolate ganache is basically unstoppable. I love how forgiving this recipe is—you can mess up the frosting, overmix the batter, or skip the ganache swirl, and it still tastes amazing. If you make this, please come back and tell me how it turned out. Did you add the peanut butter swirl? Did you serve it with ice cream? Did you eat half the pan before anyone noticed? I want to hear all about it. Happy baking, friends!
Frequently Asked Questions
Can I use natural peanut butter in this recipe?
I wouldn’t recommend it for the frosting because the oil separation can make it grainy. For the cake batter itself, you can use natural peanut butter, but the texture might be slightly denser. Stick with creamy, commercial peanut butter for the best results.
Can I make this cake in a 9×13 pan instead of a half-sheet pan?
Yes, but the cake will be thicker. Bake it for about 25-30 minutes, checking for doneness with a toothpick. You might also need to increase the frosting and ganache slightly to cover the thicker cake.
How do I get clean slices without the ganache cracking?
Use a sharp knife and run it under hot water before each cut. Wipe the blade clean between slices. This works like a charm for that bakery-style presentation.
Can I freeze this cake with the frosting on?
Absolutely. Freeze the fully assembled cake on a baking sheet until firm, then wrap it tightly in plastic wrap and foil. It will keep for up to 3 months. Thaw it in the fridge overnight and bring to room temperature before serving.
Why did my ganache turn out lumpy?
This usually happens if the cream wasn’t hot enough or if you stirred too aggressively. Make sure the cream is just simmering (not boiling) and let it sit on the chocolate for a full 3 minutes before stirring gently. If it still seizes, you can save it by whisking in a tablespoon of warm milk or cream.
Pin This Recipe!
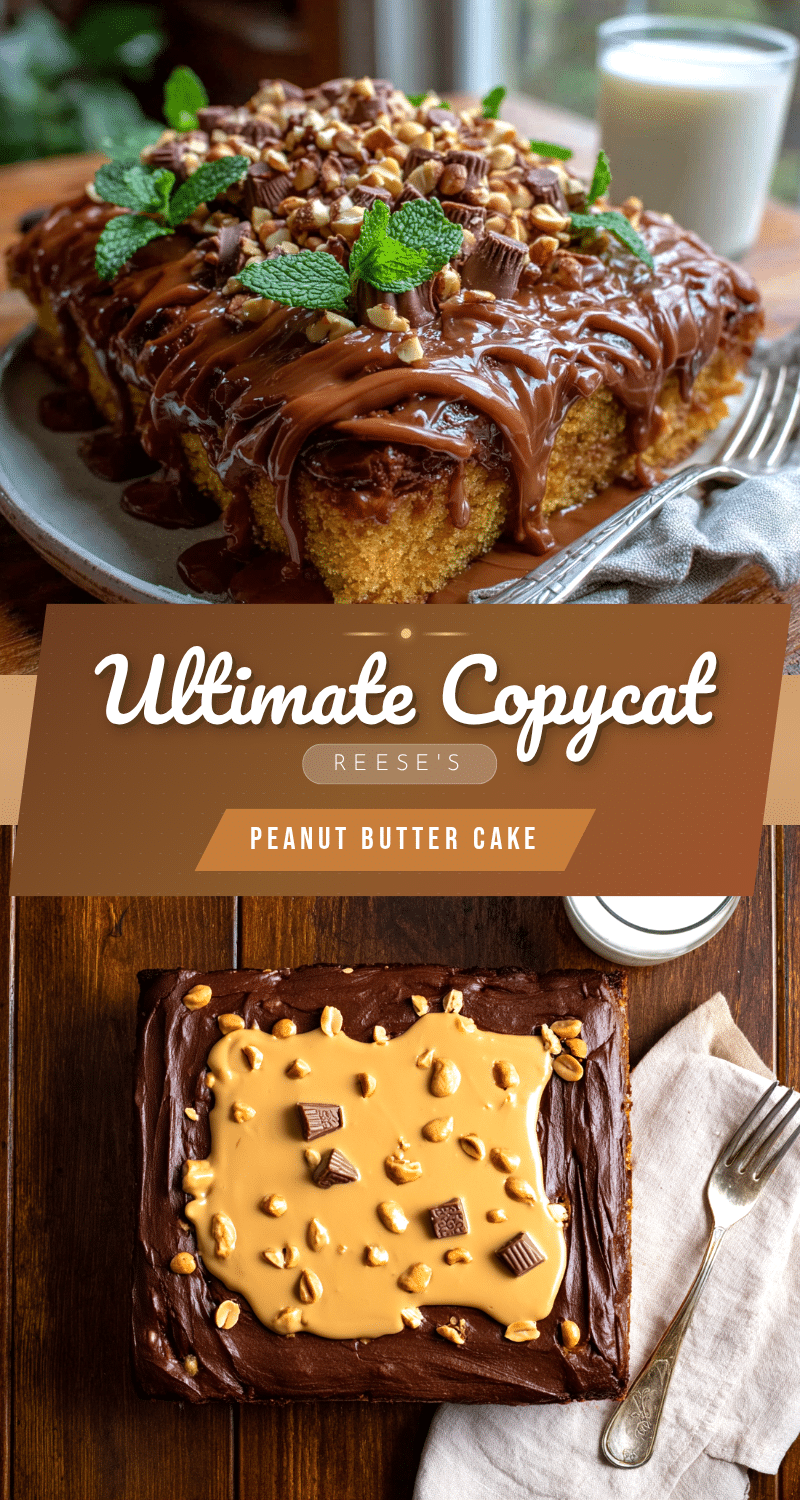
Homemade Copycat Reeses Peanut Butter Sheet Cake
This copycat Reese’s peanut butter sheet cake is incredibly moist, topped with a thick peanut butter frosting and rich chocolate ganache. It’s a crowd-pleasing dessert that’s quick and easy to make with simple ingredients.
- Prep Time: 15 minutes
- Cook Time: 20 minutes
- Total Time: 45 minutes
- Yield: 24 servings 1x
- Category: Dessert
- Cuisine: American
Ingredients
- 2 cups all-purpose flour
- 2 cups granulated sugar
- 1 teaspoon baking soda
- ½ teaspoon salt
- 1 cup unsalted butter
- 1 cup water
- ¼ cup unsweetened cocoa powder
- ½ cup buttermilk
- 2 large eggs
- 1 teaspoon vanilla extract
- ½ cup sour cream
- ½ cup unsalted butter (softened)
- 1 cup creamy peanut butter
- 3 cups powdered sugar
- ⅓ cup milk
- 1 teaspoon vanilla extract
- 1 cup semi-sweet chocolate chips
- ½ cup heavy cream
- ¼ cup creamy peanut butter (optional)
Instructions
- Preheat oven to 350°F (175°C). Line a half-sheet pan (18×13 inches) with parchment paper, leaving overhang on long sides. Lightly grease parchment.
- In a large bowl, whisk together flour, sugar, baking soda, and salt. Set aside.
- In a medium saucepan over medium heat, combine butter, water, and cocoa powder. Stir frequently until butter is melted and mixture is smooth and hot (do not boil). Remove from heat.
- Pour hot butter mixture into dry ingredients. Stir until just combined (batter will be lumpy).
- In a small bowl, whisk together buttermilk, eggs, vanilla, and sour cream. Pour into batter and stir gently until no streaks of flour remain. Batter will be thin.
- Pour batter into prepared pan and spread evenly. Bake 18-22 minutes, until a toothpick inserted in center comes out with a few moist crumbs. Cool in pan on a wire rack for 10 minutes.
- While cake cools, make peanut butter frosting: Beat softened butter and peanut butter together until smooth. Gradually add powdered sugar, alternating with milk. Beat in vanilla. Frosting should be thick but spreadable.
- Spread peanut butter frosting evenly over warm cake. Let set for 15 minutes.
- Make ganache: Place chocolate chips in a heatproof bowl. Heat heavy cream in a small saucepan until just simmering. Pour hot cream over chocolate chips, let sit 3 minutes, then stir until smooth. If using, drop small spoonfuls of extra peanut butter over frosting before pouring ganache.
- Pour ganache over frosting and spread gently. If peanut butter dollops were added, swirl with a knife. Let set at room temperature for 30 minutes (or refrigerate 15 minutes).
- Lift cake out of pan using parchment overhang. Slice into squares and serve.
Notes
Don’t overbake; cake should be moist. Use creamy peanut butter (not natural) for best frosting texture. For a 9×13 pan, bake 25-30 minutes. Cake can be stored at room temperature for 2 days or refrigerated for up to 5 days. Freeze individual slices for up to 3 months.
Nutrition
- Serving Size: 1 slice (2x2 inch sq
- Calories: 400
- Sugar: 34
- Sodium: 280
- Fat: 22
- Saturated Fat: 12
- Carbohydrates: 45
- Fiber: 2
- Protein: 7
Keywords: peanut butter sheet cake, copycat reese's cake, chocolate peanut butter cake, sheet cake recipe, easy dessert