That first pop of steam when you crack the lid off a mason jar — the way it carries this concentrated, almost syrupy scent of summer peaches — still stops me in my tracks. It was late August, maybe five years ago, standing in my mother-in-law’s cramped kitchen with a colander full of bruised fruit she insisted was “perfectly fine for jam.” I had never made jam before. I didn’t own a candy thermometer, I had no idea what pectin even looked like, and honestly, I was pretty sure I was about to waste a whole afternoon stirring sugar into what would inevitably be a sticky, burnt mess.
But she just shrugged and said, “You don’t need that stuff. Just cook it down slow.” So I did. And what came out of those jars was nothing like the stiff, overly-sweet jelly from the store. It was loose, almost spreadable in a way that dripped off the toast and soaked into the bread. It tasted like biting into a peach at the exact moment it’s perfectly ripe. That afternoon changed how I thought about preserving fruit. It wasn’t about science or special equipment. It was just about trusting the fruit to do its thing.
This small-batch peach freezer jam (no pectin) is that same recipe, simplified even further. It is the kind of jam you can make on a Tuesday night after work, with exactly five pounds of peaches from the farmer’s market, and feel like you’ve bottled up a little bit of sunshine. No special skills required. Just a little patience and a lot of peaches.
Why You’ll Love This Recipe
Let’s be real — most jam recipes feel intimidating. They involve sterilizing jars in boiling water, testing gel points, and worrying about seal failures. This one? It laughs in the face of all that. Here is why this small-batch peach freezer jam (no pectin) will become your new summer obsession:
- No Pectin Needed: You don’t have to hunt down a box of powdered pectin or worry about it not setting. The natural pectin in the peaches, combined with the sugar and lemon juice, does all the work. It is a more forgiving process.
- Small Batch Perfection: This recipe makes about 4-5 half-pint jars. That is exactly enough to enjoy for a few months without feeling like you need to gift jam to every neighbor you’ve ever met. It is manageable and low-pressure.
- Freezer Friendly: No complicated water-bath canning. You just fill your jars, let them sit to set, and pop them in the freezer. They last for up to a year. It is preserving for the impatient cook.
- Incredible Peach Flavor: Because you are cooking the fruit down without added pectin, the jam stays fruit-forward and not overly sweet. It tastes like fresh peaches, not like sugar with a hint of fruit. The texture is soft and spreadable, not jelly-like.
- Perfect for Beginners: If you have ever been scared of making jam, this is the recipe that will break that fear. It is almost impossible to mess up. Seriously.
This is the kind of recipe that makes you feel accomplished without the stress. It is comfort food in a jar — a little taste of summer waiting for you in the freezer on a cold January morning.
What Ingredients You Will Need
This recipe keeps things simple. You only need three main ingredients, plus a little lemon juice to help with the set. The magic happens when you let them do their thing together.
- 5 cups of fresh peaches, peeled and chopped (about 3 pounds) — This is the star. You want ripe but still firm peaches. They should yield to gentle pressure but not be mushy. Overripe peaches can make the jam too watery and affect the set. Freestone varieties are easiest to work with because the pit comes out cleanly. I personally love using Yellow Cling or Elberta peaches for jam — they have a great balance of sweetness and acidity.
- 3 cups of granulated sugar — I know it seems like a lot, but sugar is essential for both preservation and texture. It helps draw out the natural pectin from the fruit and creates that beautiful, glossy set. Do not be tempted to reduce it significantly, or your jam might not set properly. You can use organic cane sugar with good results.
- 2 tablespoons of fresh lemon juice — This is not just for flavor. The acidity in the lemon juice reacts with the natural pectin in the peaches to help the jam gel. Bottled lemon juice works in a pinch, but fresh is noticeably brighter and cleaner. I recommend using a juicy lemon from the store.
- 1/2 teaspoon of unsalted butter (optional) — This is my secret trick. Adding a tiny pat of butter while the jam simmers helps reduce foaming. It makes for a clearer, more beautiful jam. You can skip it, but I never do.
- Pinch of sea salt — Just a tiny pinch. It balances the sweetness and makes the peach flavor pop. You won’t taste it, but you will miss it if it’s not there.
Ingredient Selection Tip: If your peaches are not super fragrant or sweet, you can add a teaspoon of vanilla extract along with the lemon juice. It rounds out the flavor beautifully without overpowering the fruit. I have done this with peaches that were a little underwhelming, and it saved the batch.
Equipment Needed
You do not need a fancy canning setup for this recipe. Here is what you will actually use:
- Large, heavy-bottomed pot or Dutch oven — A wide pot is best because it allows for faster evaporation. I use my enameled cast iron Dutch oven. Avoid thin pots — they can cause the jam to scorch.
- Wooden spoon or heatproof silicone spatula — You will be stirring frequently, and a metal spoon can react with the acidity. Wood or silicone is ideal.
- Sharp knife and cutting board — For peeling and chopping the peaches. A paring knife works great for removing the skins.
- Vegetable peeler (optional but helpful) — If you want to peel the peaches quickly, a Y-shaped peeler is a lifesaver. Alternatively, you can blanch them in boiling water for 30 seconds to loosen the skins.
- Mason jars with lids (4-5 half-pint jars) — Make sure they are clean and dry. You don’t need to sterilize them for freezer jam, but a quick wash in hot soapy water is good practice. I use wide-mouth jars for easier filling.
- Funnel (optional but recommended) — A wide-mouth funnel makes pouring the hot jam into jars much less messy. I learned this the hard way after my first sticky countertop disaster.
- Small plate and freezer — For testing the set. You will put a spoonful of jam on a cold plate and see if it wrinkles when you push it. It is the old-fashioned way to check without a thermometer.
Budget-Friendly Tip: You can reuse pasta sauce or salsa jars as long as they have tight-fitting lids. Just make sure they are thoroughly cleaned. No need to buy special canning jars if you are just starting out.
Preparation Method
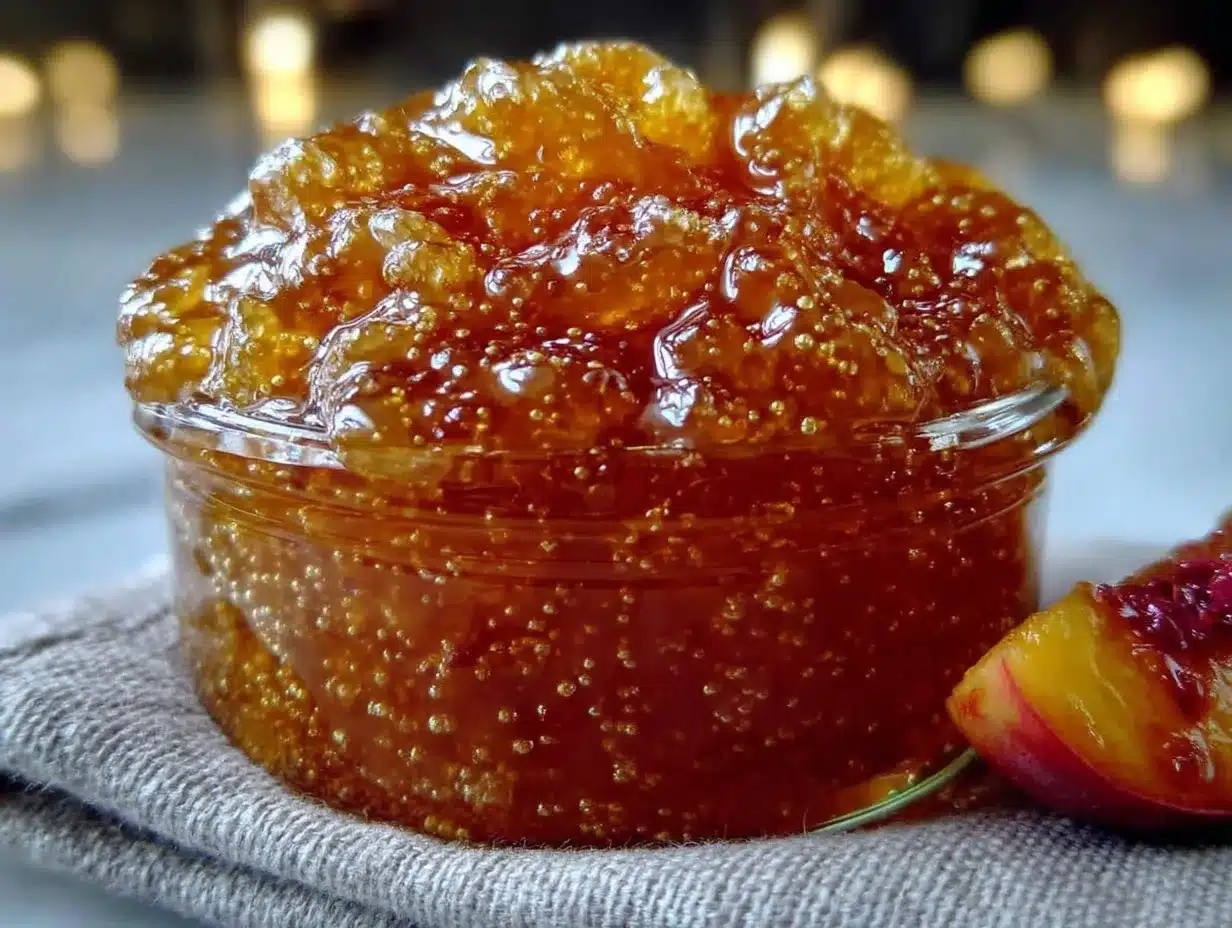
Okay, let’s get to the good part. This process takes about an hour from start to finish, but most of that is hands-off simmering. Here is exactly how to make your own small-batch peach freezer jam (no pectin).
- Prepare the peaches (15 minutes): Bring a large pot of water to a boil. Score a small “X” on the bottom of each peach with a sharp knife. Drop the peaches into the boiling water for about 30-45 seconds, then transfer them to a bowl of ice water. The skins should slide right off. If they don’t, give them another 10 seconds in the boil. Once peeled, halve the peaches, remove the pits, and chop them into small, even pieces — about 1/2-inch chunks. You want some texture, not a puree. Measure out exactly 5 cups of chopped peaches.
- Maceration (10 minutes): In your large pot, combine the chopped peaches and the 3 cups of sugar. Stir gently to coat all the fruit. Let it sit for about 10 minutes. You will see the sugar start to draw out the peach juices, creating a syrupy liquid. This step is crucial — it helps break down the fruit and kickstarts the pectin release.
- Start cooking (20-25 minutes): Place the pot over medium-high heat. Add the lemon juice, the optional butter, and the pinch of salt. Stir constantly until the mixture comes to a full, rolling boil — one that cannot be stirred down. This usually takes about 5-7 minutes. Once boiling, reduce the heat to medium and continue to cook, stirring frequently. You want to maintain a steady boil, not a furious one. Scrape the bottom and sides of the pot often to prevent scorching.
- The wrinkle test (check after 15 minutes of boiling): After about 15 minutes of active boiling, start testing for set. Place a small plate in the freezer for a few minutes. Drop a spoonful of the hot jam onto the cold plate. Let it sit for 30 seconds, then push it with your finger. If the jam wrinkles and does not immediately run back together, it is ready. If it is still very runny, continue boiling for another 2-3 minutes and test again. This is the most nerve-wracking part, but trust the process. It will set.
- Remove from heat and skim foam (2 minutes): Once the jam passes the wrinkle test, remove the pot from the heat. You will see a layer of foam on top. Use a spoon to skim it off and discard it. This foam is just air bubbles and impurities — removing it gives you a clearer, more beautiful jam. Do not skip this step.
- Fill the jars (5 minutes): Let the jam cool in the pot for about 5 minutes. This helps prevent the fruit from floating to the top of the jars. Using your funnel, carefully ladle the hot jam into your clean jars, leaving about 1/2 inch of headspace at the top. Wipe the rims of the jars with a clean, damp cloth to ensure a good seal. Screw on the lids tightly.
- Cool and set (12-24 hours): Let the jars sit at room temperature for 12 to 24 hours. During this time, the jam will continue to set and thicken. You will see it transform from a loose, saucy consistency to a spreadable jam. Do not disturb the jars during this period. Once set, they are ready for the freezer or the fridge.
- Freeze or refrigerate: Label your jars with the date. Store in the refrigerator for up to 3 weeks, or in the freezer for up to 12 months. If freezing, leave a little extra headspace to allow for expansion.
Sensory Cue: When the jam is ready, it will look glossy and thick on the spoon. It should coat the back of a spoon and not drip off too quickly. The color will deepen to a rich, amber-gold. The smell will be intensely peachy and sweet, with a slight caramel note from the cooked sugar.
Cooking Tips & Techniques
I have made this jam at least two dozen times, and I have definitely learned a few things the hard way. Here are my best tips to save you from my mistakes.
Do not walk away from the pot. I know it is tempting to do dishes or check your phone, but jam can go from perfectly boiled to scorched in under a minute. The sugar content is high, and it burns easily. Stir frequently, especially towards the end of cooking. I once got distracted by a phone call and ended up with a pot of dark, bitter, burnt sugar. It was heartbreaking. Learn from my pain.
Use a wide pot. The wider the surface area, the faster the liquid evaporates, and the quicker your jam sets. A narrow, tall pot will take much longer and can lead to uneven cooking. My go-to is a 5-quart enameled Dutch oven.
Trust the wrinkle test over time. Cooking times can vary wildly depending on the water content of your peaches and the humidity in your kitchen. Some batches take 15 minutes, others take 25. The wrinkle test is your only reliable guide. Do not rely on a timer alone. I have had batches that looked perfect at 18 minutes and others that needed a full 25.
If your jam doesn’t set… Do not panic. You can re-cook it. Pour the unset jam back into the pot, add another tablespoon of lemon juice, and bring it back to a boil for 5 minutes. Test again. It will usually set on the second try. If it is still loose, you can use it as a delicious syrup over pancakes, ice cream, or yogurt. There are no failures, only different uses.
Timing strategy: I like to prep my peaches and measure the sugar the night before. Then, the next morning, I can make the jam in under an hour while I drink my coffee. It feels less like a project and more like a pleasant morning activity.
Variations & Adaptations
This recipe is a fantastic base, and you can easily tweak it to suit your mood or what you have on hand.
- Spiced Peach Jam: Add 1 cinnamon stick and 1 star anise to the pot while the jam simmers. Remove them before filling the jars. The warm spices complement the peach flavor beautifully. I made this last fall and it was incredible on brown butter pumpkin chocolate chip bread.
- Vanilla Peach Jam: Add 1 whole vanilla bean (split lengthwise) to the pot during cooking. Scrape the seeds into the fruit mixture. The vanilla adds a floral, creamy note that makes the jam taste extra luxurious. This is my go-to for gifting.
- Low-Sugar Version: You can reduce the sugar to 2 cups, but the jam will be looser and will not keep as long in the freezer (about 6 months instead of 12). The texture will also be softer. It still tastes amazing, just different. I have done this when I wanted a more tart, fruit-forward jam for my yogurt parfait cups.
- Peach-Berry Jam: Swap 1 cup of the chopped peaches for 1 cup of fresh blueberries, raspberries, or chopped strawberries. The berries add color and a slightly different flavor profile. This is a great way to use up leftover fruit from the farmers market.
- Peach-Mango Jam: Replace half the peaches with ripe mango. The tropical sweetness is a wonderful twist. I served this over honey glazed grilled peaches with ice cream last summer, and it was a hit.
Serving & Storage Suggestions
This jam is incredibly versatile. Here is how I love to use and store it.
Serving Temperature: Serve the jam chilled or at room temperature. It spreads perfectly straight from the fridge. If you have frozen it, just thaw it in the refrigerator overnight. Do not microwave it to thaw — it can break the gel and make it runny.
Classic Uses: Spread it on toast, biscuits, scones, or pumpkin chocolate chip bread. It is incredible on a warm buttermilk biscuit with a pat of salted butter. It also makes a fantastic filling for thumbprint cookies or a topping for cheesecake.
Savory Pairings: Do not limit yourself to sweet applications. This jam is amazing with cheese. Try it on a cheese board with sharp cheddar, brie, or goat cheese. It also works beautifully as a glaze for grilled pork chops or chicken. Just brush it on during the last few minutes of cooking.
Storage in the Fridge: Once opened, keep the jam in the refrigerator. It will last for about 3 weeks. The flavor actually deepens and becomes more complex after a few days. I find it tastes best after about a week.
Freezer Storage: For long-term storage, keep the unopened jars in the freezer for up to 12 months. Make sure the jars are freezer-safe and leave that 1/2 inch of headspace. When you are ready to use one, just move it to the refrigerator to thaw. Do not refreeze after thawing.
Flavor Development: The jam will continue to set and thicken over the first week. Do not be alarmed if it seems a little loose on day one. By day three, it will be perfect. Patience is key.
Nutritional Information & Benefits
While this is a treat, it does offer some nutritional benefits from the star ingredient. Here is a rough estimate per 1-tablespoon serving:
- Calories: ~45
- Carbohydrates: ~12g
- Sugar: ~11g
- Fiber: ~0.2g
- Vitamin C: ~2% of the daily value
Health Benefits: Peaches are a good source of vitamins A and C, which support immune function and skin health. They also contain antioxidants like chlorogenic acid, which may help reduce inflammation. The lemon juice adds a boost of vitamin C and aids in iron absorption.
Dietary Considerations: This jam is naturally gluten-free, dairy-free (if you skip the butter), and vegan. It contains no artificial colors or preservatives. The main consideration is the high sugar content, which is necessary for preservation and texture. Enjoy it in moderation as part of a balanced diet.
Potential Allergens: None, unless you have a specific allergy to peaches or lemons. The optional butter contains dairy.
My Personal Perspective: I believe in enjoying real food, including real sugar. This jam is a seasonal treat, not an everyday staple. It is made with whole ingredients and a lot of love. That counts for something. I would rather have a tablespoon of this on my toast than a processed spread any day.
Conclusion
This small-batch peach freezer jam (no pectin) is more than just a recipe — it is a little piece of summer you can hold onto. It is the taste of a late August afternoon, the smell of a farmer’s market haul, the satisfaction of making something beautiful from simple ingredients. It is forgiving enough for a beginner and rewarding enough for a seasoned cook.
I hope you give it a try. Do not stress about perfection. The first batch might be a little loose, or a little thick, but it will still taste incredible. And that is the whole point. You are not trying to win a jam competition. You are just trying to capture a moment in a jar.
I would love to hear how it turns out for you. Did you add any spices? Did you serve it on something unexpected? Drop a comment below and let me know. And if you share a photo on social media, tag me — I always love seeing your jars of sunshine.
Happy preserving, friends. Your freezer is about to get a whole lot more delicious.
Frequently Asked Questions
Can I use frozen peaches for this jam?
Yes, you can. Thaw the peaches completely and drain off any excess liquid before measuring. Frozen peaches can be more watery, so you may need to cook the jam for an extra 5-10 minutes to evaporate the extra moisture. The flavor will still be excellent.
Why did my jam not set?
This usually happens for one of three reasons: the peaches were too watery, you did not cook it long enough, or you reduced the sugar too much. Do not worry — you can re-cook the jam with an extra tablespoon of lemon juice and it will likely set on the second try. If it is still loose, use it as a syrup.
Can I use this recipe for other fruits?
Absolutely. This method works well with nectarines, plums, apricots, and even figs. Adjust the sugar slightly based on the sweetness of the fruit. For berries, you might need to add a little lemon juice to help with the set. Experiment and have fun with it.
How long does this jam last in the refrigerator?
Once opened, it will last for about 3 weeks in the fridge. Make sure to always use a clean, dry spoon to avoid introducing bacteria. If you see any mold, discard the entire jar. Unopened jars can be stored in the freezer for up to 12 months.
Do I have to peel the peaches?
Technically, no. The skins are edible. However, they can make the jam slightly bitter and give it a less appealing texture. I highly recommend peeling them. The blanching method makes it incredibly easy and takes only a few minutes. It is worth the small effort for a smoother, more beautiful jam.
Pin This Recipe!
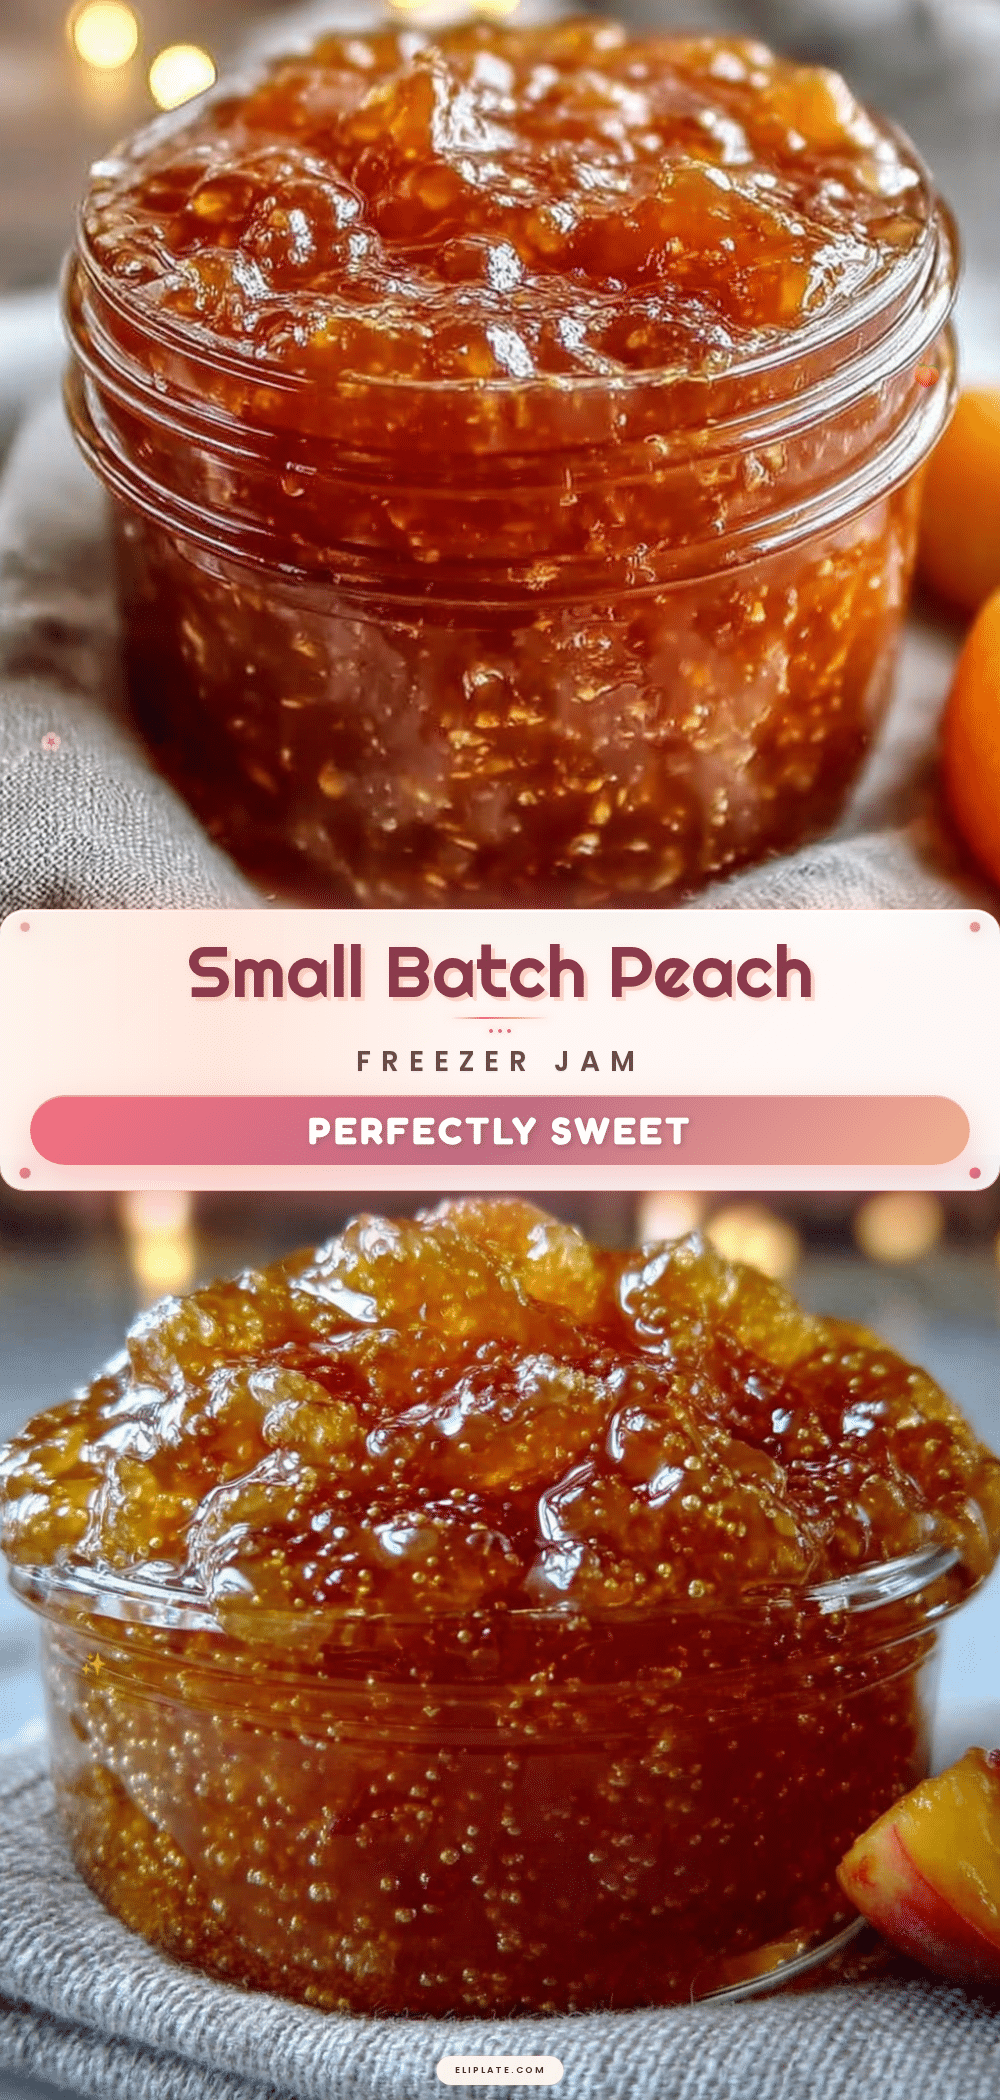
Small-Batch Peach Freezer Jam No Pectin Easy Recipe
This small-batch peach freezer jam requires no pectin and is incredibly easy to make. It captures the taste of perfectly ripe peaches in a soft, spreadable jam that’s perfect for beginners.
- Prep Time: 15 minutes
- Cook Time: 25 minutes
- Total Time: 40 minutes
- Yield: 4-5 half-pint jars 1x
- Category: Preserves
- Cuisine: American
Ingredients
- 5 cups fresh peaches, peeled and chopped (about 3 pounds)
- 3 cups granulated sugar
- 2 tablespoons fresh lemon juice
- 1/2 teaspoon unsalted butter (optional)
- Pinch of sea salt
Instructions
- Prepare the peaches: Bring a large pot of water to a boil. Score a small ‘X’ on the bottom of each peach. Drop peaches into boiling water for 30-45 seconds, then transfer to ice water. Peel, halve, pit, and chop into 1/2-inch chunks. Measure 5 cups.
- Maceration: In a large pot, combine chopped peaches and sugar. Stir gently and let sit for 10 minutes until juices are released.
- Start cooking: Place pot over medium-high heat. Add lemon juice, optional butter, and salt. Stir constantly until mixture comes to a full rolling boil (5-7 minutes). Reduce heat to medium and continue boiling, stirring frequently, for 15-25 minutes.
- Wrinkle test: Place a small plate in the freezer. Drop a spoonful of hot jam onto the cold plate. Let sit 30 seconds, then push with finger. If it wrinkles and doesn’t run back together, it’s ready. If not, boil 2-3 more minutes and test again.
- Remove from heat and skim foam: Once jam passes wrinkle test, remove from heat. Skim off foam with a spoon and discard.
- Fill jars: Let jam cool in pot for 5 minutes. Ladle into clean jars, leaving 1/2 inch headspace. Wipe rims, screw on lids tightly.
- Cool and set: Let jars sit at room temperature for 12-24 hours without disturbing.
- Freeze or refrigerate: Label jars with date. Refrigerate for up to 3 weeks or freeze for up to 12 months.
Notes
Do not walk away from the pot as jam can scorch quickly. Use a wide pot for faster evaporation. Trust the wrinkle test over cooking time. If jam doesn’t set, re-cook with extra lemon juice. Peaches should be ripe but firm. For best flavor, let jam sit for a week before using.
Nutrition
- Serving Size: 1 tablespoon
- Calories: 45
- Sugar: 11
- Carbohydrates: 12
- Fiber: 0.2
Keywords: peach jam, freezer jam, no pectin, small batch, easy jam, summer preserving