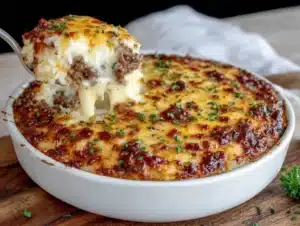
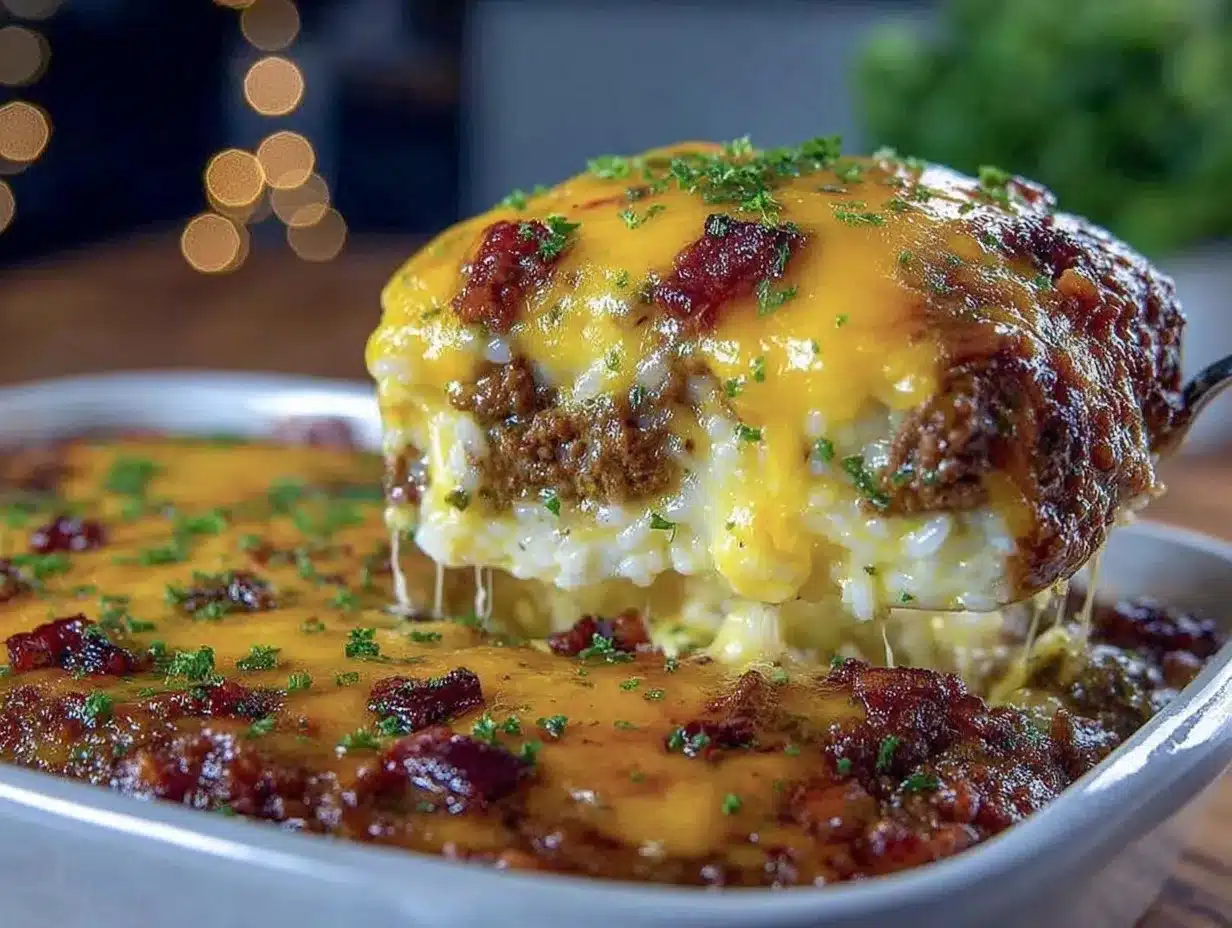
The stretch of cheese across the top, just before it breaks, is what I made this for. That perfect, elastic pull that means the crust has browned just enough, the edges are a little crispy, and underneath, everything is molten and tender. Honestly, everything else is just a means to that one beautiful moment. I was staring into my fridge one Sunday, completely uninspired, with a pound of ground beef thawing and a half-bag of shredded cheddar staring back at me. I had a bag of rice in the pantry and the vague memory of a casserole my aunt used to bring over after my first kid was born. Hers had a crunchy top and a soft, savory middle, and it always felt like a hug in a Pyrex dish. I wanted that feeling, but I needed it to be something I could stash away for later, too. Because let’s face it, the nights I need a casserole the most are the nights I have the least energy to make one.
This cheesy ground beef and rice casserole is that recipe. It’s the one you pull out of the freezer on a Wednesday when practice ran late and everyone is hungry and you just need dinner to happen. It’s comfort food that works ahead of time. The rice soaks up all the beefy, savory juices, and the cheese melts into every single crevice. It’s not fancy—it’s honest. And that first bite, with the crispy edges and the creamy middle, well, it reminds you why some recipes just stick around. They stick around because they work, because they feed people, and because they make the hard nights a little easier. This is one of those.
Why You’ll Love This Recipe
I’ve tested this casserole about seven times to get the texture just right. You know how some rice casseroles turn into a mushy, watery mess? Not this one. The trick is par-cooking the rice and draining the beef really well, and I’ve got all those details dialed in. This recipe is built on real kitchen experience, not wishful thinking.
- Freezer-Friendly: Make it now, bake it later. It holds up beautifully for up to three months.
- Budget-Friendly: Ground beef, rice, and cheese are pantry staples that won’t break the bank.
- One-Dish Wonder: Minimal cleanup. Everything comes together in one skillet and one baking dish.
- Crowd-Pleaser: Kids love the cheesy top, and adults appreciate the savory, satisfying flavor.
- Customizable: Swap in ground turkey, add veggies, or change up the cheese—it’s flexible.
What makes this different from every other casserole out there? It’s the texture. The rice stays separate and fluffy, not gluey. The beef is browned until deeply caramelized, adding a richness that canned soups just can’t match. And the cheese pull? It’s next-level. I’ve also tested it with both fresh and frozen assembly, so you know exactly what to do whether you’re cooking tonight or planning for next month. This isn’t just another version—it’s the best version.
What Ingredients You Will Need
This recipe uses simple, everyday ingredients to create something genuinely comforting. Most of these are probably in your kitchen right now, which is exactly the point.
- Ground Beef (1 ½ lbs): I use 85/15 for the best flavor without being too greasy. Drain it well after browning.
- Long-Grain White Rice (1 cup, uncooked): Basmati or jasmine work great. Avoid instant rice, which gets mushy.
- Yellow Onion (1 medium, diced): Adds a sweet, savory base. You could use a white onion in a pinch.
- Garlic (3 cloves, minced): Fresh is best here. It makes a real difference.
- Beef Broth (2 cups): Low-sodium is ideal so you can control the salt. Chicken broth works too.
- Canned Diced Tomatoes (14.5 oz, undrained): They add moisture and a little acidity to balance the richness.
- Tomato Paste (2 tablespoons): This concentrates the tomato flavor. Don’t skip it.
- Shredded Cheddar Cheese (2 cups, divided): Sharp cheddar gives the most flavor. I like Tillamook or Cabot.
- Mozzarella Cheese (1 cup, shredded): For that extra stretchy, gooey texture.
- Sour Cream (½ cup): Adds creaminess and a slight tang. Full-fat works best.
- Worcestershire Sauce (1 tablespoon): Deepens the savory, umami flavor.
- Dried Oregano (1 teaspoon): Adds a subtle herbaceous note.
- Smoked Paprika (½ teaspoon): A little warmth and smokiness.
- Salt and Black Pepper (to taste): Season as you go for the best results.
- Fresh Parsley (for garnish, optional): Adds a pop of color and freshness.
For substitutions, you can use ground turkey or chicken instead of beef. If you need a gluten-free option, just double-check your Worcestershire sauce and broth. I’ve also made this with brown rice, but you’ll need to cook it fully first and add a little extra broth to the casserole.
Equipment Needed
You don’t need a fancy kitchen to make this casserole. I’ve made it in rental apartments and fully stocked kitchens, and it works the same everywhere.
- Large Skillet or Dutch Oven: For browning the beef and sautéing the onions. A 12-inch skillet is perfect.
- 9×13-inch Baking Dish: Glass or ceramic works best. Metal can work too, but watch the baking time.
- Mixing Bowls: One large bowl for combining everything.
- Wooden Spoon or Spatula: For breaking up the beef as it cooks.
- Measuring Cups and Spoons: Accuracy matters for the rice-to-liquid ratio.
- Colander: For draining the beef after browning.
- Aluminum Foil: For covering the casserole during baking and for freezer storage.
If you don’t have a 9×13 dish, you can use two 8×8 dishes and freeze one. I’ve also used a disposable foil pan for gifting or easy freezer storage—just make sure to put it on a baking sheet for stability.
Preparation Method
This comes together in about 30 minutes of active time. The rest is just baking or freezing.
- Preheat your oven to 375°F (190°C). If you’re assembling for the freezer, skip this step.
- Cook the rice. In a medium saucepan, bring 2 cups of water to a boil. Add 1 cup of long-grain rice, reduce the heat to low, cover, and simmer for 10 minutes. The rice should be just barely tender and still a little firm in the center. Drain any excess water and set aside. This par-cooking step is crucial—it keeps the rice from absorbing too much liquid in the casserole and turning mushy.
- Brown the beef. Heat your large skillet over medium-high heat. Add the ground beef and cook, breaking it up with a spoon, until deeply browned, about 6-8 minutes. Don’t rush this step. You want real color, not just gray meat. Drain the fat into a colander over a bowl (or use a slotted spoon) and return the beef to the skillet.
- Sauté the aromatics. Add the diced onion to the skillet with the beef and cook over medium heat for 3-4 minutes, until softened. Add the minced garlic and cook for 30 seconds until fragrant. Your kitchen should smell incredible right about now.
- Build the sauce. Stir in the tomato paste and cook for 1 minute, stirring constantly. This deepens the flavor. Add the canned diced tomatoes (with their juices), beef broth, Worcestershire sauce, dried oregano, and smoked paprika. Stir everything together, scraping up any browned bits from the bottom of the pan.
- Simmer. Bring the mixture to a gentle simmer and let it cook for 5 minutes, stirring occasionally. It should thicken slightly. Taste and season with salt and pepper. Remember, the cheese will add salt too, so go easy.
- Combine everything. Remove the skillet from the heat. Stir in the par-cooked rice, sour cream, 1 cup of the shredded cheddar, and all of the mozzarella. Mix until everything is evenly distributed. The mixture should look creamy and cohesive, not dry or soupy.
- Assemble the casserole. Transfer the mixture to your greased 9×13 baking dish and spread it into an even layer. Sprinkle the remaining 1 cup of cheddar cheese over the top.
- Bake. Cover the dish with foil and bake for 20 minutes. Remove the foil and bake for another 10-15 minutes, until the cheese is melted, bubbly, and golden brown around the edges. Let it rest for 5 minutes before serving—this helps it set up so it doesn’t slide apart on the plate.
- For freezing: Assemble the casserole completely (through step 8), but do not bake. Cover tightly with a layer of plastic wrap, then a layer of foil. Freeze for up to 3 months. To bake from frozen, remove the plastic wrap, cover with foil, and bake at 375°F for 50-60 minutes, then remove the foil and bake for another 10-15 minutes until bubbly and hot in the center.
Cooking Tips & Techniques
I’ve made every mistake you can imagine with this casserole, so you don’t have to. The first time I made it, I used instant rice and ended up with a bowl of mush. It was edible, but sad. The second time, I didn’t drain the beef well enough, and the casserole was greasy. Live and learn, right?
- Par-cook the rice: This is non-negotiable. Fully cooked rice will break down and get mushy during baking. Raw rice won’t cook through properly. Ten minutes of simmering is the sweet spot.
- Brown the beef deeply: Don’t stir it constantly. Let it sit in the pan for a few minutes to develop a crust. That browning equals flavor.
- Drain the fat: After browning, dump the beef into a colander and let the fat drain off. You can even rinse it with hot water if you want a leaner casserole. Just pat it dry before adding it back to the pan.
- Season in layers: Add salt and pepper at each stage—when browning the beef, when sautéing the onions, and when building the sauce. This builds deeper flavor than just seasoning at the end.
- Let it rest: I know it’s hard, but letting the casserole sit for 5-10 minutes after baking allows it to set up. If you serve it immediately, it will be runny.
- Use a thermometer: If you’re baking from frozen, check the internal temperature. It should reach 165°F in the center before you serve it.
One more thing—if you’re making two casseroles at once (one for now, one for later), slightly undercook the rice for the freezer version. It will continue to cook as it bakes from frozen, and this keeps the texture perfect.
Variations & Adaptations
This recipe is a great base for experimentation. I’ve tried several variations, and they’ve all been winners.
- Southwest Style: Swap the cheddar for pepper jack, add a can of drained black beans and a cup of frozen corn. Top with crushed tortilla chips before baking for crunch.
- Vegetable Loaded: Sauté a diced bell pepper and a cup of chopped mushrooms along with the onion. Stir in a cup of frozen peas or spinach at the end. You get extra nutrients without sacrificing flavor.
- Low-Carb Option: Replace the rice with cauliflower rice. Par-cook the cauliflower rice in a dry skillet to remove excess moisture before adding it to the mixture. Reduce the baking time by 5-10 minutes since cauliflower cooks faster.
- Dairy-Free: Use a dairy-free shredded cheese alternative and a dairy-free sour cream. The texture will be slightly different, but it still works. I’ve used Kite Hill sour cream with good results.
- Spicy Kick: Add a diced jalapeño with the onions, or stir in a teaspoon of red pepper flakes with the spices. Top with pickled jalapeños before baking for extra heat.
I once made a Greek-inspired version with ground lamb, feta cheese, oregano, and a sprinkle of dill. It was incredible. Don’t be afraid to play around.
Serving & Storage Suggestions
This casserole is best served hot, straight from the oven, with the cheese still stretchy and the edges crispy. I like to scoop it into bowls and top it with fresh parsley for a little color.
For sides, a simple green salad with a tangy vinaigrette cuts through the richness perfectly. I also love serving it with roasted broccoli or a side of steamed green beans. If you’re feeding a crowd, pair it with some elote-style grilled corn salad for a complete meal. The smoky, tangy flavors complement the cheesy casserole beautifully.
For storage, let the casserole cool completely, then cover it tightly with foil or plastic wrap. It will keep in the refrigerator for up to 4 days. The flavors actually meld together and get even better on day two. To reheat, scoop out individual portions and microwave for 1-2 minutes, or reheat the whole dish in a 350°F oven for 15-20 minutes.
For freezer storage, I recommend portioning the casserole into smaller containers if you’re cooking for one or two. This way, you can thaw and reheat only what you need. The casserole freezes beautifully for up to 3 months. When you’re ready to eat, thaw it in the refrigerator overnight, then bake as directed.
If you’re looking for other make-ahead meals, this tender slow cooker honey garlic pulled pork is another freezer-friendly option that feeds a crowd.
Nutritional Information & Benefits
This casserole is hearty and satisfying, and it provides a good balance of protein, carbohydrates, and fat. Here are the approximate values per serving (based on 8 servings):
- Calories: 480
- Protein: 32g
- Carbohydrates: 38g
- Fat: 22g
- Fiber: 2g
- Sugar: 4g
The ground beef provides high-quality protein and iron, which is important for energy and oxygen transport in the body. The cheese adds calcium for bone health, and the tomatoes contribute lycopene, an antioxidant. If you add vegetables like spinach or bell peppers, you’ll boost the vitamin content significantly.
For a lower-calorie option, use ground turkey and low-fat cheese. For a lower-carb version, swap the rice for cauliflower rice as mentioned in the variations. This recipe is naturally gluten-free if you use gluten-free Worcestershire sauce and broth.
Conclusion
This cheesy ground beef and rice casserole is the kind of recipe that makes life easier. It’s comforting, affordable, and completely adaptable to whatever you have on hand. Whether you’re feeding your family tonight or stocking your freezer for busy weeks ahead, this dish delivers every time.
I love that I can make it on a Sunday afternoon, pop it in the freezer, and forget about it until the perfect moment. And that moment always comes—a tired Tuesday, a rainy evening, a night when everyone needs a little extra comfort. The cheese pull, the tender rice, the savory beef—it all comes together in one beautiful, bubbling dish.
I’d love to hear how this recipe turns out for you. Did you add any fun variations? Did you freeze it for later? Drop a comment below and let me know. And if you’re looking for another cozy, make-ahead meal, try this creamy Tuscan white bean soup with sausage and kale—it’s another freezer-friendly favorite in my house. Happy cooking!
Frequently Asked Questions
Can I use brown rice instead of white rice?
Yes, but you’ll need to cook it fully first since brown rice takes longer to absorb liquid. Use 1 cup of cooked brown rice and reduce the beef broth by about ¼ cup to prevent a watery casserole.
How do I prevent the casserole from being dry?
The key is not overcooking the rice before assembling and making sure there’s enough liquid from the tomatoes and broth. If your mixture looks dry before baking, add a splash of beef broth or water.
Can I make this casserole in a slow cooker?
I don’t recommend it. The rice tends to overcook and become mushy, and you won’t get that crispy, golden cheese top. Stick to the oven for the best texture.
How long does this casserole last in the freezer?
Properly wrapped, it will stay fresh for up to 3 months. Make sure it’s tightly sealed with plastic wrap and foil to prevent freezer burn.
Can I add vegetables to this casserole?
Absolutely. Sautéed bell peppers, mushrooms, spinach, or frozen peas all work well. Add them when you sauté the onions so they soften and blend into the dish.
Pin This Recipe!
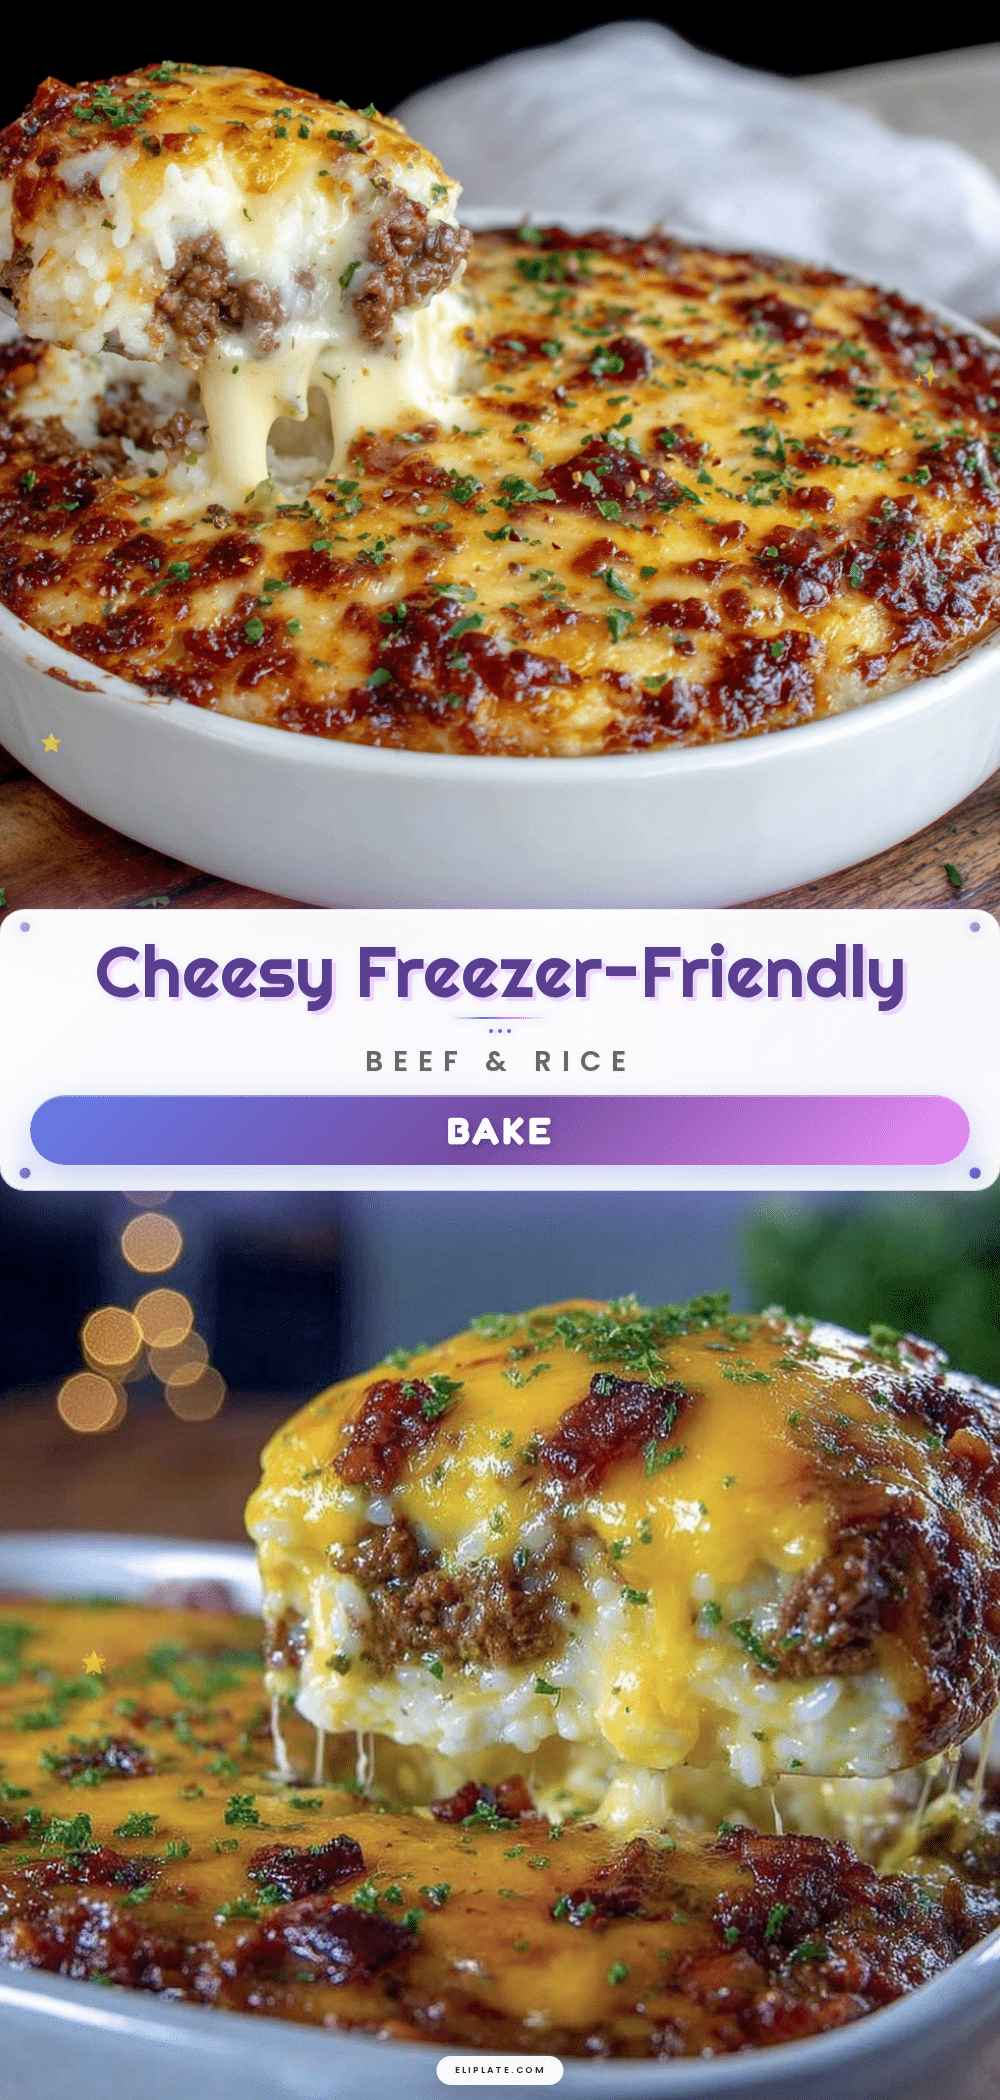
Cheesy Ground Beef & Rice Casserole: Easy Freezer Meal Recipe
This cheesy ground beef and rice casserole is a comforting, freezer-friendly meal that combines savory beef, fluffy rice, and a golden, stretchy cheese topping. Perfect for busy weeknights, it’s a one-dish wonder that’s budget-friendly and customizable.
- Prep Time: 30 minutes
- Cook Time: 30 minutes
- Total Time: 1 hour
- Yield: 8 servings 1x
- Category: Main Course
- Cuisine: American
Ingredients
- 1 ½ lbs ground beef (85/15)
- 1 cup long-grain white rice (uncooked)
- 1 medium yellow onion, diced
- 3 cloves garlic, minced
- 2 cups beef broth (low-sodium)
- 14.5 oz canned diced tomatoes (undrained)
- 2 tablespoons tomato paste
- 2 cups shredded cheddar cheese (divided)
- 1 cup shredded mozzarella cheese
- ½ cup sour cream
- 1 tablespoon Worcestershire sauce
- 1 teaspoon dried oregano
- ½ teaspoon smoked paprika
- Salt and black pepper to taste
- Fresh parsley for garnish (optional)
Instructions
- Preheat your oven to 375°F (190°C). If assembling for the freezer, skip this step.
- Cook the rice: In a medium saucepan, bring 2 cups of water to a boil. Add 1 cup of long-grain rice, reduce heat to low, cover, and simmer for 10 minutes. The rice should be just barely tender and still a little firm in the center. Drain any excess water and set aside.
- Brown the beef: Heat a large skillet over medium-high heat. Add the ground beef and cook, breaking it up with a spoon, until deeply browned, about 6-8 minutes. Drain the fat and return the beef to the skillet.
- Sauté the aromatics: Add the diced onion to the skillet with the beef and cook over medium heat for 3-4 minutes, until softened. Add the minced garlic and cook for 30 seconds until fragrant.
- Build the sauce: Stir in the tomato paste and cook for 1 minute, stirring constantly. Add the canned diced tomatoes (with their juices), beef broth, Worcestershire sauce, dried oregano, and smoked paprika. Stir together, scraping up any browned bits from the bottom of the pan.
- Simmer: Bring the mixture to a gentle simmer and let it cook for 5 minutes, stirring occasionally. Taste and season with salt and pepper.
- Combine everything: Remove the skillet from the heat. Stir in the par-cooked rice, sour cream, 1 cup of the shredded cheddar, and all of the mozzarella. Mix until evenly distributed.
- Assemble the casserole: Transfer the mixture to a greased 9×13 baking dish and spread into an even layer. Sprinkle the remaining 1 cup of cheddar cheese over the top.
- Bake: Cover the dish with foil and bake for 20 minutes. Remove the foil and bake for another 10-15 minutes, until the cheese is melted, bubbly, and golden brown around the edges. Let it rest for 5 minutes before serving.
- For freezing: Assemble the casserole completely (through step 8), but do not bake. Cover tightly with plastic wrap, then foil. Freeze for up to 3 months. To bake from frozen, remove plastic wrap, cover with foil, and bake at 375°F for 50-60 minutes, then remove foil and bake for another 10-15 minutes until bubbly and hot in the center.
Notes
Par-cook the rice to prevent mushiness. Brown the beef deeply for maximum flavor. Drain the fat well to avoid a greasy casserole. Let the casserole rest for 5-10 minutes after baking to set up. For freezer version, slightly undercook the rice. Use a thermometer to ensure internal temperature reaches 165°F when baking from frozen.
Nutrition
- Serving Size: 1 serving (1/8 of ca
- Calories: 480
- Sugar: 4
- Sodium: 650
- Fat: 22
- Saturated Fat: 10
- Carbohydrates: 38
- Fiber: 2
- Protein: 32
Keywords: cheesy ground beef and rice casserole, easy freezer meal, ground beef casserole, rice casserole, freezer-friendly casserole, budget-friendly dinner, one-dish meal