The other night, I found myself rummaging through my kitchen, craving something sweet but not wanting to bake an entire cake. Honestly, I was a bit tired and just wanted a quick fix that felt special. Then, I stumbled upon some cream cheese hiding in the fridge and this little heart-shaped silicone mold I’d forgotten about. It hit me: why not whip up some creamy mini heart-shaped cheesecakes? I was skeptical at first—could something so simple really taste delightful? But as I mixed the batter and filled those tiny molds, the smell alone was enough to lift my mood.
Once chilled and ready, I took a bite and, well, let’s just say these little cheesecakes quickly became my go-to sweet treat when I want something comforting yet fuss-free. The smooth texture, the subtle tang of cream cheese, and that cute heart shape made it feel like a tiny celebration every time. It’s funny how the smallest things—a silicone mold, a bit of cream cheese—can turn a low-key night into a cozy moment worth savoring. That’s why this recipe stuck with me, not because it’s fancy, but because it’s honest, easy, and just hits the spot in a way that feels personal.
Why You’ll Love This Recipe
- Quick & Easy: Comes together in under 30 minutes, perfect for a last-minute sweet craving or a casual dessert after dinner.
- Simple Ingredients: No need to hunt for anything fancy—just cream cheese, sugar, eggs, and a few pantry staples.
- Perfect for Any Occasion: Whether it’s a small get-together, Valentine’s Day, or just a quiet evening, these mini cheesecakes bring a touch of charm.
- Crowd-Pleaser: Every time I’ve shared these, friends and family ask for the recipe—it’s that good!
- Unbelievably Delicious: The creamy texture combined with a hint of vanilla and a buttery crust makes for a comforting bite of happiness.
What sets this recipe apart? It’s the balance of rich creaminess without feeling heavy, plus the heart shape that adds a playful twist. I like using a touch of lemon zest sometimes—it adds a subtle brightness that keeps things from getting too sweet. Also, the mini size means you can enjoy just one or two without overdoing it, which is honestly a win in my book.
This isn’t just any cheesecake recipe; it’s the kind that makes you pause and smile after each bite. Perfect for impressing guests without breaking a sweat or simply treating yourself to a little homemade love.
What Ingredients You Will Need
This recipe uses simple, wholesome ingredients to deliver bold flavor and a satisfyingly creamy texture without any fuss. Most of these are pantry staples, so no last-minute grocery runs needed.
- Cream Cheese (8 oz / 225 g, softened) – The star of the show; I prefer Philadelphia brand for its smooth texture.
- Sour Cream (1/4 cup / 60 ml) – Adds tang and creaminess; you can swap with Greek yogurt if you like.
- Granulated Sugar (1/3 cup / 65 g) – Balances the tang of the cream cheese without overpowering.
- Large Egg (1, room temperature) – Helps bind the cheesecake filling.
- Vanilla Extract (1 tsp) – For that warm, inviting flavor.
- Lemon Zest (optional, 1 tsp) – Adds a fresh twist (highly recommended!).
- Graham Cracker Crumbs (1 cup / 100 g) – For the crust; use store-bought or homemade.
- Unsalted Butter (4 tbsp / 60 g, melted) – Binds the crust crumbs, adding richness.
- Pinch of Salt – Enhances all the flavors.
If you want to keep things dairy-free, swap cream cheese and sour cream with vegan alternatives, and use a dairy-free butter substitute. For a gluten-free crust, almond flour mixed with a bit of sugar and butter works beautifully.
Equipment Needed
- Heart-Shaped Silicone or Metal Mini Muffin Pan: The key to those adorable mini heart cheesecakes. Silicone molds make it easy to pop out the cakes without fuss.
- Electric Mixer or Stand Mixer: For smooth, lump-free batter. I’ve tried hand mixing, but it takes extra elbow grease.
- Mixing Bowls: At least two, one for crust and one for filling.
- Measuring Cups and Spoons: Precision matters for the perfect texture.
- Spatula: To scrape down the bowl and gently fold ingredients.
- Oven: Needed for baking these little delights.
Don’t have heart-shaped pans? Regular mini muffin tins work great too—just skip the heart shape and enjoy the same creamy filling. Silicone molds are my favorite because cleanup is a breeze, and you can gently press the cheesecakes out without cracking their bottoms.
Preparation Method
- Preheat your oven to 325°F (160°C). This lower temperature helps the cheesecakes bake evenly without cracking.
- Prepare the crust: In a small bowl, combine 1 cup (100 g) graham cracker crumbs with 4 tbsp (60 g) melted unsalted butter and a pinch of salt. Stir until the crumbs are evenly coated and look like wet sand.
- Press the crust mixture firmly into the bottom of each cavity in your heart-shaped silicone mold or mini muffin tin. I use the back of a spoon or a small glass to get an even layer. Set aside.
- Make the filling: In a medium bowl, beat 8 oz (225 g) softened cream cheese until smooth and creamy (about 2-3 minutes). Scrape down the sides to avoid lumps.
- Add sugar (1/3 cup / 65 g) and continue mixing until fully incorporated. The mixture should be silky and slightly glossy.
- Mix in 1 large egg, 1 tsp vanilla extract, and 1/4 cup (60 ml) sour cream. If using lemon zest, add it now. Beat gently until just combined—overmixing can cause cracks.
- Pour the filling evenly over the prepared crusts. Fill each mold nearly to the top but leave a tiny bit of space for expansion.
- Bake for 18-22 minutes. The centers will still look slightly jiggly but not liquid. This is key for that creamy texture.
- Turn off the oven and leave cheesecakes inside with the door slightly ajar for 30 minutes. This gradual cooling helps prevent cracks.
- Remove from oven and chill in the refrigerator for at least 2 hours, or overnight if possible.
- Once chilled, pop out each mini cheesecake carefully from the molds. Serve plain or with fresh berries, whipped cream, or a drizzle of chocolate.
Quick tip: If your cream cheese isn’t softened enough, it can lead to lumps. Let it sit at room temp for 30 minutes or microwave in short bursts (5 seconds) to soften gently.
Cooking Tips & Techniques
One of the trickiest parts of cheesecake is avoiding cracks, but with mini cheesecakes, it’s a bit easier—still, a few tips help:
- Room temperature ingredients: Make sure cream cheese and egg aren’t cold. Cold can cause lumps and uneven baking.
- Don’t overmix: When adding eggs, mix just until combined to prevent air bubbles that cause cracks.
- Baking temperature: Keep the oven at 325°F (160°C). Baking too hot leads to uneven cooking and cracked tops.
- Water bath optional: I usually skip the water bath for minis, but if you want even more gentle baking, place the mold inside a larger pan with hot water halfway up the sides.
- Cooling tricks: Letting cheesecakes cool gradually in the oven with door slightly open helps prevent sudden temperature changes that crack the surface.
- Crust packing: Press the crust firmly but not too hard—you want it compact but not smashed.
I once forgot to chill mine overnight and the texture was noticeably less creamy. Lesson learned: patience pays off with cheesecake!
Variations & Adaptations
- Fruit Swirl: Before baking, gently swirl in raspberry or strawberry jam on top of the filling for a pretty marbled effect.
- Dairy-Free Option: Use vegan cream cheese and coconut yogurt instead of sour cream. The texture is slightly different but still delicious.
- Chocolate Lover’s: Add 2 tbsp (15 g) cocoa powder to the filling and sprinkle mini chocolate chips on top before baking.
- Nutty Crust: Swap graham crackers for finely chopped pecans or almonds mixed with butter.
- Spiced Up: Add 1/2 tsp cinnamon or pumpkin pie spice to the crust or filling for seasonal flair.
My favorite variation is the lemon zest with a raspberry swirl—bright, fresh, and perfect for spring mornings.
Serving & Storage Suggestions
These mini cheesecakes are best served chilled, straight from the refrigerator. I like to garnish with a few fresh berries or a dollop of lightly sweetened whipped cream to add some contrast.
Pair them with a cup of coffee or herbal tea for a cozy afternoon treat. They’re also great as part of a dessert platter for gatherings, since they’re bite-sized and look adorable.
Store leftovers in an airtight container in the fridge for up to 4 days. For longer storage, freeze them on a baking sheet first, then transfer to a freezer-safe container for up to 2 months. Thaw overnight in the fridge.
Reheat gently at room temperature for 10-15 minutes before serving if you prefer a softer texture. Over time, the flavors meld together nicely, making the next day’s cheesecake even better.
Nutritional Information & Benefits
Each mini cheesecake (about 2 inches in diameter) contains roughly 150 calories, with moderate fat and protein from the cream cheese and eggs. The recipe is relatively low in sugar compared to traditional cheesecakes, making it a more mindful sweet treat.
Cream cheese provides calcium and vitamin A, while the optional lemon zest adds a touch of vitamin C. Using sour cream or Greek yogurt boosts probiotics and adds creaminess without excessive calories.
This recipe is naturally gluten-free if you use gluten-free crust ingredients, and can be adapted for dairy-free diets as mentioned. It’s a small indulgence that feels like a treat but isn’t overloaded with sugar or heavy cream.
Conclusion
These creamy mini heart-shaped cheesecakes quickly became one of my favorite ways to enjoy dessert without the fuss of a big cake. They’re simple, charming, and full of comforting flavor that hits just right after a long day or when you want to impress with something sweet yet easy.
Feel free to play around with the crust, add your own twists to the filling, or top them with whatever you love most. It’s a recipe that adapts to your mood and pantry, yet always delivers that creamy, dreamy bite I keep coming back to.
If you try making these, I’d love to hear your versions and how you personalized them. After all, a little homemade sweetness always deserves to be shared.
FAQs
Can I make these mini cheesecakes ahead of time?
Absolutely! They keep well in the fridge for up to 4 days and even freeze nicely for longer storage.
What if I don’t have a heart-shaped mold?
No worries! Regular mini muffin tins work perfectly fine. You’ll just get classic round minis instead of hearts.
Can I use low-fat cream cheese?
You can, but the texture might be less creamy and a bit more dense. Full-fat cream cheese gives the best results.
How do I avoid cracks in the cheesecakes?
Use room temperature ingredients, don’t overmix after adding eggs, bake at a moderate temperature, and let the cheesecakes cool slowly in the oven with the door slightly open.
Can I add fruit topping to these cheesecakes?
Yes! Fresh berries, fruit compotes, or a simple drizzle of jam work beautifully—add them just before serving for the best texture.
Pin This Recipe!
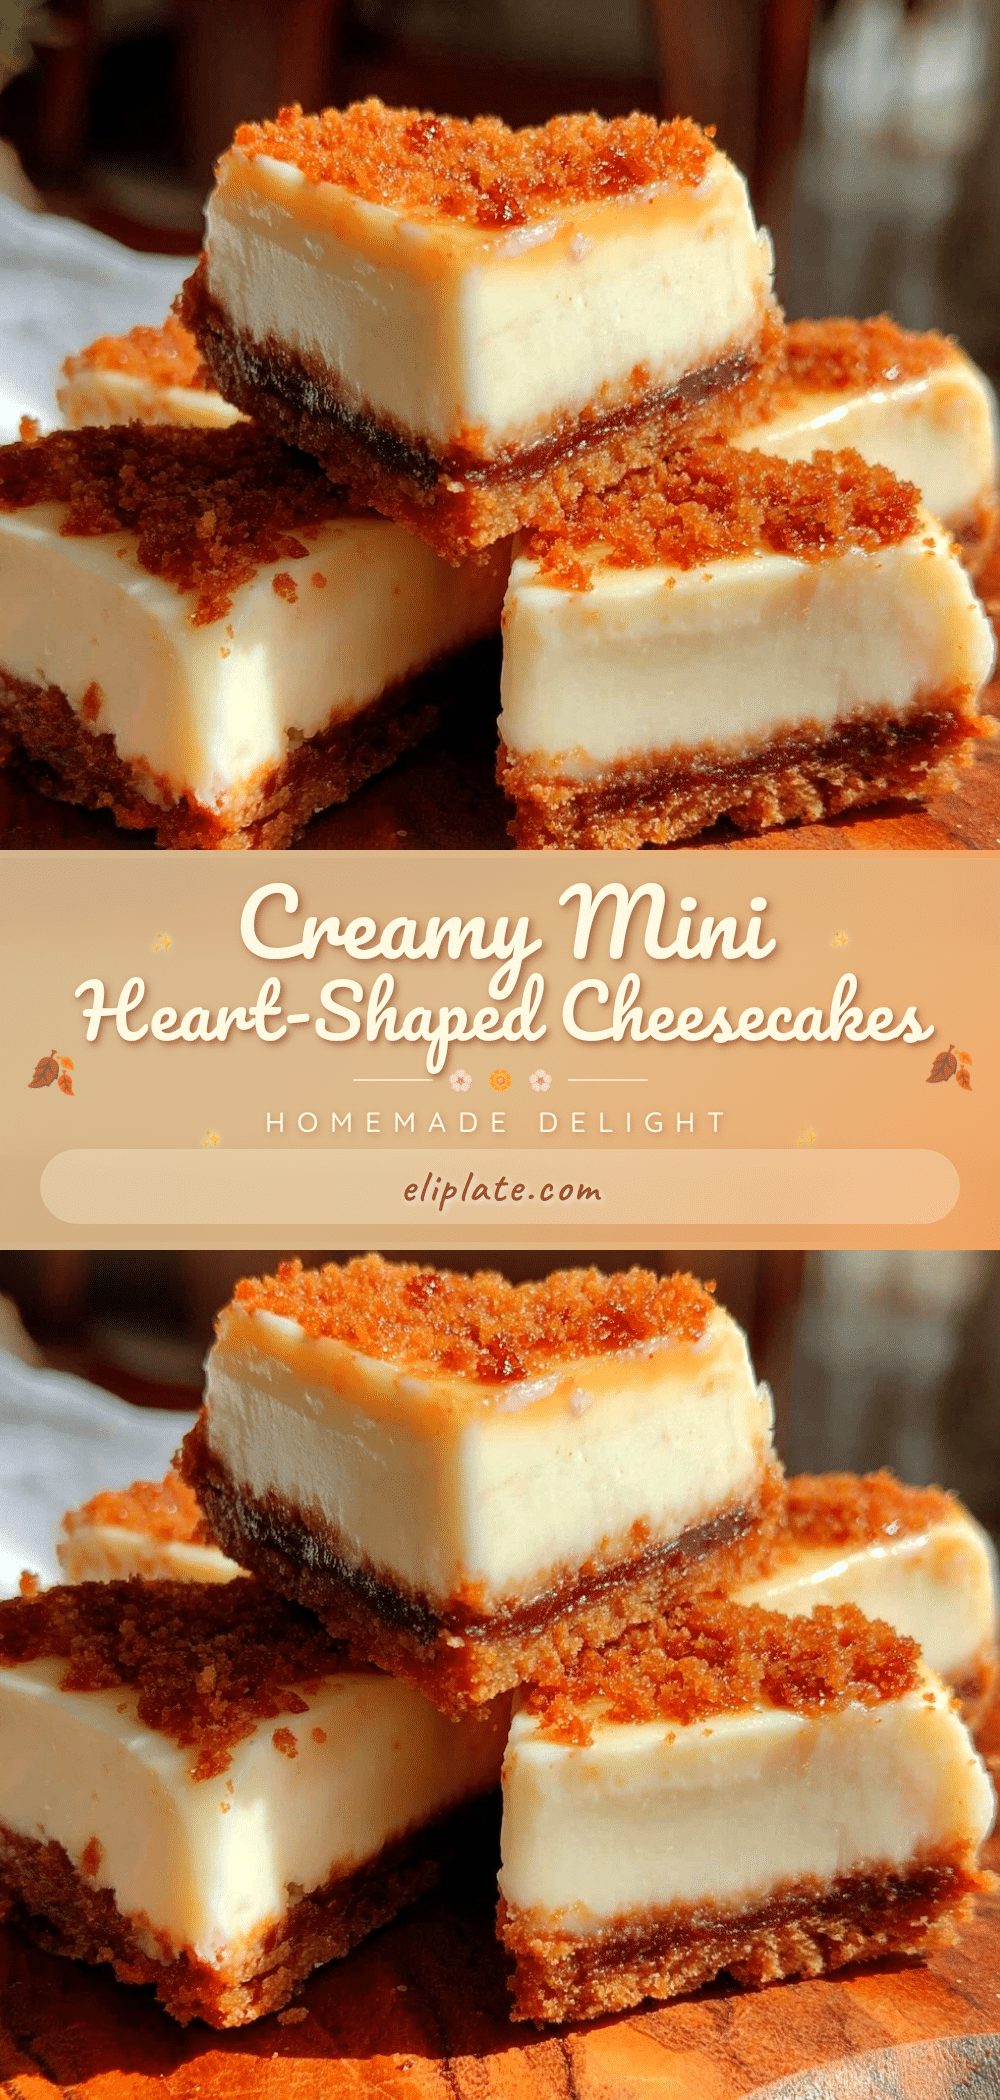
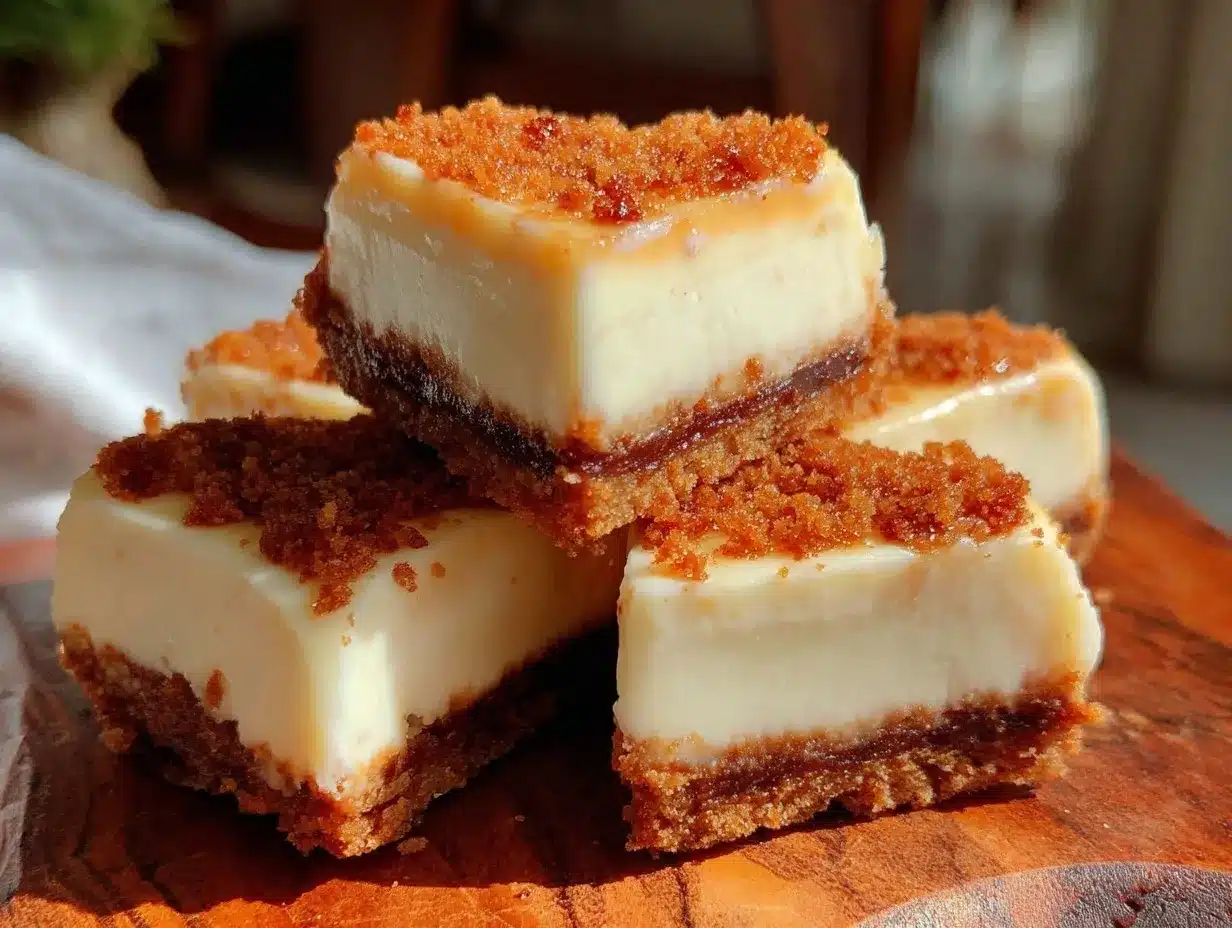
Creamy Mini Heart-Shaped Cheesecakes
These creamy mini heart-shaped cheesecakes are a quick and easy homemade sweet treat, perfect for any occasion. They feature a smooth texture, subtle tang of cream cheese, and a buttery graham cracker crust.
- Prep Time: 15 minutes
- Cook Time: 22 minutes
- Total Time: 2 hours 37 minutes
- Yield: 12 mini cheesecakes 1x
- Category: Dessert
- Cuisine: American
Ingredients
- 8 oz (225 g) cream cheese, softened
- 1/4 cup (60 ml) sour cream (or Greek yogurt)
- 1/3 cup (65 g) granulated sugar
- 1 large egg, room temperature
- 1 tsp vanilla extract
- 1 tsp lemon zest (optional)
- 1 cup (100 g) graham cracker crumbs
- 4 tbsp (60 g) unsalted butter, melted
- Pinch of salt
Instructions
- Preheat your oven to 325°F (160°C).
- In a small bowl, combine graham cracker crumbs, melted butter, and a pinch of salt. Stir until crumbs are evenly coated.
- Press the crust mixture firmly into the bottom of each cavity in your heart-shaped silicone mold or mini muffin tin. Set aside.
- In a medium bowl, beat softened cream cheese until smooth and creamy (about 2-3 minutes). Scrape down the sides.
- Add sugar and continue mixing until fully incorporated and silky.
- Mix in the egg, vanilla extract, sour cream, and lemon zest if using. Beat gently until just combined.
- Pour the filling evenly over the prepared crusts, filling nearly to the top but leaving a little space for expansion.
- Bake for 18-22 minutes until centers are slightly jiggly but not liquid.
- Turn off the oven and leave cheesecakes inside with the door slightly ajar for 30 minutes to cool gradually.
- Remove from oven and chill in the refrigerator for at least 2 hours or overnight.
- Once chilled, carefully pop out each mini cheesecake from the molds and serve plain or with toppings like fresh berries or whipped cream.
Notes
Use room temperature ingredients to avoid lumps. Do not overmix after adding eggs to prevent cracks. Baking at 325°F helps even cooking. Cooling gradually in the oven with the door slightly open prevents cracks. Silicone molds make removal easy. Variations include adding fruit swirls, cocoa powder, or using dairy-free substitutes.
Nutrition
- Serving Size: 1 mini cheesecake (a
- Calories: 150
- Sugar: 8
- Sodium: 120
- Fat: 10
- Saturated Fat: 6
- Carbohydrates: 12
- Fiber: 0.5
- Protein: 3
Keywords: mini cheesecakes, heart-shaped cheesecake, creamy cheesecake, easy dessert, homemade sweet treat, graham cracker crust