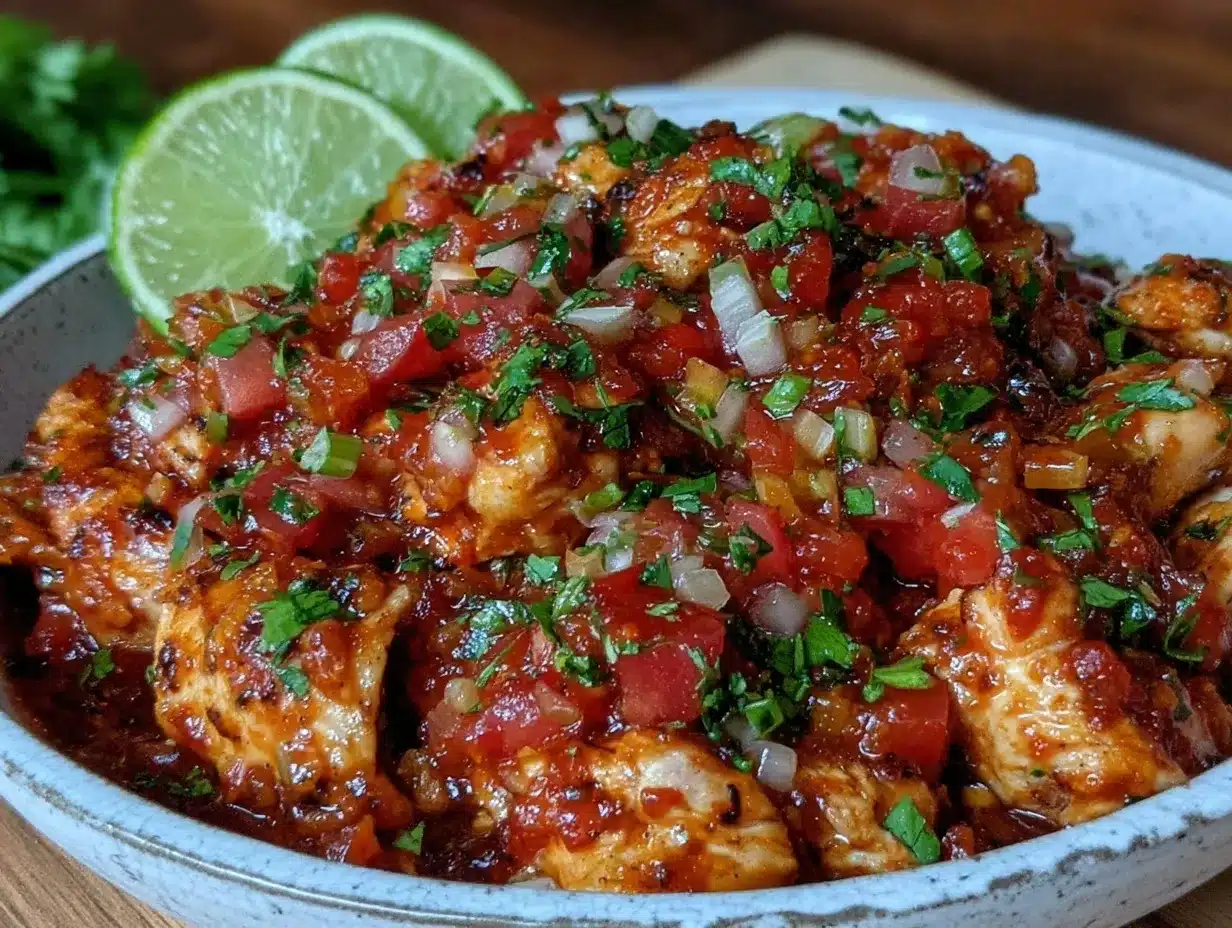
One evening, I was standing in my kitchen, staring blankly at the fridge, knowing I had about 30 minutes before my family would be hungry and impatient. Honestly, after a long day, the last thing I wanted was a complicated recipe or a ton of messy dishes. I remembered a jar of salsa sitting on the counter, and on a whim, tossed some chicken breasts in the Instant Pot with it. The magic happened fast—juicy, tender chicken infused with bright, tangy salsa flavors. That first bite surprised me so much I actually went back for seconds (and thirds). It wasn’t just easy; it felt like a tiny celebration in a bowl.
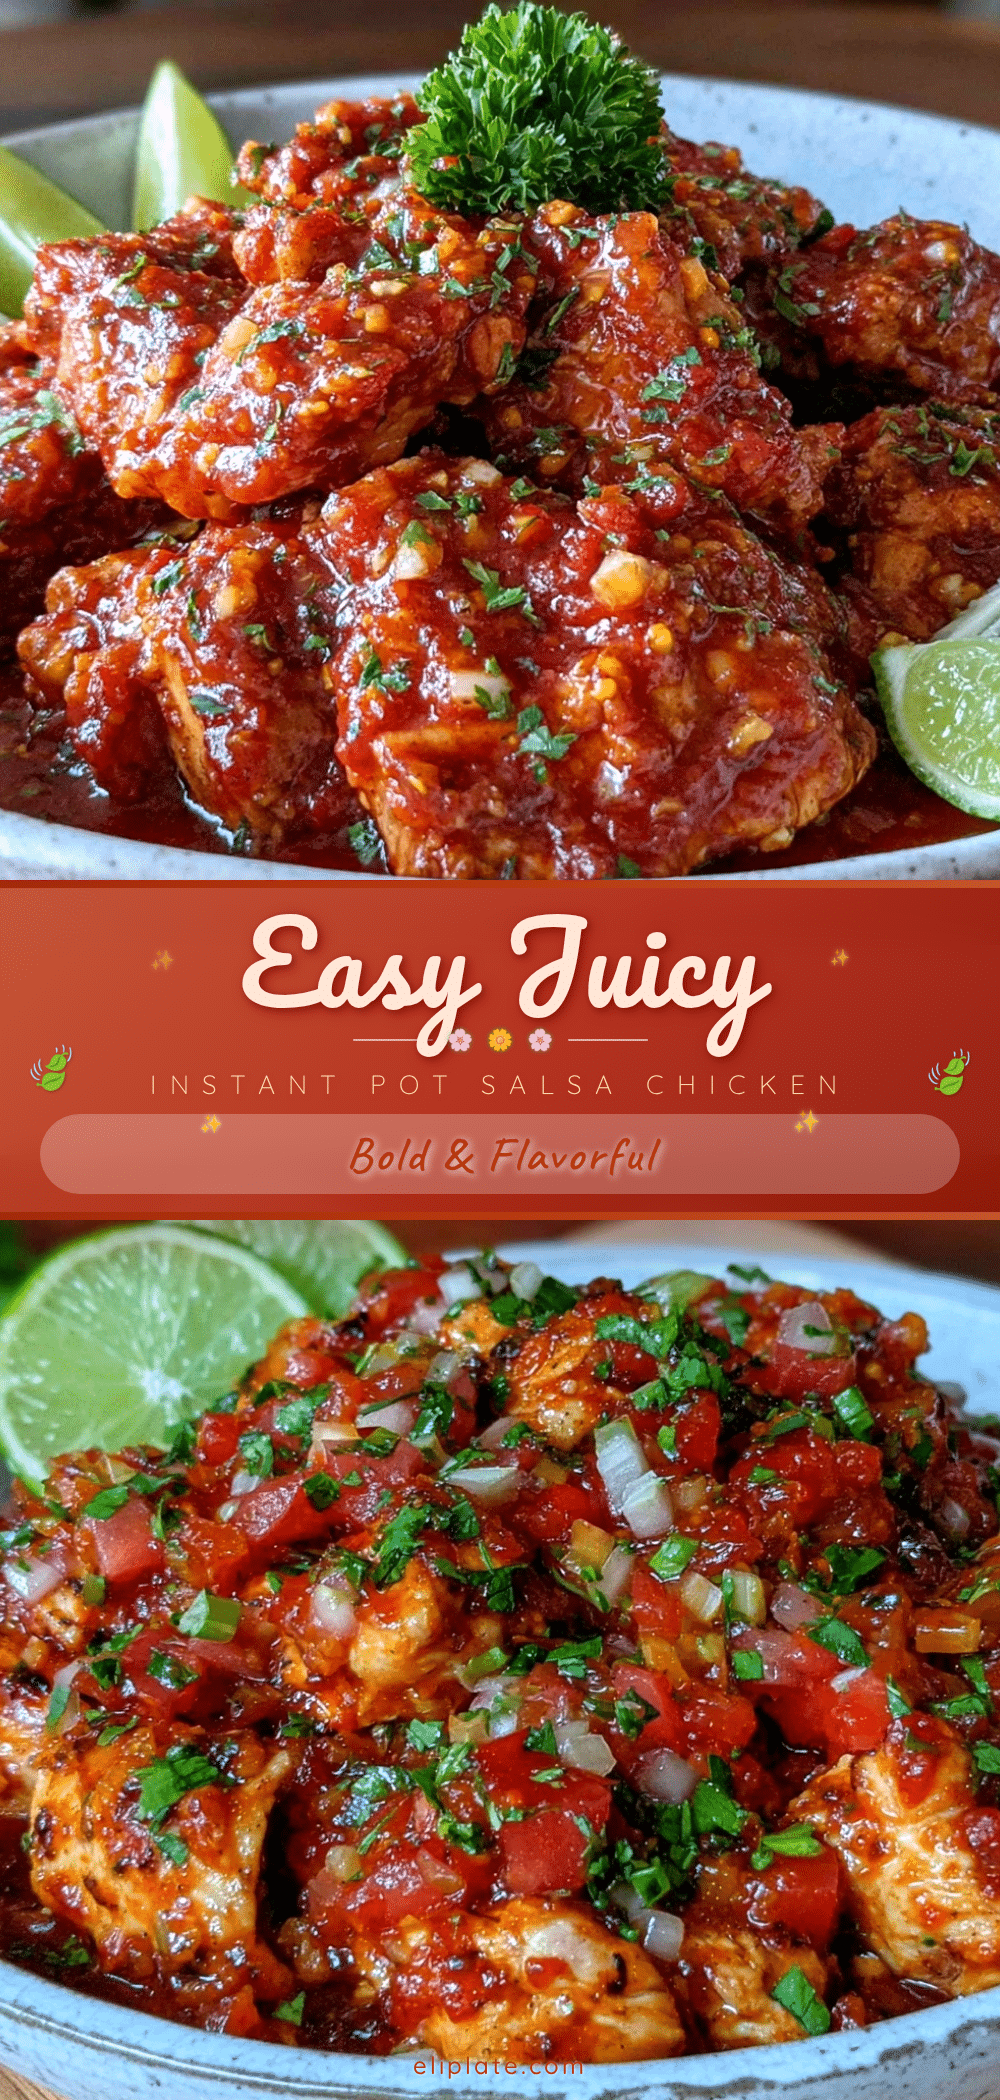
Since then, this Easy Juicy Instant Pot Salsa Chicken has become my go-to for those chaotic weekdays when I want something comforting but no-fuss. I don’t have to worry about overcooking the chicken or making a mess. Plus, the salsa adds zest without any extra effort—honestly, it’s the kind of recipe that makes you wonder why you ever complicated things in the first place.
It’s funny how a simple jar of salsa and a trusty Instant Pot turned what could’ve been a stressful dinner into a relaxed, tasty moment. If you’re anything like me—juggling work, family, and the endless to-do list—this recipe might just become your secret weapon. No frills, no fancy ingredients, just real, juicy chicken that’s ready when you are.
Why You’ll Love This Recipe
- Quick & Easy: Ready in under 30 minutes, perfect for busy weeknights when time is scarce.
- Simple Ingredients: Uses pantry staples like salsa and chicken breasts—no last-minute grocery runs needed.
- Perfect for Any Occasion: Great for casual dinners, meal prep, or even a laid-back taco night.
- Crowd-Pleaser: Kids and adults alike love the juicy, tender chicken with a hint of spice and tang.
- Unbelievably Delicious: The Instant Pot locks in moisture, making every bite flavorful and melt-in-your-mouth tender.
- Unique Touch: Unlike many salsa chicken recipes, this one uses a quick pressure-cooking method that keeps the chicken moist without drying out.
- Comfort Food Made Simple: It’s like a warm hug after a long day—satisfying but without the stress.
What Ingredients You Will Need
This recipe uses simple, wholesome ingredients to deliver bold flavor and satisfying texture without fuss. Most are pantry staples or easy to find, making it super accessible any day of the week.
- Chicken breasts, boneless and skinless (about 1.5 pounds / 680 grams) – opt for fresh or thawed frozen for even cooking
- Salsa, medium or chunky (1 cup / 240 ml) – I like using a good-quality store brand like Pace for fresh flavor
- Garlic powder (1 teaspoon) – adds a cozy, savory note
- Onion powder (1 teaspoon) – balances the garlic with mild sweetness
- Ground cumin (1/2 teaspoon) – gives a warm, earthy undertone
- Chili powder (1/2 teaspoon) – optional, for a little heat kick
- Salt (to taste, about 1/2 teaspoon) – enhances all the flavors
- Black pepper (1/4 teaspoon) – freshly ground if possible
- Olive oil (1 tablespoon) – for browning the chicken before pressure cooking (optional but recommended)
- Fresh cilantro (for garnish, optional) – adds a bright, fresh finish
Substitution tips: Use boneless thighs instead of breasts if you prefer darker meat; they stay juicy and add richness. For a lower sodium option, choose a low-sodium salsa or make your own. If you want it dairy-free, this recipe is naturally free of dairy, so you’re all set.
Equipment Needed
- Instant Pot or electric pressure cooker: The star of this recipe, it cooks the chicken quickly and keeps it moist.
- Tongs or a slotted spoon: For handling chicken breasts safely and gently.
- Measuring cups and spoons: To keep the seasoning accurate and balanced.
- Mixing bowl: Useful if you want to toss the chicken with spices before cooking.
- Optional: skillet or sauté pan: If you like to brown the chicken first for extra flavor, but this step can be skipped.
If you don’t have an Instant Pot, a stovetop pressure cooker works well, too. For budget-friendly options, multi-cookers with pressure settings are often on sale and save tons of time in the kitchen. I’ve found that a silicone spatula is handy for scraping the bottom if needed, and it’s gentle on the pot’s surface.
Preparation Method
- Prep the chicken: Pat 1.5 pounds (680 grams) of boneless, skinless chicken breasts dry with paper towels. This helps the seasoning stick better. (5 minutes)
- Season the chicken: In a small bowl, mix 1 teaspoon garlic powder, 1 teaspoon onion powder, ½ teaspoon ground cumin, ½ teaspoon chili powder (optional), ½ teaspoon salt, and ¼ teaspoon black pepper. Rub this spice blend evenly over both sides of each chicken breast. (3 minutes)
- Optional browning: Set the Instant Pot to ‘Sauté’ mode and heat 1 tablespoon olive oil. Brown the chicken breasts for about 2 minutes per side until lightly golden. This step adds depth but can be skipped if you’re in a hurry. (5 minutes)
- Add salsa: Turn off the ‘Sauté’ function. Pour 1 cup (240 ml) of medium or chunky salsa over the chicken breasts in the pot, spreading it gently to cover them. The salsa forms a flavorful cooking liquid that keeps the chicken juicy. (1 minute)
- Pressure cook: Seal the Instant Pot lid securely and set the valve to ‘Sealing.’ Cook on ‘Manual’ or ‘Pressure Cook’ high for 10 minutes. If using frozen chicken breasts, increase to 15 minutes. (10-15 minutes)
- Natural release: Once cooking time is up, allow the pressure to release naturally for 5 minutes, then carefully switch the valve to ‘Venting’ to release any remaining pressure. (7 minutes)
- Check doneness: Open the lid and check that the chicken has reached an internal temperature of 165°F (74°C). If not, use ‘Sauté’ mode to cook a few more minutes with the lid off. (1-2 minutes)
- Rest and shred (optional): For shredded chicken, transfer breasts to a bowl and shred with two forks. Return shredded chicken to the pot and mix with salsa juices. For sliced chicken, serve as is. (3 minutes)
- Garnish and serve: Sprinkle chopped fresh cilantro over the top before serving for a fresh touch. (1 minute)
During cooking, you’ll notice the kitchen filling with a warm, slightly smoky aroma—a good hint that dinner’s almost ready. The chicken should be tender and juicy, with the salsa locking in moisture and flavor. If the salsa seems thick, you can add a splash of water or chicken broth before pressure cooking for a looser sauce.
Cooking Tips & Techniques
Pressure cooking chicken is a bit of an art, but here’s what I’ve learned the hard way. First, don’t skip seasoning. The spices make all the difference—trust me, bland chicken is nobody’s friend. Secondly, browning the chicken before pressure cooking isn’t mandatory but does add layers of flavor and a bit of texture contrast.
One common mistake is overcooking. Chicken breasts can dry out quickly, but the Instant Pot’s sealed environment helps prevent that. Still, sticking to the 10-minute cook time and that crucial natural pressure release window keeps the meat tender and juicy.
Also, don’t forget to pat your chicken dry before seasoning—it helps the spices stick better and creates a better crust if you brown it. When shredding, wait a few minutes so the chicken’s juices redistribute; it makes for a moister final dish.
Multitasking tip: While the chicken is cooking, prep your sides or set the table. The Instant Pot frees up hands and time, which honestly is a lifesaver during busy evenings.
Variations & Adaptations
- Spice it up: Add a diced jalapeño or chipotle peppers in adobo sauce to the salsa before cooking for a smoky, spicy kick.
- Different meats: Swap chicken breasts for thighs for richer flavor or use turkey breasts for a leaner option.
- Seasonal veggies: Toss in chopped bell peppers or corn right before sealing the pot for extra color and nutrition.
- Low-carb twist: Serve over cauliflower rice or leafy greens instead of traditional rice or tortillas.
- Dairy-free creamy: Stir in a dollop of coconut yogurt after cooking for a creamy finish without dairy.
Once, I added pineapple chunks to the salsa and it was surprisingly fantastic — sweet meets savory in the best way. Feel free to experiment based on what’s in your fridge or your family’s favorites!
Serving & Storage Suggestions
This Easy Juicy Instant Pot Salsa Chicken shines best served hot and fresh. It pairs wonderfully with warm tortillas for tacos, a bed of fluffy rice, or even a crisp salad for a lighter meal. I like to garnish with fresh cilantro and a squeeze of lime to brighten the flavors.
Leftovers store beautifully in an airtight container in the refrigerator for up to 4 days. The flavors actually deepen overnight, making it even more satisfying the next day. For longer storage, freeze portions in freezer-safe bags for up to 3 months.
When reheating, do so gently in the microwave or on the stovetop with a splash of water to keep the chicken moist. Avoid overheating or it might dry out.
Pro tip: Use leftover salsa chicken in quesadillas, enchiladas, or even as a topping for nachos—the possibilities are endless!
Nutritional Information & Benefits
This recipe is a healthy choice, providing lean protein from chicken breasts and antioxidants from the salsa’s tomatoes, onions, and peppers. A typical serving contains approximately 250-300 calories, low in carbs, and packed with vitamins A and C.
The spices add flavor without extra calories, and using olive oil contributes heart-healthy fats. It’s naturally gluten-free and can be made dairy-free, making it suitable for many dietary needs.
From a wellness perspective, this dish hits the balance of satisfying comfort food while keeping things light and nutritious—a rare win in the weeknight dinner world.
Conclusion
This Easy Juicy Instant Pot Salsa Chicken recipe has become a quiet staple in my kitchen—simple, quick, and genuinely delicious. It’s the kind of meal that feels like it took more effort than it actually did, which is a win when time is tight and expectations are high.
Feel free to tweak the spice level, add your favorite veggies, or swap proteins to make it your own. Honestly, once you get it down, it’s hard to stop making it again and again (trust me, I’ve been there).
If you try this recipe, I’d love to hear how it turned out for you or what creative spins you added. Share your thoughts and let’s keep cooking simple and joyful!
Frequently Asked Questions
Can I use frozen chicken breasts in this recipe?
Yes! Increase the pressure cooking time to 15 minutes for frozen chicken breasts to ensure they cook through properly.
What type of salsa works best?
Medium or chunky salsa with balanced flavors works best. Avoid very watery salsa for thicker sauce, but feel free to adjust based on your preference.
Can I make this recipe spicier?
Absolutely! Add diced jalapeños, chipotle peppers, or extra chili powder to boost the heat to your liking.
Is it possible to use chicken thighs instead of breasts?
Yes, boneless skinless chicken thighs work great and stay juicy. Adjust cooking time to about 12 minutes for thighs.
How should I store leftovers?
Store leftovers in an airtight container in the fridge for up to 4 days or freeze for up to 3 months. Reheat gently to avoid drying out.
Pin This Recipe!
Easy Juicy Instant Pot Salsa Chicken Recipe for Perfect Weeknight Dinners
A quick and easy Instant Pot recipe featuring juicy, tender chicken breasts cooked with flavorful salsa and spices, perfect for busy weeknights.
- Prep Time: 8 minutes
- Cook Time: 17 minutes
- Total Time: 25 minutes
- Yield: 4 servings 1x
- Category: Main Course
- Cuisine: Mexican
Ingredients
- 1.5 pounds boneless, skinless chicken breasts
- 1 cup medium or chunky salsa
- 1 teaspoon garlic powder
- 1 teaspoon onion powder
- 1/2 teaspoon ground cumin
- 1/2 teaspoon chili powder (optional)
- 1/2 teaspoon salt
- 1/4 teaspoon black pepper
- 1 tablespoon olive oil (optional, for browning)
- Fresh cilantro (optional, for garnish)
Instructions
- Pat 1.5 pounds of boneless, skinless chicken breasts dry with paper towels.
- In a small bowl, mix 1 teaspoon garlic powder, 1 teaspoon onion powder, 1/2 teaspoon ground cumin, 1/2 teaspoon chili powder (optional), 1/2 teaspoon salt, and 1/4 teaspoon black pepper.
- Rub the spice blend evenly over both sides of each chicken breast.
- Optional: Set the Instant Pot to ‘Sauté’ mode and heat 1 tablespoon olive oil. Brown the chicken breasts for about 2 minutes per side until lightly golden.
- Turn off ‘Sauté’ mode. Pour 1 cup of salsa over the chicken breasts in the pot, spreading it gently to cover them.
- Seal the Instant Pot lid and set the valve to ‘Sealing.’ Cook on ‘Manual’ or ‘Pressure Cook’ high for 10 minutes (15 minutes if using frozen chicken breasts).
- Allow the pressure to release naturally for 5 minutes, then switch the valve to ‘Venting’ to release remaining pressure.
- Open the lid and check that the chicken has reached an internal temperature of 165°F (74°C). If not, cook a few more minutes using ‘Sauté’ mode with the lid off.
- Optional: Transfer chicken to a bowl and shred with two forks. Return shredded chicken to the pot and mix with salsa juices.
- Garnish with chopped fresh cilantro before serving.
Notes
Pat chicken dry before seasoning to help spices stick better. Browning chicken before pressure cooking adds flavor but can be skipped. Use natural pressure release to keep chicken juicy. Add a splash of water or chicken broth if salsa is too thick. Leftovers store well in fridge up to 4 days or freezer up to 3 months.
Nutrition
- Serving Size: Approximately 1 chic
- Calories: 275
- Sugar: 3
- Sodium: 550
- Fat: 10
- Saturated Fat: 1.5
- Carbohydrates: 6
- Fiber: 1
- Protein: 38
Keywords: Instant Pot, salsa chicken, easy dinner, weeknight meal, pressure cooker chicken, quick recipe, healthy chicken