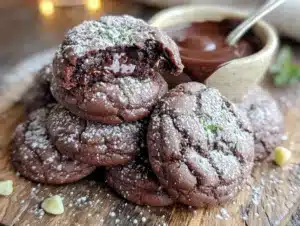
It was 11:47 PM on a random Thursday, and I had a very specific, almost aggressive craving for a warm chocolate chip cookie. The kind of craving that makes you question your life choices—like, why didn’t I plan for this? I wanted that soft, gooey center and those slightly crisp edges, the whole comforting deal. But I had no eggs. The carton was empty, just a sad, hollow plastic shell staring back at me from the fridge. I also didn’t have the energy for a full batch, or the patience to chill dough for an hour. Honestly, I was this close to just eating a spoonful of peanut butter and calling it a night. Then I remembered a trick I’d seen in a late-night cooking rabbit hole: using a single egg yolk. It sounded weird, but so did my craving at that hour. I had all the other basics—flour, butter, sugar, and a half-empty bag of chocolate chips. So, I threw caution to the wind. I mixed everything in one bowl, scooped out just six perfect little dough balls, and popped them in the oven. No chilling, no fuss, just pure, impulsive baking. When I pulled them out, they were golden, puffed up, and smelled like a hug. That first bite—warm, melty, perfectly soft—was a small victory at midnight. It was my best, weirdest work, done without an audience. And honestly? I’ve been making them that way ever since. Maybe you’ve been there, standing in your kitchen at a ridiculous hour, just needing a little bit of comfort. These cookies are for that exact moment.
Why You’ll Love This Recipe
Let me tell you, these aren’t just any chocolate chip cookies. They’re the result of a late-night experiment that turned into a permanent favorite. I’ve tested this recipe about a dozen times now, tweaking the butter-to-flour ratio until it was just right. The secret here is using a single egg yolk—it gives you all the richness and tenderness without making the dough too wet. It’s a trick I picked up from a pastry chef friend, and it works like a charm. So, why should you make these instead of the classic recipe?
- Quick & Easy: From start to finish, you’re looking at about 20 minutes. No waiting, no chilling, just instant gratification.
- Simple Ingredients: You probably have everything in your pantry right now. Flour, butter, sugar, chocolate chips—the usual suspects.
- Perfect for a Cozy Night: When the weather is cold, or you’ve had a rough day, a small batch of warm cookies is the ultimate comfort food.
- Crowd-Pleaser: I’ve brought these to small gatherings, and they vanish in minutes. Even the “I don’t bake” crowd asks for the recipe.
- Unbelievably Delicious: The texture is spot on—soft centers with slightly crispy edges. It’s comfort food at its finest, without the fuss of a full batch.
This recipe is different because it’s designed for those moments when you need a little bit of joy, not a whole tray. It’s not just another version; it’s my best version, perfected for speed and satisfaction. Honestly, it’s the kind of cookie that makes you close your eyes after the first bite. It’s soul-soothing, and it’s ready in the time it takes to preheat your oven.
What Ingredients You Will Need
This recipe uses simple, pantry-staple ingredients to deliver bold flavor and that perfect, cozy texture. You don’t need anything fancy here—just the good stuff you probably already have on hand. Let’s break it down.
- Unsalted Butter (4 tablespoons, softened): I always use unsalted so I can control the salt level. Make sure it’s softened to room temperature, not melted. (This helps create that chewy texture.)
- Granulated Sugar (3 tablespoons): This adds sweetness and helps with that slight crispiness on the edges.
- Light Brown Sugar (3 tablespoons, packed): The molasses in brown sugar gives the cookies a deeper flavor and keeps them soft. I like Domino brand for consistent results.
- Egg Yolk (1 large): This is the star of the show. Using just the yolk adds richness and tenderness without making the dough too sticky. Save the egg white for an omelet tomorrow!
- Vanilla Extract (½ teaspoon): Pure vanilla extract is best here. It adds warmth and rounds out the sweetness.
- All-Purpose Flour (¾ cup, 90g): Standard all-purpose flour works perfectly. Spoon it into your measuring cup and level it off—don’t scoop directly, or you’ll pack in too much.
- Baking Soda (¼ teaspoon): This helps the cookies spread just the right amount and gives them a little lift.
- Salt (¼ teaspoon): A little salt balances the sweetness and makes the chocolate flavor pop. I use fine sea salt.
- Semi-Sweet Chocolate Chips (⅓ cup, plus a few extra for topping): I prefer Ghirardelli or Guittard chips for their rich flavor. You can also chop up a chocolate bar for bigger puddles of chocolate.
Substitution Guidance: If you’re out of brown sugar, you can use all granulated sugar (3 tablespoons), but the cookies will be a bit crisper. For a dairy-free option, use vegan butter sticks (like Earth Balance) and ensure your chocolate chips are dairy-free. If you only have salted butter, just skip the added salt in the recipe.
Equipment Needed
You don’t need a fancy kitchen to make these cookies. Here’s what you’ll need to get the job done:
- Medium Mixing Bowl: A standard ceramic or glass bowl works great. I’ve used the same Pyrex bowl for years.
- Electric Hand Mixer or Wooden Spoon: An electric mixer makes creaming the butter and sugars a breeze, but a good old-fashioned spoon and some elbow grease work too. I’ve done both—the spoon builds character!
- Rubber Spatula: For scraping down the sides of the bowl and folding in the chocolate chips.
- Cookie Scoop or Tablespoon: A 1.5-tablespoon cookie scoop ensures even-sized cookies. A regular tablespoon works if you don’t have one.
- Baking Sheet: A standard half-sheet pan is perfect. No need to grease it if you use parchment paper.
- Parchment Paper or Silicone Baking Mat: This prevents sticking and makes cleanup a breeze. I prefer parchment for a slightly crisper bottom.
- Cooling Rack: Optional but helpful for letting the cookies cool evenly without getting soggy bottoms.
Preparation Method
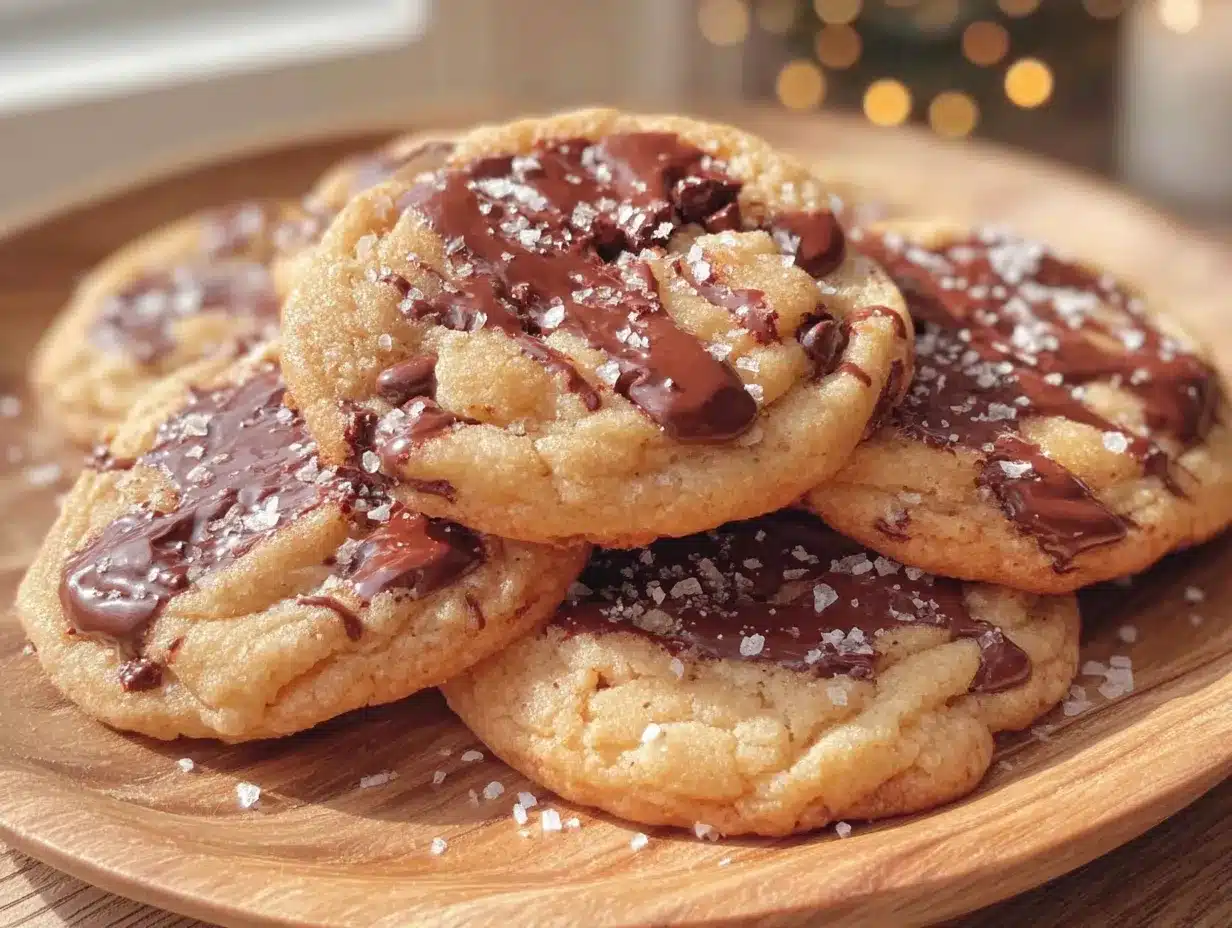
Alright, let’s get to the fun part. This is where the magic happens. Follow these steps, and you’ll have warm cookies in under 20 minutes.
- Preheat Your Oven to 350°F (175°C): This is crucial. Get your oven hot and ready so the cookies start baking immediately. Line your baking sheet with parchment paper or a silicone mat.
- Cream the Butter and Sugars: In your medium mixing bowl, combine 4 tablespoons of softened unsalted butter, 3 tablespoons of granulated sugar, and 3 tablespoons of packed light brown sugar. Beat with an electric mixer on medium speed for about 2 minutes, until the mixture is light, fluffy, and pale in color. If you’re using a spoon, give it a good 3-4 minutes of vigorous stirring. (You’ll know it’s ready when it looks like a thick paste.)
- Add the Egg Yolk and Vanilla: Scrape down the sides of the bowl with your spatula. Add 1 large egg yolk and ½ teaspoon of vanilla extract. Mix on low speed until just combined. Don’t overmix here—you don’t want to incorporate too much air.
- Combine the Dry Ingredients: In a small separate bowl, whisk together ¾ cup (90g) of all-purpose flour, ¼ teaspoon of baking soda, and ¼ teaspoon of salt. This ensures the baking soda and salt are evenly distributed.
- Mix the Dry into the Wet: Add the flour mixture to the butter mixture. Mix on low speed or fold with your spatula until just a few streaks of flour remain. Stop the mixer—you want to avoid overworking the dough.
- Fold in the Chocolate Chips: Add ⅓ cup of semi-sweet chocolate chips to the bowl. Use your spatula to fold them in gently until they’re evenly distributed. The dough will be thick and slightly sticky—that’s perfect.
- Scoop the Dough: Using your cookie scoop or a tablespoon, scoop out 6 equal portions of dough (about 1.5 tablespoons each). Place them on the prepared baking sheet, spacing them about 2 inches apart. Press a few extra chocolate chips on top of each dough ball for that bakery-style look.
- Bake Immediately (No Chilling!): Place the baking sheet in the preheated oven. Bake for 10-12 minutes, or until the edges are golden brown and the centers look slightly underdone and puffy. The centers will continue to set as they cool. For softer cookies, pull them out at 10 minutes.
- Cool on the Baking Sheet: Let the cookies rest on the hot baking sheet for 5 minutes. This allows them to finish setting up. Then, transfer them to a cooling rack if you have one, or just eat them warm off the sheet.
Troubleshooting Tip: If your cookies spread too much, your butter was likely too soft or melted. Next time, make sure it’s just softened, not greasy. If they’re too puffy, you might have added a bit too much flour. Spoon and level your flour next time!
Cooking Tips & Techniques
I’ve made a lot of cookie mistakes in my day, and I’m happy to share them so you don’t have to. Here are a few things I’ve learned the hard way.
Don’t Overmix the Dough. This is the number one rookie mistake. Once you add the flour, mix just until it disappears. Overmixing develops the gluten, which makes your cookies tough and cakey instead of tender. I once beat the dough for an extra minute because I was distracted, and the cookies came out like little hockey pucks. Learn from my failure!
Use Room Temperature Ingredients. Your butter should be softened, and your egg yolk should be at room temperature. Cold ingredients don’t cream together well, and you’ll end up with a lumpy dough. If you forgot to take the egg out, place it in a bowl of warm water for 5 minutes. It’s a simple trick that works every time.
The “Underbake” Rule. For the softest, gooiest cookies, pull them out of the oven when the centers still look a little underdone. They’ll look puffy and slightly wet in the middle. Trust the process—they’ll continue to bake on the hot sheet. I’ve ruined plenty of batches by waiting for that “perfect” golden color everywhere. The edges should be golden, but the center should be pale.
Batch Timing Strategy. Since this is a small batch, you only have one sheet to worry about. But if you’re doubling the recipe (which you might!), bake one sheet at a time on the center rack. Baking two sheets at once can lead to uneven baking.
Variations & Adaptations
One of the best things about this recipe is how flexible it is. You can switch it up based on what you’re craving or what’s in your pantry. Here are a few of my favorite variations.
- Double Chocolate Chunk: Swap 1 tablespoon of the flour for 1 tablespoon of unsweetened cocoa powder. Use white chocolate chips or milk chocolate chunks instead of semi-sweet. It’s a rich, decadent twist.
- Sea Salt Finish: Just before baking, sprinkle a tiny pinch of flaky sea salt (like Maldon) on top of each dough ball. That sweet-salty combo is absolutely addictive. I tried this after seeing it on a fancy bakery menu, and now I can’t go back.
- Nutty Crunch: Fold in ¼ cup of toasted, chopped walnuts or pecans along with the chocolate chips. Toast them in a dry pan for 3-4 minutes first—it brings out their flavor. My neighbor Sarah swears by this version.
- Gluten-Free Adaptation: Use a 1:1 gluten-free baking flour blend (like King Arthur Measure for Measure). The texture will be slightly more delicate, but they’re still delicious. I’ve tested this for a friend with Celiac, and it works.
- Vegan Version: Use 4 tablespoons of vegan butter (softened) and replace the egg yolk with 1 tablespoon of aquafaba (the liquid from a can of chickpeas) mixed with ½ teaspoon of cornstarch. It’s a bit more finicky, but it works in a pinch.
Serving & Storage Suggestions
These cookies are best served warm, right off the baking sheet. That’s when the chocolate is still melty and the texture is at its peak. But let’s be real—they’re pretty fantastic at room temperature too.
Serving Ideas: Serve them with a tall glass of cold milk, a scoop of vanilla ice cream for an impromptu ice cream sandwich, or alongside a cup of hot coffee or tea. For a cozy dessert, crumble one over a bowl of vanilla yogurt. The warmth from the cookie melts into the yogurt—it’s a simple pleasure.
Storage Instructions: Store any leftover cookies (if there are any!) in an airtight container at room temperature for up to 3 days. To keep them soft, toss a slice of bread into the container—it absorbs excess air and keeps the cookies chewy. I learned this from my grandmother.
Freezing: You can freeze the baked cookies for up to 2 months. Wrap them individually in plastic wrap and place them in a freezer bag. To reheat, pop one in the microwave for 10-15 seconds, or warm them in a 300°F oven for 5 minutes. The flavor actually deepens after freezing!
Reheating: For that just-baked experience, reheat a cookie in a toaster oven at 325°F for 3-4 minutes. The edges get slightly crisp again, and the center stays soft. It’s like a time machine for cookies.
Nutritional Information & Benefits
Let’s be honest—these are a treat, not a health food. But knowing what’s in them can help you enjoy them mindfully. Here’s the estimated nutritional breakdown per cookie (based on 6 cookies):
- Calories: Approximately 185
- Fat: 10g
- Carbohydrates: 23g
- Protein: 2g
- Sugar: 14g
Health Benefits: Dark chocolate (if you use semi-sweet or dark chips) contains antioxidants called flavonoids, which can support heart health. The butter provides a small amount of vitamin A, and the egg yolk is a source of choline, which is good for brain function. That said, these are a comfort food—enjoy them as part of a balanced diet.
Dietary Considerations: This recipe is naturally vegetarian. For gluten-free or vegan options, see the variations section above. It contains dairy (butter) and eggs, so it’s not suitable for those with allergies to those ingredients without substitutions.
My Perspective: I believe in enjoying treats without guilt. A small batch like this lets you have a little indulgence without a week’s worth of leftovers calling your name. It’s about balance, not restriction.
Conclusion
So there you have it—the best small-batch chocolate chip cookies that require zero chilling and deliver maximum comfort. This recipe is my go-to for those late-night cravings, quiet evenings, or any time I need a little warmth in my kitchen. It’s simple, forgiving, and incredibly satisfying. I love that it uses just one bowl and one yolk, and that I can go from craving to cookie in under 20 minutes. Honestly, it feels like a little secret I’m sharing with you.
I’d love to know how yours turn out! Did you add a twist? Did you eat them all before they cooled? Drop a comment below and let me know—I read every single one. And if you try this recipe, tag me in your photos on social media. Your support means the world to me. Now go on, preheat that oven, and treat yourself. You deserve it.
Frequently Asked Questions
Can I use salted butter instead of unsalted?
Yes, you can! Just omit the ¼ teaspoon of added salt in the recipe. The cookies will still taste great, but they might be slightly saltier. I prefer unsalted so I can control the salt level, but salted butter works in a pinch.
Why don’t I need to chill the dough?
This recipe is specifically designed to skip the chilling step. The ratio of butter to flour is balanced so the dough is firm enough to hold its shape without refrigeration. Chilling is usually needed to prevent spread, but here the small batch and proper butter temperature do the job for you.
Can I double this recipe?
Absolutely! Just double all the ingredients. Use 2 egg yolks instead of one (save the whites for another use). The baking time may increase by 1-2 minutes since you’ll have more cookies on the sheet. Bake in batches for best results.
My cookies turned out flat. What went wrong?
Flat cookies usually mean your butter was too soft or melted. Make sure your butter is softened but still cool to the touch—not greasy. Also, check that your baking soda is fresh. Expired leavening agents can cause flat cookies. Finally, measure your flour correctly by spooning it into the cup and leveling it off.
Can I use milk chocolate chips instead of semi-sweet?
Absolutely! Milk chocolate chips will make the cookies sweeter and creamier. If you prefer a less sweet cookie, stick with semi-sweet or even dark chocolate chips. I’ve used both, and it’s really a matter of personal preference. Just adjust the sugar slightly if you find milk chocolate too sweet.
Pin This Recipe!
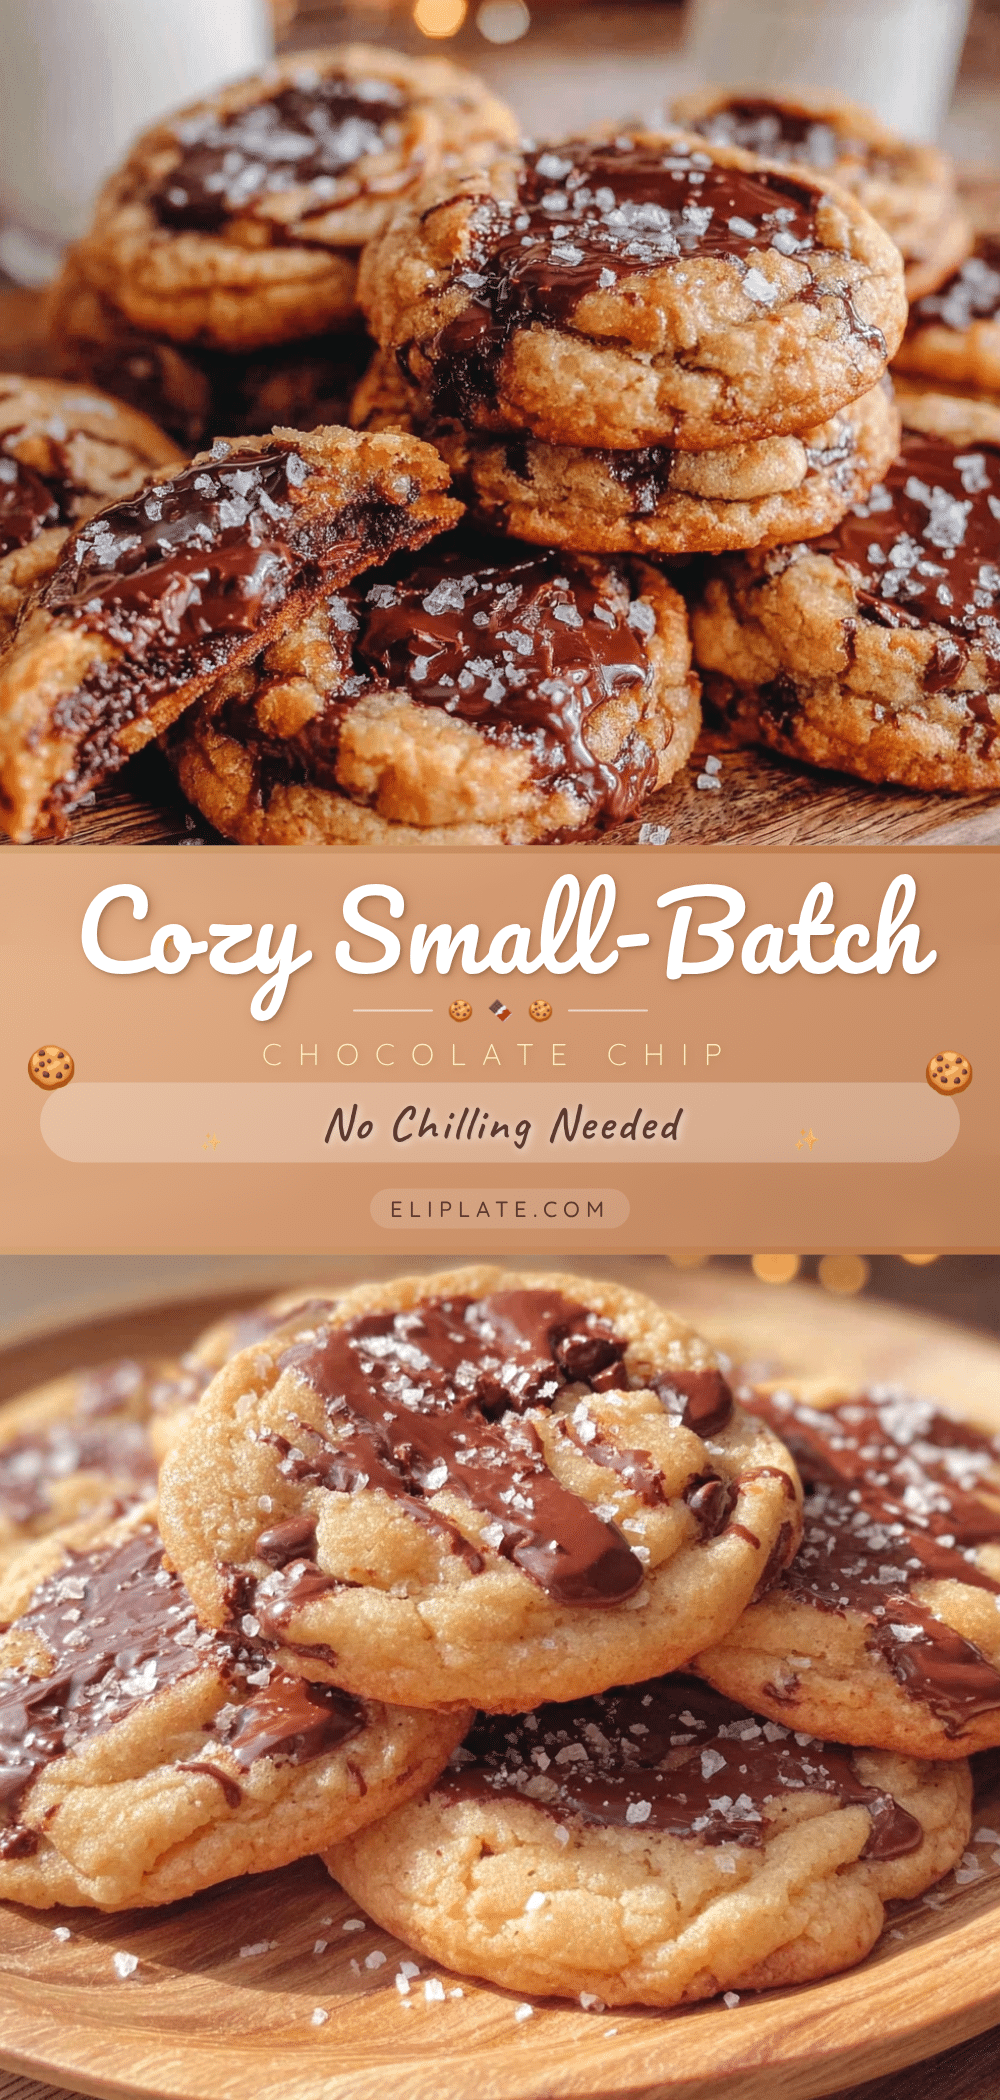
The Best Small-Batch Chocolate Chip Cookies (No Chilling)

These small-batch chocolate chip cookies are soft, gooey, and ready in under 20 minutes with no chilling required. Perfect for late-night cravings or cozy nights in.
- Prep Time: 10 minutes
- Cook Time: 10-12 minutes
- Total Time: 20 minutes
- Yield: 6 cookies 1x
- Category: Dessert
- Cuisine: American
Ingredients
- 4 tablespoons unsalted butter, softened
- 3 tablespoons granulated sugar
- 3 tablespoons light brown sugar, packed
- 1 large egg yolk
- ½ teaspoon vanilla extract
- ¾ cup all-purpose flour (90g)
- ¼ teaspoon baking soda
- ¼ teaspoon salt
- ⅓ cup semi-sweet chocolate chips, plus extra for topping
Instructions
- Preheat your oven to 350°F (175°C). Line a baking sheet with parchment paper or a silicone mat.
- In a medium mixing bowl, cream together the softened butter, granulated sugar, and brown sugar with an electric mixer on medium speed for about 2 minutes until light and fluffy. Alternatively, use a wooden spoon and stir vigorously for 3-4 minutes.
- Scrape down the sides of the bowl. Add the egg yolk and vanilla extract, then mix on low speed until just combined.
- In a small bowl, whisk together the flour, baking soda, and salt.
- Add the dry ingredients to the wet mixture. Mix on low speed or fold with a spatula until just a few streaks of flour remain. Do not overmix.
- Fold in the chocolate chips using a spatula until evenly distributed. The dough will be thick and slightly sticky.
- Using a cookie scoop or tablespoon, scoop out 6 equal portions of dough (about 1.5 tablespoons each) and place them on the prepared baking sheet, spacing them about 2 inches apart. Press a few extra chocolate chips on top of each dough ball.
- Bake immediately (no chilling) for 10-12 minutes, until the edges are golden brown and the centers look slightly underdone and puffy. For softer cookies, bake for 10 minutes.
- Let the cookies cool on the baking sheet for 5 minutes, then transfer to a cooling rack or enjoy warm.
Notes
For the softest cookies, pull them out of the oven when the centers still look slightly underdone. If your cookies spread too much, your butter was too soft or melted. For a dairy-free version, use vegan butter and dairy-free chocolate chips. For a gluten-free version, use a 1:1 gluten-free baking flour blend.
Nutrition
- Serving Size: 1 cookie
- Calories: 185
- Sugar: 14
- Sodium: 120
- Fat: 10
- Saturated Fat: 6
- Carbohydrates: 23
- Fiber: 1
- Protein: 2
Keywords: small-batch chocolate chip cookies, no chill cookies, quick cookies, easy cookies, late-night cookies