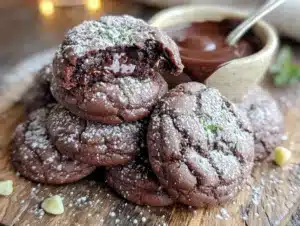
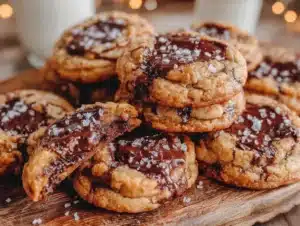
This was supposed to be a simple chocolate cupcake. I had the cocoa powder out, the butter softening on the counter, and my three-year-old “helping” by dumping sprinkles into a separate bowl. But then I grabbed the wrong bottle from the baking cupboard. Instead of vanilla extract, I grabbed a bottle of black food coloring I’d bought on a whim for a failed galaxy cake experiment months earlier. I realized my mistake after the batter was already mixed, staring at this impossibly dark, almost gothic-looking mixture. I was already running late for a playdate, the kitchen was a mess, and I had no time to start over.
I almost threw it out, honestly. But my daughter looked at the batter and said, “It’s a spooky cake, Mommy!” So I baked them anyway, figuring they’d be a funny, slightly embarrassing story to tell my friend. What came out of the oven was nothing like the plan. They were the fluffiest, most tender chocolate cupcakes I’d ever made. The color was this dramatic, deep velvet black, and the flavor? Perfectly rich, not at all altered by the coloring. I topped them with a quick cream cheese frosting I had in the fridge, and they were gone before the playdate even started.
That’s how these Quick Black Velvet Halloween Cupcakes were born—from a total kitchen fail. And now, they’re the only cupcakes I make for Halloween. They’re so fast to put together, you can literally make the batter in one bowl in under ten minutes. Maybe you’ve been there, staring at a baking mistake and wondering if it’s salvageable? Let me tell you, this one is more than salvageable. It’s become a tradition. The deep black color is perfect for a spooky spread, and the tangy cream cheese frosting cuts through the richness just right. I keep making them because they save me every October when I’m short on time but still want something that looks impressive. They’re proof that sometimes the best recipes come from the moments you least expect them.
Why You’ll Love This Recipe
I’ve tested this recipe more times than I care to count, tweaking the flour ratio and the amount of cocoa to get that perfect, tender crumb. This isn’t just another chocolate cupcake recipe dressed up for Halloween. It’s a genuinely better cupcake that happens to be quick and incredibly fun.
- Quick & Easy: From start to finish, you can have these on the table in under 30 minutes. The batter comes together in one bowl with a whisk—no stand mixer needed. Perfect for that last-minute Halloween party or a weeknight treat.
- Simple Ingredients: You likely have everything in your pantry right now. No weird extracts or specialty flours. The only special item is black food coloring, which is easy to find online or at any craft store.
- Perfect for Halloween: The dramatic black color makes these the star of any spooky dessert table. They’re great for classroom parties, office potlucks, or just a fun night in with the kids.
- Crowd-Pleaser: Kids love the color, and adults love the flavor. I’ve never brought these anywhere without someone asking for the recipe. The cream cheese frosting is the perfect tangy counterpoint to the rich chocolate.
- Unbelievably Delicious: The texture is what got me. They’re incredibly moist and fluffy, not dense or dry like some black velvet recipes. The cocoa flavor is present but not overwhelming, letting the cream cheese frosting shine.
What makes this different from the rest? It’s the technique. Most black velvet recipes use a ton of extra cocoa powder to get a dark color, which makes the cupcakes dry. I use a standard amount of cocoa and rely on the food coloring for the color, keeping the crumb tender and light. It’s a simple swap that makes all the difference. This recipe isnt just good—it is the kind that makes you close your eyes after the first bite. It’s comfort food reimagined for a spooky holiday—faster, easier, but with the same soul-soothing satisfaction. Perfect for impressing guests without stress, or turning a simple weeknight into something memorable.
What Ingredients You Will Need
This recipe uses simple, wholesome ingredients to deliver bold flavor and satisfying texture without the fuss. Most of these are pantry staples, and the few specialty items are easy to find.
- All-purpose flour – 1 ½ cups (190g). This gives the cupcakes structure. Spoon it into your measuring cup and level it off for accuracy.
- Granulated sugar – 1 cup (200g). Adds sweetness and helps with the tender texture.
- Unsweetened cocoa powder – ¼ cup (25g). I recommend Hershey’s Special Dark for a richer flavor, but regular works fine too.
- Baking soda – 1 teaspoon. This is the main leavening agent, giving the cupcakes their rise.
- Salt – ½ teaspoon. Balances the sweetness and enhances the chocolate flavor.
- Buttermilk – ½ cup (120ml), room temperature. This is key for moisture and tenderness. If you don’t have buttermilk, add 1 ½ teaspoons of lemon juice or white vinegar to regular milk and let it sit for 5 minutes.
- Vegetable oil – ½ cup (120ml). Keeps the cupcakes moist for days. Use a neutral oil like canola or grapeseed.
- Large egg – 1, room temperature. Binds everything together.
- Vanilla extract – 1 teaspoon. Use pure vanilla for the best flavor, not imitation.
- Black gel food coloring – 1 to 2 teaspoons. This is the star of the show. I prefer gel coloring over liquid because it gives a deeper color without thinning the batter. The brand Americolor works great.
- White vinegar – 1 teaspoon. This reacts with the baking soda to help the cupcakes rise and creates a fine crumb.
For the Cream Cheese Frosting:
- Cream cheese – 8 ounces (226g), softened. Use full-fat block cream cheese, not the spreadable kind in a tub. It holds its shape better.
- Unsalted butter – ½ cup (113g), softened. Adds stability and richness.
- Powdered sugar – 3 to 4 cups (360g to 480g). Adjust for your desired sweetness and consistency.
- Vanilla extract – 1 teaspoon.
- Pinch of salt – Just a tiny one to cut the sweetness.
Substitution Guidance:
For a dairy-free option, use a plant-based buttermilk (like almond milk with vinegar) and a dairy-free cream cheese substitute, like Kite Hill. For a gluten-free version, swap the all-purpose flour with a 1:1 gluten-free baking blend. I’ve used Bob’s Red Mill with great results. Just note the texture might be slightly more delicate.
Equipment Needed
You don’t need a fancy kitchen setup for these. Here’s what you’ll need:
- Muffin tin – Standard 12-cup size. I use a non-stick one, but any will do.
- Paper cupcake liners – Get Halloween-themed ones for extra fun! I like the foil-lined ones for a cleaner release.
- Large mixing bowl – For the dry ingredients.
- Medium mixing bowl or large liquid measuring cup – For the wet ingredients.
- Whisk – A good balloon whisk is all you need. No electric mixer required for the batter.
- Rubber spatula – For scraping down the bowl and folding.
- Cooling rack – Essential for even cooling so the frosting doesn’t melt.
- Electric hand mixer or stand mixer – For the cream cheese frosting. You can do it by hand, but it takes some elbow grease to get it smooth.
- Piping bag and tip – Optional, but gives a professional look. I use a Wilton 1M tip for a classic swirl. A zip-top bag with the corner snipped off works in a pinch.
If you don’t have a piping bag, don’t stress. You can simply spread the frosting with an offset spatula or a butter knife. I’ve done both, and honestly, the rustic look is charming. Just make sure your cream cheese is fully softened, or you’ll end up with lumpy frosting and a sore arm.
Preparation Method
Preheat your oven to 350°F (175°C). Line your muffin tin with 12 paper liners. This is a one-bowl batter situation, so let’s keep it simple.
- Mix the dry ingredients: In your large mixing bowl, whisk together the flour, sugar, cocoa powder, baking soda, and salt. Make sure there are no lumps from the cocoa. I like to sift the cocoa powder in if it seems clumpy.
- Combine the wet ingredients: In your medium bowl or measuring cup, whisk together the buttermilk, vegetable oil, egg, vanilla extract, and black gel food coloring. Whisk until the color is fully incorporated. It will look like a scary, dark gray liquid. That’s perfect.
- Make a well and combine: Create a well in the center of the dry ingredients. Pour in the wet mixture and the white vinegar. Stir with a rubber spatula or whisk until just combined. Do not overmix! A few tiny lumps are fine. Overmixing will make the cupcakes tough. The batter will be thin—thinner than a typical cake batter. That’s normal.
- Fill the liners: Divide the batter evenly among the 12 liners. I use a cookie scoop or a ¼-cup measure to keep them even. Fill each liner about ⅔ full. The batter will be runny, so work quickly.
- Bake: Place the tin in the preheated oven and bake for 15 to 18 minutes. The cupcakes are done when a toothpick inserted into the center comes out clean or with a few moist crumbs. The tops will spring back when lightly touched. Start checking at the 15-minute mark to avoid overbaking.
- Cool completely: Transfer the tin to a cooling rack and let the cupcakes cool in the pan for 5 minutes. Then remove them from the tin and let them cool completely on the rack. This is crucial—if the cupcakes are even slightly warm, the cream cheese frosting will slide right off.
- Make the frosting: While the cupcakes cool, make your frosting. In a large bowl, beat the softened cream cheese and butter together with an electric mixer until smooth and creamy, about 2 minutes. Add the vanilla and a pinch of salt. Gradually add the powdered sugar, 1 cup at a time, beating on low speed until incorporated. Increase speed to medium-high and beat for 2 minutes until light and fluffy. If the frosting is too thick, add a teaspoon of milk. If it’s too thin, add more powdered sugar.
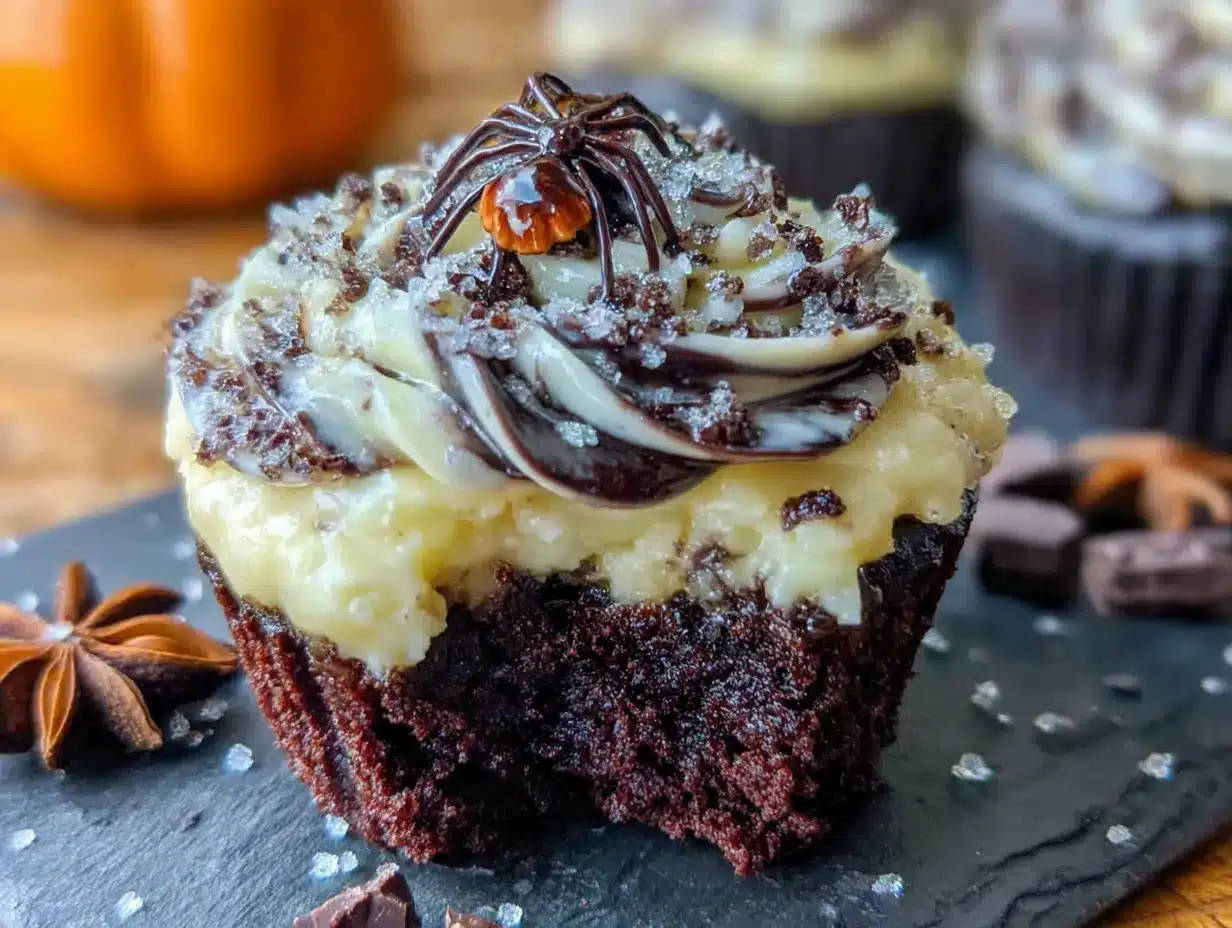
- Frost and decorate: Once the cupcakes are completely cool, frost them. I pipe a swirl using a piping bag, but you can simply spread it on. Top with Halloween sprinkles, candy eyes, or a small plastic spider ring for extra fun.
Sensory Cues: When you pull the cupcakes out of the oven, they should be slightly domed on top and the edges will be just pulling away from the liners. The smell is incredible—rich chocolate with a hint of vanilla. The frosting should be thick enough to hold its shape but soft enough to spread easily. If it’s too stiff, it will tear the top of the cupcake.
Cooking Tips & Techniques
I’ve made these cupcakes at least a dozen times now, and I’ve learned a few things the hard way. Here are my best tips.
Don’t overmix the batter. I cannot stress this enough. The first time I made these, I used a hand mixer and beat the batter until it was perfectly smooth. The cupcakes came out dense and almost rubbery. The gluten develops quickly, so mix only until the flour disappears. A few lumps are your friend.
Room temperature ingredients matter. Cold buttermilk or a cold egg will make the batter seize up and create a tough crumb. Take them out of the fridge 30 minutes before you start. If you forget, place the egg in a bowl of warm water for 5 minutes, and microwave the buttermilk for 10 seconds.
Use gel food coloring, not liquid. Liquid food coloring will thin out your batter and you’ll need a ton of it to get a true black. Gel coloring is concentrated, so a teaspoon or two is all you need. I’ve tried the liquid drops, and the cupcakes came out a sad, muddy gray. Not spooky at all.
Check your oven temperature. Ovens run hot or cold. I once baked a batch at 375°F because I was in a hurry, and the tops cracked and the centers were still raw. Invest in an oven thermometer. It’s a cheap tool that saves a lot of heartache.
Let the frosting soften naturally. I once tried to soften cream cheese in the microwave to speed things up. It melted in spots and my frosting was a lumpy, soupy mess. Leave the cream cheese and butter on the counter for at least an hour. Patience pays off.
Pipe frosting on cool cupcakes only. I know it’s tempting to get them frosted and eaten, but warm cupcakes will turn your beautiful cream cheese frosting into a puddle. Trust me, I learned this the messy way.
Variations & Adaptations
This recipe is surprisingly versatile. Here are a few ways I’ve adapted it over the years.
Spider Web Cupcakes: After frosting, pipe a spiral of white frosting on top of each cupcake. Use a toothpick to drag lines from the center outward to create a web effect. It’s easier than it looks and always gets compliments.
Vegan Version: Swap the buttermilk for ½ cup of almond milk mixed with 1 ½ teaspoons of apple cider vinegar. Use a flax egg (1 tablespoon ground flaxseed mixed with 3 tablespoons water, let sit for 5 minutes) instead of the regular egg. For the frosting, use a dairy-free cream cheese like Violife. The texture is slightly denser but still delicious.
Gluten-Free Version: Substitute the all-purpose flour with a 1:1 gluten-free baking blend that contains xanthan gum. I’ve used King Arthur Flour’s measure-for-measure blend with excellent results. The cupcakes are a bit more delicate, so let them cool completely in the pan before removing.
Bloody Drip Effect: For a gory twist, make a simple red glaze by mixing ½ cup of powdered sugar with 1 tablespoon of milk and red food coloring. Drizzle it over the frosted cupcakes so it drips down the sides. It looks like a horror movie prop, which is perfect for Halloween.
Orange Cream Filling: For a surprise inside, use an apple corer to remove a small plug from the center of each cooled cupcake. Fill the hole with orange curd or a mixture of cream cheese and orange zest. Replace the plug and frost as usual. The orange flavor pairs beautifully with the chocolate.
I once tried a pumpkin spice version by adding ½ teaspoon of pumpkin pie spice to the dry ingredients. It was good, but it muddied the black color a bit. Stick with the classic for the best visual impact.
Serving & Storage Suggestions
These cupcakes are best served at room temperature. The cream cheese frosting softens slightly, and the cake is at its most tender. If you’ve refrigerated them, let them sit on the counter for 20 minutes before serving.
For a Halloween party, arrange them on a black cake stand or a wooden board lined with fake cobwebs. I like to add a few plastic spiders or candy eyeballs around the base for a creepy effect. They pair wonderfully with a glass of cold milk or a warm cup of apple cider.
Storage: Store frosted cupcakes in an airtight container in the refrigerator for up to 4 days. The cream cheese frosting needs to be kept cold. If you’re storing them unfrosted, they’ll keep at room temperature in an airtight container for 3 days.
Freezing: You can freeze the unfrosted cupcakes for up to 3 months. Wrap each one tightly in plastic wrap, then place them in a freezer-safe bag. Thaw at room temperature before frosting. I’ve also frozen the frosting in a piping bag. Just thaw it in the fridge overnight and give it a quick re-whip before using.
Reheating: If you want that just-baked warmth, microwave an unfrosted cupcake for 10 seconds. Don’t do this with the frosting on—it will melt into a puddle. The flavors actually deepen after a day in the fridge, so these are great make-ahead treats.
Nutritional Information & Benefits
These are cupcakes, so let’s be real—they’re a treat. But here’s the estimated nutritional breakdown per cupcake (with frosting):
- Calories: 380
- Fat: 22g
- Carbohydrates: 44g
- Protein: 4g
- Sugar: 34g
On the plus side, the cocoa powder contains antioxidants called flavonoids, which are good for heart health. The cream cheese provides a small amount of calcium and protein. The buttermilk adds probiotics, which are great for gut health. So, you know, there are *some* redeeming qualities.
Dietary Considerations: This recipe contains gluten, dairy, and eggs. For allergen-friendly versions, see the variations section above. If you’re watching your sugar intake, you can reduce the powdered sugar in the frosting by ½ cup, but it will be less stable for piping.
I personally love that these cupcakes feel indulgent without being overly heavy. One is satisfying, but I won’t judge you if you have two. Halloween only comes once a year, after all.
Conclusion
These Quick Black Velvet Halloween Cupcakes are the kind of recipe that saves the day when you’re short on time but still want to impress. They came from a mistake, but they’ve become a staple in my Halloween rotation. The color is dramatic, the texture is perfect, and the cream cheese frosting is the ideal finishing touch. They’re proof that you don’t need hours in the kitchen to create something memorable.
I’d love for you to try them and make them your own. Maybe you’ll add a different filling, or use a different frosting, or top them with candy corn. The beauty of this recipe is how forgiving it is. Don’t be afraid to experiment. And if you do make them, please come back and leave a comment below telling me how they turned out. Did you use a different food coloring? Did you try the spider web design? I read every single comment and I love hearing your stories. Happy Halloween, and happy baking!
Frequently Asked Questions
Can I make these cupcakes without black food coloring?
Technically, yes, but they won’t be black. Without the coloring, they’ll be a standard dark chocolate color. For the true “black velvet” look, the food coloring is essential. If you’re opposed to artificial colors, you can try using black cocoa powder, which is naturally dark, but the color won’t be as intense.
Why are my cupcakes dry?
Dry cupcakes usually come from overbaking or overmixing. Make sure you check them at the 15-minute mark. Also, be gentle when mixing the batter—stop as soon as the flour is incorporated. Using room temperature ingredients also helps keep them moist.
Can I use a different frosting?
Absolutely! A classic vanilla buttercream, chocolate ganache, or even a whipped cream topping would work great. Just keep in mind that cream cheese frosting is the traditional pairing for red velvet, and it works beautifully with the black version too.
How do I get the frosting perfectly smooth?
Make sure your cream cheese and butter are fully softened before you start beating them. Beat them together for a full 2 minutes before adding the sugar. Sift your powdered sugar to avoid lumps. If you still have lumps, dip your spatula in hot water, dry it off, and use it to smooth the frosting.
Can I make these cupcakes ahead of time?
Yes! You can bake the cupcakes up to 2 days in advance and store them unfrosted in an airtight container at room temperature. Make the frosting up to 3 days ahead and keep it in the fridge. Let the frosting come to room temperature and give it a quick re-whip before using. Assemble the cupcakes on the day you plan to serve them for the best presentation.
Pin This Recipe!
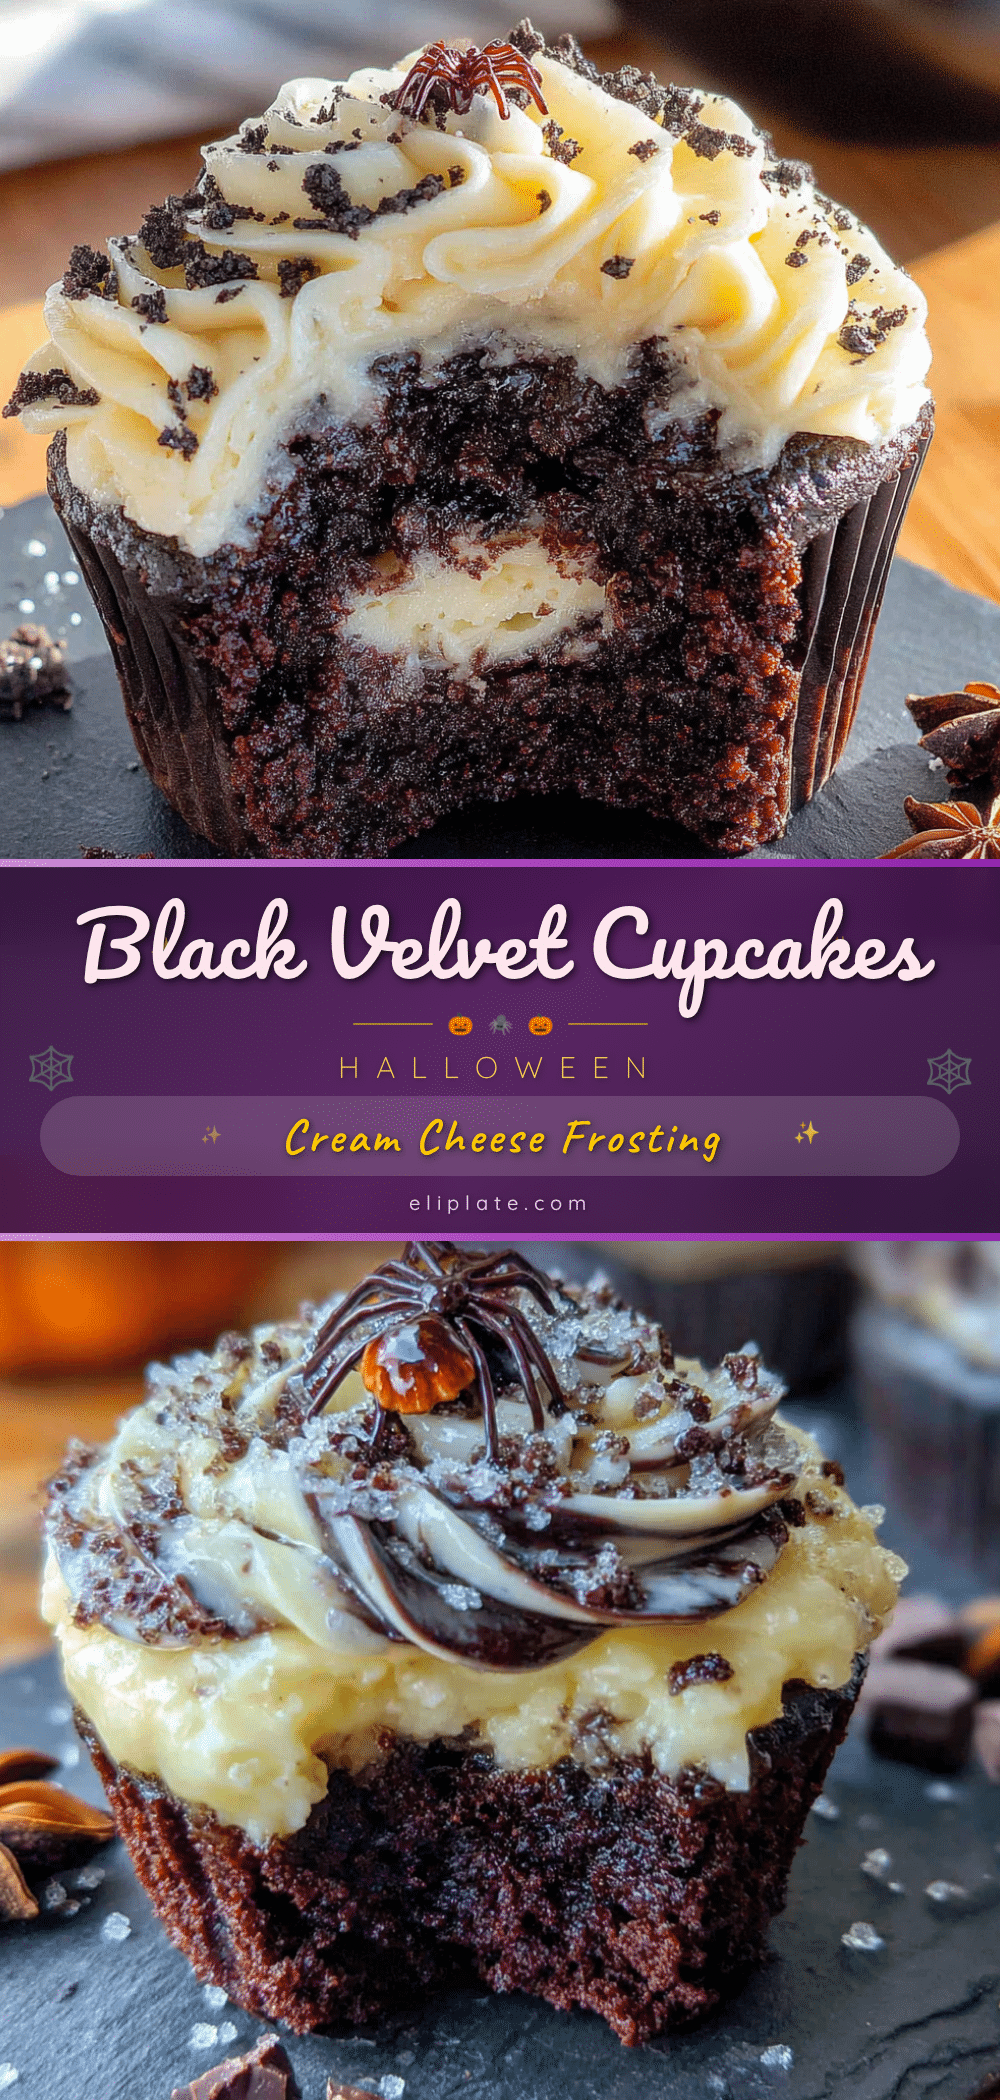
Quick Black Velvet Halloween Cupcakes Recipe
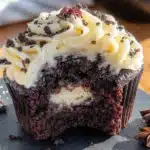
These Quick Black Velvet Halloween Cupcakes are incredibly moist and fluffy, with a dramatic black color and rich chocolate flavor. Topped with a tangy cream cheese frosting, they’re a quick and easy Halloween treat that saves the day when you’re short on time.
- Prep Time: 10 minutes
- Cook Time: 18 minutes
- Total Time: 28 minutes
- Yield: 12 cupcakes 1x
- Category: Dessert
- Cuisine: American
Ingredients
- 1 ½ cups (190g) all-purpose flour
- 1 cup (200g) granulated sugar
- ¼ cup (25g) unsweetened cocoa powder
- 1 teaspoon baking soda
- ½ teaspoon salt
- ½ cup (120ml) buttermilk, room temperature
- ½ cup (120ml) vegetable oil
- 1 large egg, room temperature
- 1 teaspoon vanilla extract
- 1 to 2 teaspoons black gel food coloring
- 1 teaspoon white vinegar
- 8 ounces (226g) cream cheese, softened
- ½ cup (113g) unsalted butter, softened
- 3 to 4 cups (360g to 480g) powdered sugar
- 1 teaspoon vanilla extract
- Pinch of salt
Instructions
- Preheat oven to 350°F (175°C). Line a 12-cup muffin tin with paper liners.
- In a large bowl, whisk together flour, sugar, cocoa powder, baking soda, and salt.
- In a medium bowl, whisk together buttermilk, vegetable oil, egg, vanilla extract, and black gel food coloring until fully incorporated.
- Make a well in the dry ingredients. Pour in the wet mixture and white vinegar. Stir with a rubber spatula or whisk until just combined. Do not overmix; a few lumps are fine.
- Divide batter evenly among the 12 liners, filling each about ⅔ full.
- Bake for 15 to 18 minutes, until a toothpick inserted in the center comes out clean or with a few moist crumbs. Cool in the pan for 5 minutes, then transfer to a wire rack to cool completely.
- For the frosting: In a large bowl, beat softened cream cheese and butter together with an electric mixer until smooth and creamy, about 2 minutes. Add vanilla and a pinch of salt. Gradually add powdered sugar, 1 cup at a time, beating on low until incorporated. Increase speed to medium-high and beat for 2 minutes until light and fluffy.
- Once cupcakes are completely cool, frost with cream cheese frosting. Decorate as desired.
Notes
Use gel food coloring for the best black color. Do not overmix the batter. Ensure all ingredients are at room temperature for best results. Cool cupcakes completely before frosting to prevent melting.
Nutrition
- Serving Size: 1 cupcake
- Calories: 380
- Sugar: 34
- Sodium: 280
- Fat: 22
- Saturated Fat: 10
- Carbohydrates: 44
- Fiber: 1
- Protein: 4
Keywords: Halloween cupcakes, black velvet cupcakes, quick cupcakes, chocolate cupcakes, cream cheese frosting, easy Halloween dessert