The first time the scent of simmering elderberries filled my kitchen, it was November, and rain was lashing against the windowpanes in that relentless way that seeps into your bones. That deep, earthy purple fragrance—sharp with a hint of wildness and sweetened by a whisper of cinnamon—stopped me mid-step. I was stirring a pot, not really thinking about immune systems or wellness trends, just trying to capture a feeling. It was the same feeling I got walking through the damp, mossy woods behind my grandmother’s house as a kid, where the air smelled of wet bark and hidden things. This homemade elderberry syrup with honey and cinnamon is that feeling in a jar. It’s not a magic potion, but it is a quiet, darkly sweet ritual that has become as essential to our cold-weather rhythm as pulling on a thick sweater. Honestly, I started making it out of sheer stubbornness during a particularly nasty flu season, and I haven’t bought a bottle since.
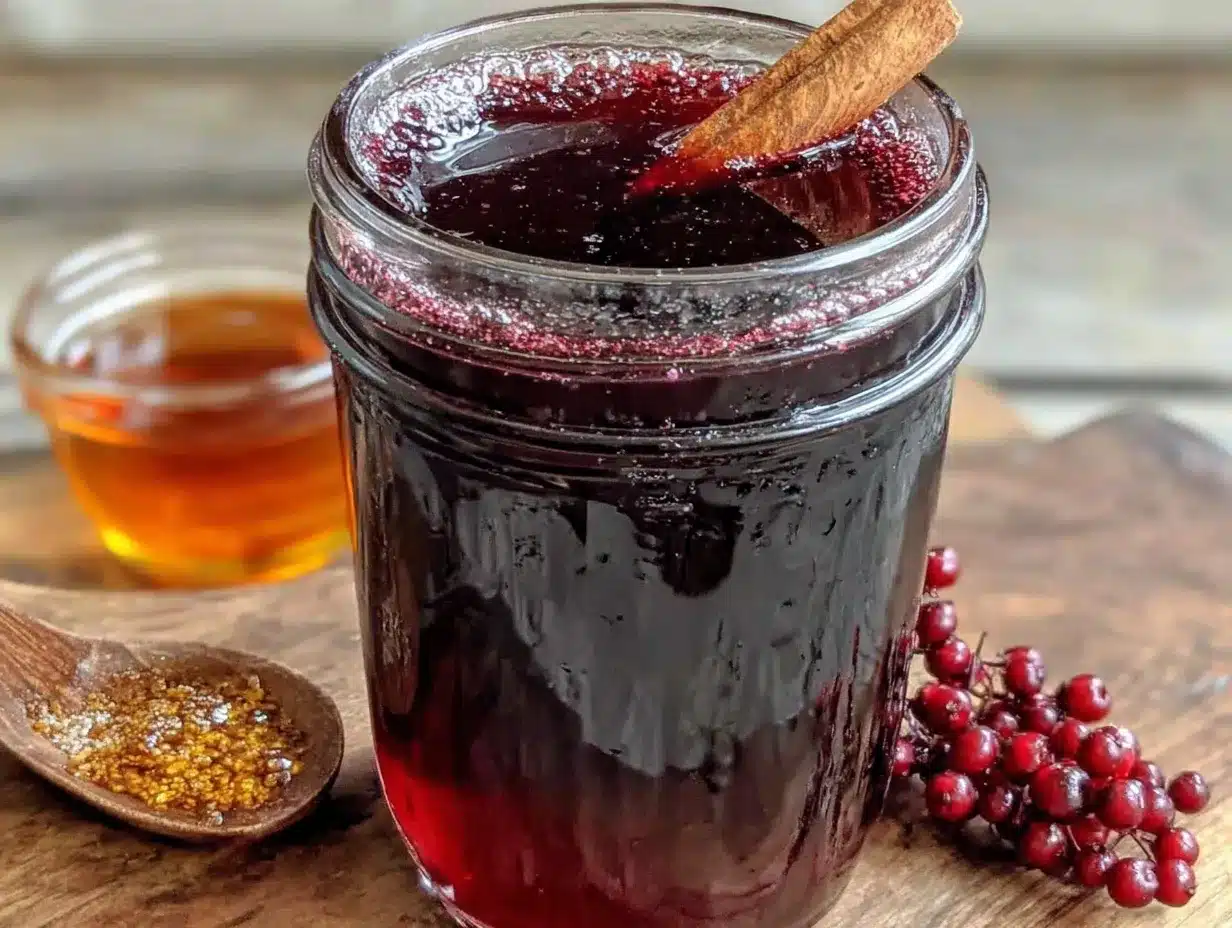
The process is surprisingly simple, which is part of its charm. You are coaxing the goodness out of tiny, tart berries with nothing more than water, a cinnamon stick, and a bit of patience. Then, you stir in raw honey—not while it’s boiling, because that would ruin all the good stuff—and you’ve got something that feels ancient and wise. It’s the kind of recipe you make on a quiet Sunday afternoon, letting the pot do its thing while you curl up with a book. The color alone is worth the effort: a deep, jewel-toned garnet that looks like stained glass in a mason jar. This isn’t just about dodging a cold; it’s about making something with your hands that feels like a promise to take care of yourself.
Why You’ll Love This Recipe
Let’s be real—there are a million ways to buy immune support in a bottle, but none of them taste like this. This homemade elderberry syrup with honey and cinnamon is different. It’s a recipe I’ve tested through three different flu seasons, tweaking the honey-to-water ratio until it was just right. Not too sweet, not too tart, with that warm, woody backbone from the cinnamon that makes it feel like a hug in a spoonful.
- Simple Ingredients, No Fuss: You don’t need a health food store run for exotic powders. Dried elderberries, a cinnamon stick, fresh ginger, and raw honey are all you need. Chances are, you already have the spices.
- Actually Works for the Whole Family: My kids fight over who gets the last drizzle. It’s that good. And since it’s made with real food, I feel good giving them a little spoonful every morning during peak cold season.
- Cost-Effective and Customizable: A single batch costs a fraction of store-bought syrups. Plus, you can dial the honey up or down, add cloves, or even a splash of orange juice for a citrusy twist.
- A Soothing Ritual: In a world of quick fixes, there is something deeply satisfying about watching the berries plump up and release their color. It slows you down. It’s meditative.
- Unbelievably Versatile: Drizzle it over pancakes, stir it into tea, or take it straight off the spoon. It’s not just a supplement; it’s a pantry staple that makes everything taste a little more cozy.
What makes this version my best is the technique. A lot of recipes boil the honey right with the berries, which destroys its beneficial enzymes. I let the syrup cool completely before stirring in the raw honey, preserving all that natural goodness. It’s a small step, but it makes a world of difference in potency and flavor.
What Ingredients You Will Need
This recipe is built on a handful of powerful, whole-food ingredients. Each one plays a specific role in creating a syrup that is both delicious and supportive. Here’s what you’ll need to gather, along with a few tips I’ve picked up along the way.
- Dried Elderberries (1 cup): These tiny, dark purple berries are the star. Look for dried, organic elderberries from a reputable source—I’ve had good luck with Mountain Rose Herbs and Starwest Botanicals. They should smell faintly fruity and earthy, not musty. Avoid fresh elderberries, as they are bitter and can be toxic if eaten raw.
- Water (4 cups): Filtered water is best, especially if your tap water has a strong chlorine taste. We’re simmering this down, so the quality of the water matters more than you’d think.
- Cinnamon Stick (1 large or 2 small): This adds that warm, familiar spice backbone. I prefer Ceylon cinnamon (sometimes called “true” cinnamon) for its delicate, floral sweetness, but Cassia cinnamon works perfectly well and is more common. Just don’t use pre-ground—the stick releases its oils slowly as it simmers.
- Fresh Ginger (1-inch piece, sliced): Fresh ginger adds a gentle, warming heat and a zesty kick that cuts through the sweetness of the honey. Just give it a good scrub and slice it into thin coins. No need to peel it.
- Whole Cloves (1 teaspoon, optional): This is my secret weapon. Cloves add a deep, almost peppery warmth that complements the cinnamon beautifully. They are optional, but I highly recommend them for a more complex flavor profile.
- Raw Honey (1 cup): This is the sweetener and the preservative. Use good quality, local raw honey if you can find it. The enzymes and beneficial bacteria in raw honey are what make this syrup truly special. Never use honey that has been pasteurized or ultra-filtered, as it won’t have the same health benefits. I like to use a mild wildflower honey so it doesn’t overpower the elderberries.
Equipment Needed
You don’t need any fancy gadgets for this. Just a few basic kitchen tools that you probably already own. Here’s what you’ll need to have on hand.
- Medium-Sized Saucepan: A heavy-bottomed saucepan is ideal for even simmering. A 2-3 quart pot works perfectly.
- Fine-Mesh Strainer or Cheesecloth: This is crucial for straining out the berries, ginger, and spices. A fine-mesh strainer works great, but if you want a perfectly clear syrup, line it with a double layer of cheesecloth.
- Mason Jars or Glass Bottles: You’ll need a clean, airtight container for storing the finished syrup. A 16-ounce mason jar is the perfect size for a single batch. Make sure to sterilize it by washing it in hot, soapy water or running it through the dishwasher.
- Wooden Spoon or Silicone Spatula: For stirring the berries as they simmer. Avoid metal utensils if you are using a non-stick pot.
- Measuring Cups and Spoons: For precise measurements.
Preparation Method
Making this syrup is more about patience than skill. It’s a slow, gentle process that rewards you with a deep, concentrated flavor. Follow these steps, and you’ll have a beautiful batch of syrup ready in about an hour.
- Combine the Berries and Spices: In your medium saucepan, combine the dried elderberries, water, cinnamon stick, sliced ginger, and whole cloves (if using). Give it a quick stir. The water will immediately take on a deep purple hue.
- Bring to a Gentle Boil: Turn the heat to medium-high and bring the mixture to a boil. You’ll see the berries start to plump up and swell as they absorb the water. This takes about 5-7 minutes.
- Reduce to a Simmer: Once it reaches a rolling boil, immediately reduce the heat to low. You want a gentle, lazy simmer—just a few bubbles breaking the surface now and then. If you boil it too hard, you’ll evaporate too much water and the syrup will be overly concentrated and bitter.
- Simmer for 30-40 Minutes: Let the berries simmer gently for 30 to 40 minutes. The liquid will reduce by about half, and the berries will look soft and almost mushy. The color will deepen from a bright purple to a dark, almost black garnet. The aroma at this stage is incredible—earthy, spicy, and sweet all at once.
- Strain the Mixture: Place your fine-mesh strainer over a large bowl or a heatproof measuring cup. Carefully pour the hot mixture through the strainer. Use the back of a wooden spoon to gently press on the berries and extract as much liquid as possible. Don’t rush this step—really squeeze out all that good stuff. Discard the solids (the berries, ginger, and cinnamon stick).
- Cool the Liquid: Let the strained liquid cool completely at room temperature. This is a crucial step. Do not skip it. The liquid needs to be below 95°F (35°C) before you add the honey, or you will destroy the beneficial enzymes in the raw honey. This usually takes about 30-45 minutes. You can speed it up by placing the bowl in the refrigerator for 15 minutes.
- Stir in the Honey: Once the liquid is completely cool, pour in the raw honey. Stir gently but thoroughly with a clean spoon until the honey is fully dissolved. The syrup will become glossy and smooth. Taste it at this point—it should be pleasantly sweet with a tart, fruity finish and a warm, spicy kick.
- Bottle and Store: Pour the finished syrup into your clean, sterilized mason jar or glass bottle. Seal it tightly and store it in the refrigerator. The syrup will keep for up to 3 months, but in my experience, it never lasts that long!
Cooking Tips & Techniques
I’ve made this recipe more times than I can count, and I’ve definitely learned a few things the hard way. Here are my best tips to ensure your first batch is a success.
- Don’t Over-Boil: This is the most common mistake. If you boil the berries too hard, the syrup will become bitter and lose its delicate flavor. A gentle simmer is all you need. Think of it like making a delicate tea, not a hearty stew.
- Patience with Cooling: I know it’s tempting to add the honey right away, but trust me on this one. I once got impatient and added the honey while the liquid was still warm. The honey dissolved fine, but the finished syrup was much thinner and didn’t have that same “oomph.” The heat kills the good stuff in raw honey. Let it cool completely.
- Use the Right Honey: Not all honey is created equal. Raw, unfiltered honey is a living food. It contains natural enzymes, antioxidants, and even trace amounts of propolis and bee pollen. Pasteurized honey is essentially just sugar syrup. Splurge on the good stuff—it makes a real difference.
- Strain Twice for Clarity: If you want a perfectly clear, jewel-like syrup, strain the liquid twice. The first time through the fine-mesh strainer, and the second time through a strainer lined with a coffee filter or cheesecloth. This removes any tiny particles of berry skin.
- Scale It Up: This recipe doubles beautifully. If you have a big family or want to give jars as gifts (which I do every year), just double all the ingredients and use a larger pot. The simmering time will be roughly the same.
Variations & Adaptations
One of the best things about this syrup is how easy it is to adapt to your own taste or what you have on hand. Here are a few of my favorite ways to change it up.
- Spiced Orange Elderberry Syrup: Add the zest of one large orange (use a vegetable peeler to get wide strips, avoiding the bitter white pith) to the pot along with the berries. The citrus brightens the whole flavor and pairs beautifully with the cinnamon. It’s my go-to for the winter holidays.
- Echinacea & Rose Hip Boost: For an extra immune-supporting punch, add 2 tablespoons of dried echinacea root and 2 tablespoons of dried rose hips to the pot along with the elderberries. Strain them out with the rest of the solids. This version has a slightly more herbal, floral taste that I love.
- Low-Sugar Version: If you want to cut back on sugar, you can reduce the honey to ½ cup. The syrup will be thinner and more tart, but still delicious. You can also use a sugar-free sweetener like monk fruit, but it won’t have the same preservative qualities, so it will need to be used within a couple of weeks.
- Spicy Ginger Kick: Double the amount of fresh ginger for a syrup that has a real zing to it. This is my husband’s favorite version. It’s fantastic stirred into hot tea when you feel a scratchy throat coming on.
Serving & Storage Suggestions
This syrup is incredibly versatile, and finding ways to use it is half the fun. Here’s how I like to serve and store mine.
- Daily Dose: The most common way to take it is straight off the spoon. Adults can take 1 tablespoon daily for maintenance, and up to 1 tablespoon every 2-3 hours if you feel a cold coming on. For kids over 1 year old, stick to 1 teaspoon daily.
- In Hot Tea: Stir a tablespoon into a cup of hot chamomile or ginger tea. It adds a beautiful sweetness and a deep, fruity flavor. It’s my favorite way to wind down in the evening.
- On Breakfast: Drizzle it over pancakes, waffles, or oatmeal. It’s also incredible on a bowl of Greek yogurt with some granola and fresh berries. The color alone makes your breakfast look like a work of art.
- In Cocktails: Yes, you can use it in drinks! A splash of elderberry syrup in a glass of sparkling water with a squeeze of lemon makes a gorgeous mocktail. For an adult version, try it in a whiskey sour or a gin fizz.
- Storage: Store the syrup in a tightly sealed glass jar in the refrigerator. It will keep for up to 3 months. If you see any mold or if the smell changes, toss it. I’ve never had that happen, but it’s always good to be safe.
Nutritional Information & Benefits
While this syrup isn’t a medicine, it is a wonderful way to support your body with whole foods. Here’s a quick look at what’s inside each spoonful.
Estimated Nutritional Values (per 1 tablespoon serving):
- Calories: 45-55
- Carbohydrates: 12g
- Sugars: 11g (from honey)
- Vitamin C: 2-4% DV
- Antioxidants: High (from elderberries and spices)
Health Benefits to Note:
- Elderberries are packed with antioxidants called anthocyanins, which give them their deep purple color. These compounds are known to help support a healthy immune response.
- Raw Honey is a natural source of enzymes and has antibacterial properties. It’s also a soothing agent for sore throats.
- Cinnamon and Ginger are both warming spices that can help improve circulation and have anti-inflammatory properties.
- Dietary Note: This recipe is naturally gluten-free and dairy-free. It is not suitable for infants under 1 year old due to the honey (risk of botulism).
Conclusion
Making your own homemade elderberry syrup with honey and cinnamon is one of those small acts of care that pays off in a big way. It’s not just about having a jar of something purple in the fridge; it’s about knowing exactly what went into it, taking the time to simmer and stir, and creating a little bit of warmth for the people you love. I’ve been making this for years now, and it never fails to make me feel a little more grounded, a little more prepared for whatever the season throws our way.
I’d love to hear how your batch turns out. Did you add orange zest? Did you double the ginger? Let me know in the comments below—your adaptations might just inspire someone else’s next batch. And if you’re looking for other cozy, nourishing recipes to fill your kitchen with good smells, you might love this creamy roasted butternut squash soup or these easy 5-ingredient peanut butter energy bites. Happy simmering, and stay well!
Frequently Asked Questions
Can I use fresh elderberries instead of dried?
No, I don’t recommend it. Fresh elderberries are very bitter and contain a compound that can cause nausea if eaten raw. Dried elderberries are the safe, standard choice for making syrup because the drying process neutralizes those compounds and concentrates the flavor.
How long does homemade elderberry syrup last?
When stored in a clean, airtight glass jar in the refrigerator, this syrup will keep for up to 3 months. The honey acts as a natural preservative. If you notice any mold, an off smell, or fermentation, discard it immediately.
Can I give this syrup to my toddler?
Yes, but only if your child is over 1 year old. The raw honey in this recipe poses a risk of infant botulism for babies under 12 months. For older kids, a daily dose of 1 teaspoon is a great way to support their immune system during cold season.
Can I freeze elderberry syrup?
Absolutely! Freezing is a great way to extend its shelf life. Pour the syrup into an ice cube tray. Once frozen, pop the cubes out and store them in a freezer-safe bag. You can thaw a cube or two as needed for tea or a quick spoonful.
Do I have to use raw honey?
While you can use regular pasteurized honey in a pinch, raw honey is strongly recommended. The beneficial enzymes and antioxidants that make this syrup so special are destroyed by the high heat used in pasteurization. Raw honey also has a more complex, floral flavor that complements the elderberries perfectly.
Pin This Recipe!
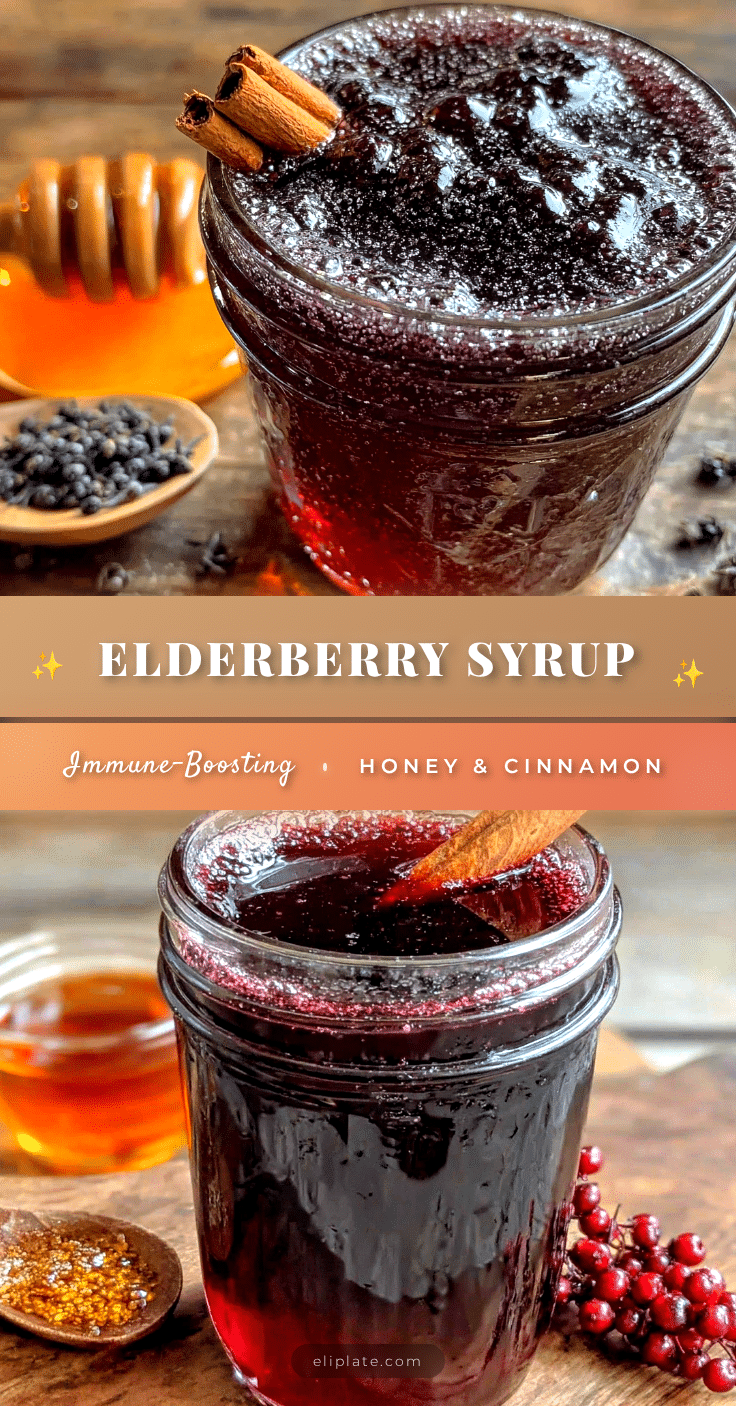
Homemade Elderberry Syrup: Easy Immune Boosting Recipe
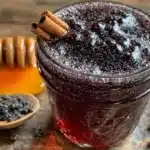
This homemade elderberry syrup with honey and cinnamon is a quiet, darkly sweet ritual that has become essential to cold-weather rhythm. It’s not a magic potion, but a simple, nourishing syrup made with dried elderberries, raw honey, and warming spices.
- Prep Time: 10 minutes
- Cook Time: 40 minutes
- Total Time: 1 hour 30 minutes (including cooling)
- Yield: 16 servings (1 tablespoon per serving) 1x
- Category: Condiment / Immune Support
- Cuisine: American
Ingredients
- 1 cup dried elderberries
- 4 cups filtered water
- 1 large cinnamon stick (or 2 small)
- 1-inch piece fresh ginger, sliced
- 1 teaspoon whole cloves (optional)
- 1 cup raw honey
Instructions
- Combine the dried elderberries, water, cinnamon stick, sliced ginger, and whole cloves (if using) in a medium saucepan. Stir briefly.
- Bring the mixture to a gentle boil over medium-high heat. The berries will start to plump up, about 5-7 minutes.
- Reduce the heat to low and let it simmer gently for 30-40 minutes. The liquid should reduce by about half and the berries will become soft and mushy.
- Place a fine-mesh strainer over a large bowl or heatproof measuring cup. Carefully pour the hot mixture through the strainer. Use the back of a wooden spoon to press on the berries and extract as much liquid as possible. Discard the solids.
- Let the strained liquid cool completely at room temperature (below 95°F / 35°C). This usually takes 30-45 minutes. You can speed it up by placing the bowl in the refrigerator for 15 minutes.
- Once the liquid is completely cool, pour in the raw honey. Stir gently until the honey is fully dissolved.
- Pour the finished syrup into a clean, sterilized mason jar or glass bottle. Seal tightly and store in the refrigerator.
Notes
Do not add honey while the liquid is hot, as heat destroys the beneficial enzymes in raw honey. Let the syrup cool completely before stirring in honey. For a clearer syrup, strain twice (first through a fine-mesh strainer, then through a strainer lined with cheesecloth or a coffee filter). This syrup is not suitable for infants under 1 year old due to the honey (risk of botulism).
Nutrition
- Serving Size: 1 tablespoon
- Calories: 50
- Sugar: 11
- Carbohydrates: 12
Keywords: elderberry syrup, homemade elderberry syrup, immune boosting syrup, elderberry honey syrup, cold remedy, natural immune support, elderberry recipe