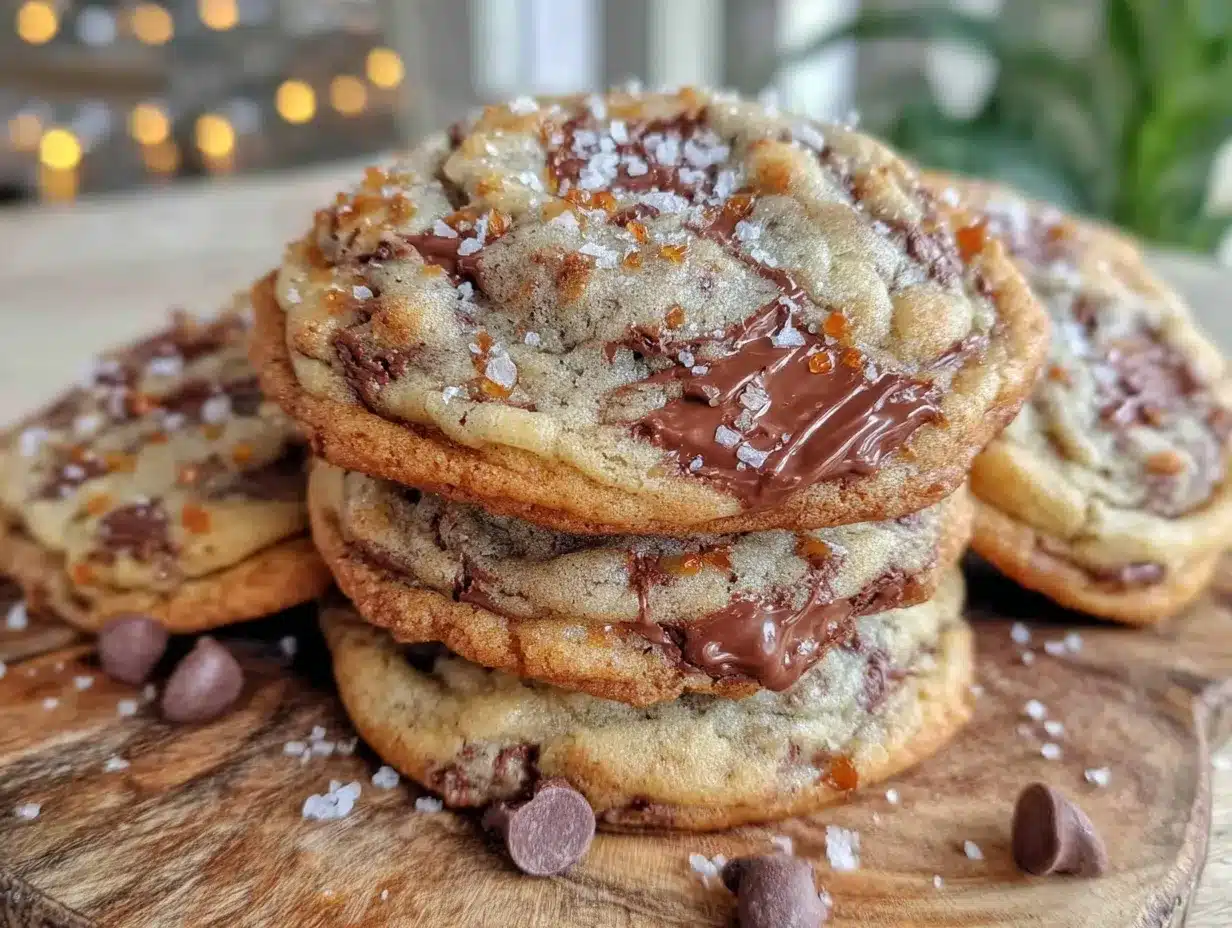
“You really need to try these cookies,” my neighbor insisted one chilly afternoon, sliding a plate across the counter with a knowing smile. I eyed the stack of chocolate chip cookies skeptically, thinking, “Yeah, another cookie recipe—how different could it be?” But honestly, one bite changed everything. The warm, chewy center contrasted perfectly with the slightly crisp edges, and the chocolate chips melted just right, like a little hug from grandma herself. It wasn’t just the cookie—it was the whole vibe. That moment, with the smell of vanilla and butter filling my kitchen, reminded me how simple comfort could be so satisfying. I’ve since made these cozy grandma’s chocolate chip cookies with chewy centers more times than I can count—sometimes twice in a week because, well, they’re that good.
The secret, I learned, wasn’t just in the ingredients, but in the way you handle them. I was never much of a baker, but this recipe turned me into a believer. It’s the kind of cookie that doesn’t just feed you; it feels like a quiet moment of calm on a hectic day. Whenever I need that little reset, these cookies show up with their soft centers and golden edges, reminding me that good things don’t need to be complicated.
So, here’s why these cookies stuck with me—they’re not fancy, they’re not flashy, but they are the perfect blend of tender and chewy, with chocolate chips that never disappoint. If you’re craving that classic, cozy cookie experience, I think you’ll find something special here too.
Why You’ll Love This Recipe
This cozy grandma’s chocolate chip cookies recipe has been tested in my kitchen enough times to know it’s a keeper. Here’s what makes it stand out:
- Quick & Easy: From start to finish, these cookies come together in about 30 minutes, perfect for those spontaneous cookie cravings.
- Simple Ingredients: No fancy or hard-to-find items—just basic pantry staples and real butter, which makes all the difference.
- Perfect for Any Occasion: Whether it’s a casual afternoon snack, a holiday cookie exchange, or a cozy night in, these cookies fit right in.
- Crowd-Pleaser: Kids and adults alike keep coming back for more. It’s the kind of recipe that makes you the neighborhood favorite.
- Unbelievably Delicious: The chewy centers with a slight crisp on the edges and pockets of gooey chocolate make each bite memorable.
What sets this apart from other chocolate chip cookie recipes? It’s the balance—the dough isn’t too dry or too wet, giving it that chewy texture without being cakey. Plus, the method includes a little trick I picked up from a friend who swears by chilling the dough just long enough to keep the cookies from spreading too thin but still soft in the middle. I’ve also swapped in semi-sweet and milk chocolate chips for variety, but the real magic lies in the butter and brown sugar combo that creates that signature chewy goodness.
Honestly, this isn’t just a cookie recipe; it’s a cozy ritual. If you’ve ever loved a cookie so much you wanted to savor it slowly while curled up with a book, this is your recipe. It’s easy, comforting, and absolutely worth the few minutes it takes to whip up.
What Ingredients You Will Need
This recipe uses simple, wholesome ingredients to deliver bold flavor and satisfying texture without the fuss. You likely have most of these right in your pantry, which makes it super convenient.
- Unsalted butter, softened (adds richness and helps with that melt-in-your-mouth texture)
- Light brown sugar (for moisture and that lovely chewiness)
- Granulated sugar (balances sweetness and contributes to crisp edges)
- Large eggs, room temperature (binds everything together)
- Pure vanilla extract (the soul of the cookie’s flavor)
- All-purpose flour (the base; sifted for best results)
- Baking soda (helps with rise and texture)
- Salt (enhances the sweetness and balances flavors)
- Chocolate chips, semi-sweet or milk chocolate (I love Ghirardelli for melting and flavor)
Ingredient tips: If you want a gluten-free version, you can swap the all-purpose flour for a gluten-free blend, but expect a slightly different texture. For a dairy-free twist, try using vegan butter and dairy-free chocolate chips—this cookie still turns out delicious.
Sometimes I toss in a handful of chopped walnuts or pecans for extra crunch, but the cookies are lovely just as they are. If fresh baking isn’t your thing, these cookies also freeze well once baked, so you can keep a stash ready for whenever the craving hits.
Equipment Needed
- Mixing bowls: One large for the dough, and a smaller one for dry ingredients. Glass or stainless steel works best.
- Hand mixer or stand mixer: While you can mix by hand, a mixer makes the process smoother and faster.
- Measuring cups and spoons: Accurate measurements help get the chewy texture just right.
- Baking sheets: Heavy-duty, rimmed cookie sheets prevent spreading and uneven baking.
- Parchment paper or silicone baking mats: Essential to prevent sticking and make cleanup a breeze.
- Cooling rack: Important to cool the cookies evenly and keep them from becoming soggy on the bottom.
Not everyone has a stand mixer, and that’s totally fine. I started with just a wooden spoon and bowl, and it worked just as well—though a mixer definitely speeds things up. If you’re using silicone baking mats, make sure they’re flat and clean; I learned the hard way that wrinkled mats can cause uneven cookie shapes.
Preparation Method
- Preheat your oven to 350°F (175°C). Line two baking sheets with parchment paper or silicone mats. This preps your workspace and keeps the cookies from sticking.
- Cream the butter and sugars: In a large bowl, beat 1 cup (227 g) softened unsalted butter with ¾ cup (165 g) light brown sugar and ¼ cup (50 g) granulated sugar until light and fluffy. This should take about 3-4 minutes with a mixer. The texture here is key—don’t rush, or your cookies might turn out flat.
- Add eggs and vanilla: Beat in 2 large eggs, one at a time, followed by 2 teaspoons pure vanilla extract. The dough will look glossy and smooth at this stage.
- Mix dry ingredients separately: In another bowl, whisk together 2 ¼ cups (280 g) all-purpose flour, 1 teaspoon baking soda, and ½ teaspoon salt. Make sure the baking soda is fresh for the best rise.
- Combine wet and dry: Gradually add the dry ingredients to the wet mixture, stirring gently until just combined. Overmixing can lead to tough cookies, so pause when flour disappears.
- Fold in chocolate chips: Stir in about 2 cups (340 g) chocolate chips evenly into the dough. You want a good distribution so every bite has some melty chocolate.
- Chill the dough: Refrigerate the dough for at least 30 minutes. This step controls spreading and helps the chewy centers develop perfectly.
- Scoop and bake: Use a cookie scoop or tablespoon to drop dough balls about 2 inches apart on the baking sheets. Bake for 10-12 minutes until the edges are golden but the centers still look slightly underdone. Don’t overbake! The residual heat will finish cooking them.
- Cool on racks: Let cookies rest on the baking sheet for 5 minutes before transferring to a wire rack. This keeps the bottoms crisp but the centers chewy.
If you’re new to baking cookies, watch the edges closely near the end of baking. The aroma will fill your kitchen with warm vanilla and butter notes—honestly, it’s one of my favorite smells. I once left a batch in too long, and the chewy centers turned more cakey, so timing is everything here.
Cooking Tips & Techniques
From my many cookie batches, here are some tips I swear by to get those chewy centers just right:
- Don’t skip chilling: Chilling the dough is crucial. It firms the fat in the butter, which controls spread and locks in moisture for chewiness.
- Measure flour carefully: Too much flour makes cookies dry and crumbly. Fluff your flour, spoon it into the cup, and level off with a knife.
- Use brown sugar for moisture: Brown sugar contains molasses, which adds to the chewiness and flavor complexity.
- Watch your bake time: Pull cookies out when edges are golden but centers still look soft. They’ll firm up as they cool.
- Room temperature eggs and butter: This helps ingredients blend smoothly, creating uniform dough and consistent texture.
- Try different chocolate chips: Semi-sweet gives a classic taste, but milk chocolate or dark chips add interesting flavor notes.
One lesson I learned the hard way was that it’s better to underbake slightly than overbake. Those chewy centers can disappear fast. Also, I used to think more butter meant better cookies, but too much can cause them to spread flat and lose that cozy chewiness. Balance is the key, and that’s what this recipe nails.
Variations & Adaptations
While these classic chocolate chip cookies are fantastic, you can switch things up depending on your mood or dietary needs:
- Nutty upgrade: Add ½ cup chopped walnuts or pecans for a crunchy contrast. Toast them lightly for extra depth.
- Oatmeal twist: Replace ½ cup flour with old-fashioned oats for heartier texture and subtle chew.
- Gluten-free option: Use a 1:1 gluten-free flour blend. Expect a slightly crumblier but still tasty cookie.
- Dairy-free version: Substitute vegan butter and dairy-free chocolate chips for allergy-friendly treats.
- Spiced delight: Add ½ teaspoon cinnamon or a pinch of nutmeg for warmth and complexity.
Personally, I once tried swapping in chunks of salted caramel for some of the chocolate chips, and it was a total hit at a small gathering. The gooey caramel pockets mixed with chewy cookie dough gave a surprising twist. If you’re curious about mixing flavors, these cookies are forgiving and adapt well.
Serving & Storage Suggestions
These cozy grandma’s chocolate chip cookies are best enjoyed warm, right out of the oven, when the centers are still soft and chocolate chips are melty. Serve with a cold glass of milk or a warm cup of tea for that ultimate comforting experience.
If you want to get fancy, try pairing them with a scoop of vanilla ice cream or a drizzle of caramel sauce for a simple dessert upgrade. They also make a delightful companion to a cup of homemade hot cocoa or even an indulgent coffee.
For storage, keep the cookies in an airtight container at room temperature for up to 4 days. To maintain chewiness, place a slice of bread in the container—the cookies absorb moisture from the bread and stay soft. To freeze, wrap them individually in plastic wrap and place in a freezer bag; they keep well for up to 3 months.
When you’re ready to enjoy frozen cookies, just warm them in a 300°F (150°C) oven for 5-7 minutes or microwave for about 10 seconds. The texture comes back beautifully, almost like fresh-baked. Interestingly, the flavors deepen a bit after a day or two, making leftovers even better.
Nutritional Information & Benefits
Each cookie (assuming about 24 cookies per batch) contains approximately:
| Calories | Fat | Carbohydrates | Protein |
|---|---|---|---|
| ~150 kcal | 8 g | 20 g | 2 g |
While these cookies are an indulgence, the use of unsalted butter and brown sugar adds some real flavor depth rather than relying on artificial ingredients. The chocolate chips contribute antioxidants, especially if you opt for dark chocolate varieties. Using real vanilla extract instead of artificial flavoring also adds to the wholesome profile.
This recipe is naturally free from nuts (unless you add them), making it suitable for many allergy-sensitive households. For those watching carbs, you might check out the creamy keto bacon cheeseburger casserole for a low-carb dinner option, which pairs well after a cookie treat.
In my experience, baking and sharing these cookies has been a great way to slow down and enjoy the little things, which I consider a small but meaningful wellness boost.
Conclusion
These cozy grandma’s chocolate chip cookies with chewy centers have become my go-to comfort food recipe. They’re easy to make, don’t require any fancy ingredients, and honestly, they taste like warm memories baked into every bite. Whether you’re making them for yourself, your family, or friends, these cookies have a way of making moments feel a bit more special.
Feel free to tweak the recipe to fit your taste—add nuts, swap chocolate types, or toss in a pinch of cinnamon. That’s the beauty of this recipe: it’s a cozy classic that welcomes little personal touches. I hope baking these brings you the same quiet joy it’s brought me.
And if you’re in the mood for more cookie inspiration, you might appreciate the savory brown butter chocolate chip cookies with sea salt flakes—they’re a delicious twist to try next!
FAQs
How do I get chewy centers in chocolate chip cookies?
Use a combination of brown sugar and granulated sugar, chill the dough before baking, and pull the cookies out of the oven when edges are set but centers are still soft. The residual heat finishes cooking them perfectly.
Can I use different types of chocolate chips?
Absolutely! Semi-sweet is classic, but milk, dark, or even white chocolate chips work well. Mixing types can add interesting flavor and texture.
Why is chilling the dough important?
Chilling firms the butter, which prevents cookies from spreading too much and helps develop that chewy texture in the center.
Can I make these cookies gluten-free?
Yes, swap the all-purpose flour for a gluten-free baking blend. The texture may be a bit different, but the flavor remains delicious.
How should I store leftover cookies?
Store in an airtight container at room temperature for up to 4 days. Adding a slice of bread to the container helps keep them soft. They also freeze well when wrapped properly.
Pin This Recipe!
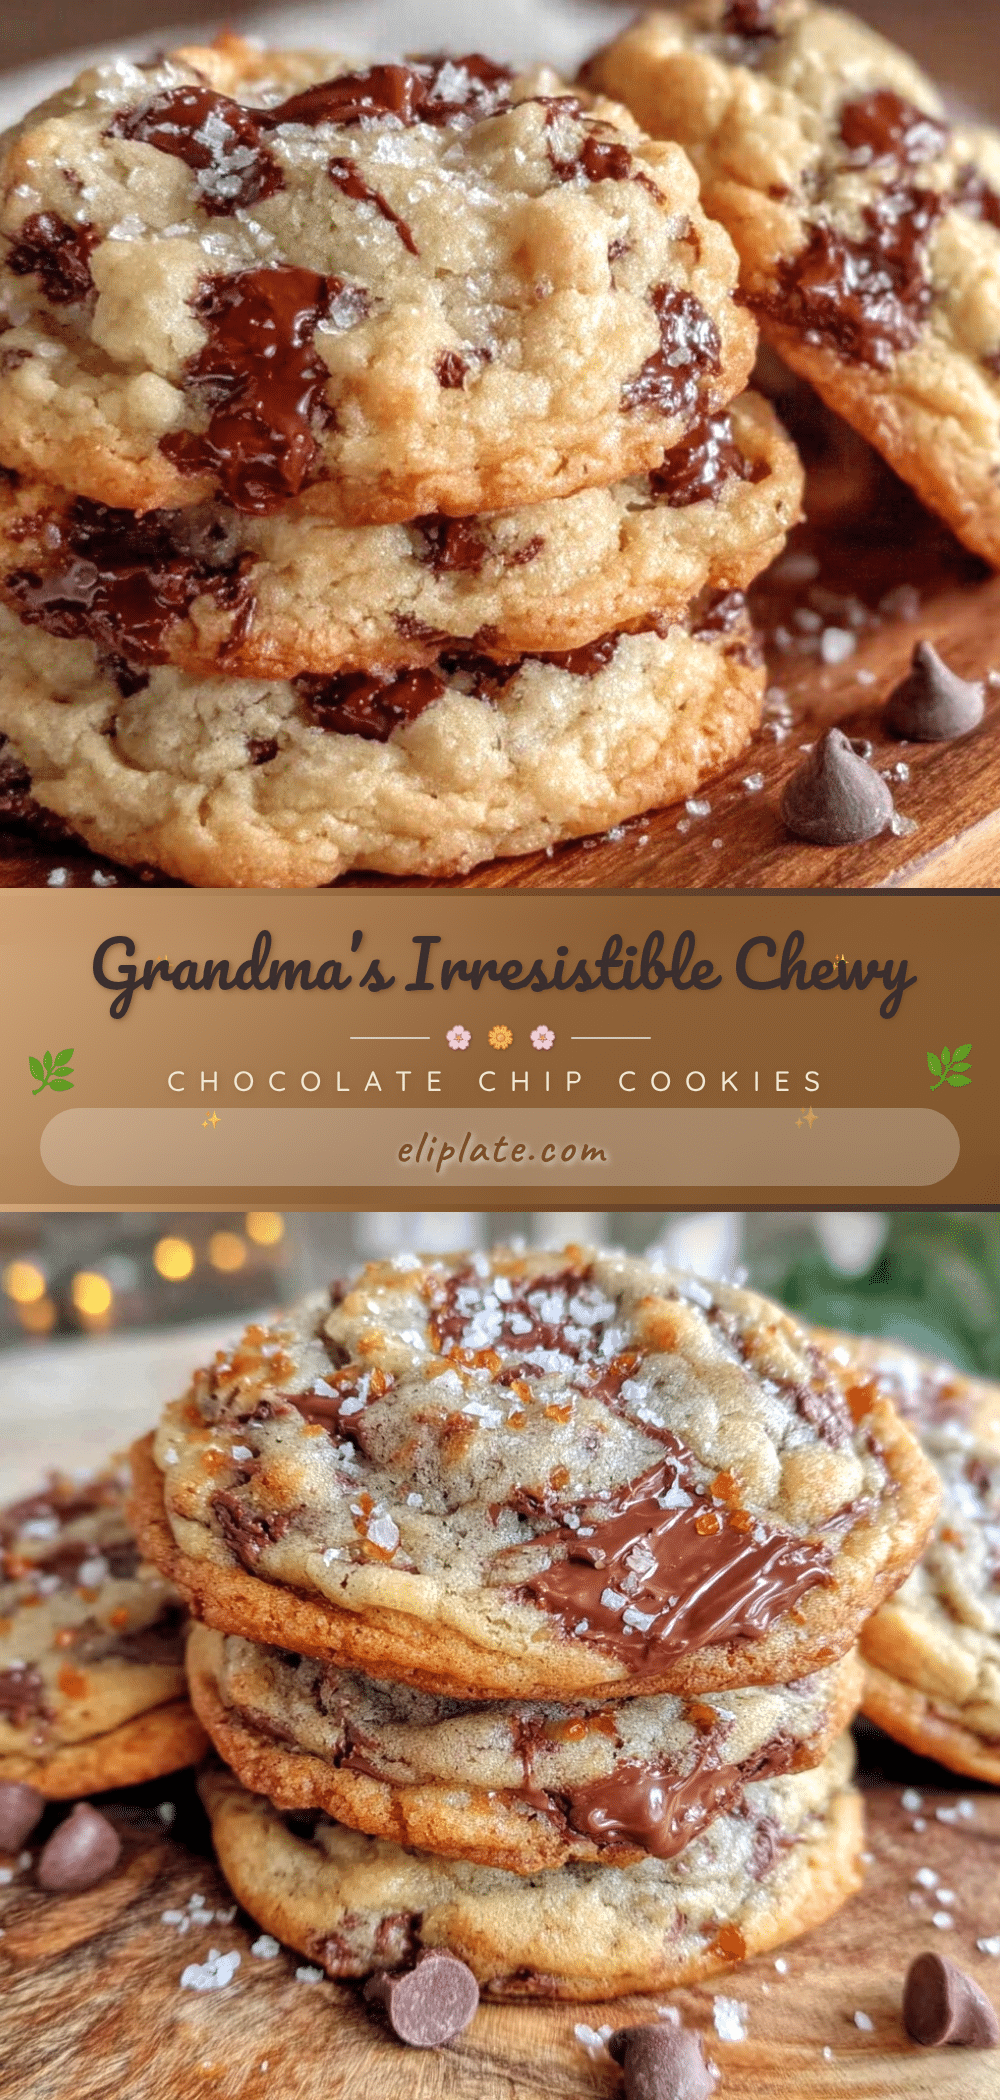
Cozy Grandma’s Chocolate Chip Cookies

These cozy grandma’s chocolate chip cookies feature perfect chewy centers with slightly crisp edges and melty chocolate chips, delivering a comforting and classic cookie experience.
- Prep Time: 15 minutes
- Cook Time: 12 minutes
- Total Time: 30 minutes
- Yield: 24 cookies 1x
- Category: Dessert
- Cuisine: American
Ingredients
- 1 cup (227 g) unsalted butter, softened
- 3/4 cup (165 g) light brown sugar
- 1/4 cup (50 g) granulated sugar
- 2 large eggs, room temperature
- 2 teaspoons pure vanilla extract
- 2 1/4 cups (280 g) all-purpose flour
- 1 teaspoon baking soda
- 1/2 teaspoon salt
- 2 cups (340 g) semi-sweet or milk chocolate chips
Instructions
- Preheat your oven to 350°F (175°C). Line two baking sheets with parchment paper or silicone mats.
- In a large bowl, beat the softened unsalted butter with light brown sugar and granulated sugar until light and fluffy, about 3-4 minutes with a mixer.
- Beat in the eggs one at a time, followed by the vanilla extract until the dough is glossy and smooth.
- In another bowl, whisk together the all-purpose flour, baking soda, and salt.
- Gradually add the dry ingredients to the wet mixture, stirring gently until just combined. Avoid overmixing.
- Fold in the chocolate chips evenly into the dough.
- Refrigerate the dough for at least 30 minutes to control spreading and develop chewy centers.
- Use a cookie scoop or tablespoon to drop dough balls about 2 inches apart on the baking sheets.
- Bake for 10-12 minutes until edges are golden but centers still look slightly underdone.
- Let cookies rest on the baking sheet for 5 minutes before transferring to a wire rack to cool completely.
Notes
Chilling the dough is crucial to prevent spreading and achieve chewy centers. Pull cookies out when edges are golden but centers are still soft to avoid overbaking. For gluten-free, substitute all-purpose flour with a gluten-free blend. For dairy-free, use vegan butter and dairy-free chocolate chips. Adding nuts or spices like cinnamon can add variety.
Nutrition
- Serving Size: 1 cookie
- Calories: 150
- Fat: 8
- Carbohydrates: 20
- Protein: 2
Keywords: chocolate chip cookies, chewy cookies, grandma's cookies, classic cookies, easy cookie recipe, homemade cookies