I packed four lunchboxes that morning, each one identical—romaine, grilled chicken, shaved parmesan, a little cup of dressing on the side. Standard Caesar salad stuff. My youngest took one bite at school, pushed it around, and came home with a full container. “It’s just salad, Mom,” she said, like I’d handed her a punishment. That was the moment I realized the problem wasn’t the flavor—it was the format. A fork and a bowl don’t work in a chaotic cafeteria. You need something you can hold in one hand while digging for a juice box with the other.
So I started stuffing that same Caesar salad into a flour tortilla. Wrapped tight, sliced in half, secured with a toothpick. The first one disappeared completely. No leftovers. No complaints. Just a note from my oldest asking if I could make “the wrap thing” again. That was four years ago, and I swear I’ve made these Easy Chicken Caesar Wraps for Lunchboxes at least a hundred times since. I’ve tweaked the ratio of chicken to lettuce, swapped in different cheeses, and learned exactly how much dressing keeps the wrap moist without turning it into a soggy mess by noon. This version—the one I’m sharing today—is the one that finally stuck.
Honestly, it’s not fancy. It’s just a really good, really practical lunch that actually gets eaten. And isn’t that the whole point?
Why You’ll Love This Recipe
I’ve tested this wrap about a dozen times to get the proportions right—not too dry, not too drippy, sturdy enough to survive a backpack. Here’s why I keep coming back to it.
- Quick & Easy: From fridge to lunchbox in under 15 minutes. No cooking required if you use pre-cooked chicken or leftovers from last night’s dinner.
- Simple Ingredients: You probably already have most of these in your kitchen right now. No weird specialty items.
- Perfect for Lunchboxes: It holds up for hours without getting soggy. The secret is in the layering, which I’ll explain below.
- Crowd-Pleaser: My kids inhale these. My husband steals them from the fridge. Even picky eaters tend to love the familiar Caesar flavor in a handheld form.
- Unbelievably Delicious: The creamy dressing, salty parmesan, crunchy croutons, and tender chicken all wrapped in a warm tortilla—it’s comfort food that actually travels well.
What makes this recipe different from every other chicken wrap out there? It’s the layering technique. I spread a thin layer of dressing directly on the tortilla first, then add the lettuce as a barrier before piling on the chicken and cheese. That single step prevents the dreaded soggy wrap syndrome. I learned this the hard way after pulling a limp, wet tortilla out of my daughter’s lunchbox on a Tuesday. Never again.
This is the kind of lunch that makes you feel like you’ve got it together. It’s simple, it’s reliable, and it tastes like something you actually wanted to eat.
What Ingredients You Will Need
This recipe uses straightforward, everyday ingredients to create something that feels a little special. The magic is in the combination, not the complexity.
- Cooked Chicken Breast: About 2 cups, shredded or diced. Rotisserie chicken is my go-to for convenience, but leftover grilled chicken works beautifully. I prefer thigh meat sometimes for extra moisture, but breast is classic and lean.
- Caesar Dressing: 1/3 cup. Use your favorite store-bought brand (I like Ken’s Steakhouse or a good refrigerated one from the deli section) or make your own with mayo, anchovy paste, lemon juice, garlic, and parmesan. Homemade is richer but takes an extra 5 minutes.
- Parmesan Cheese: 1/2 cup, freshly grated or shaved. Pre-shredded stuff works in a pinch, but freshly grated melts better and has more flavor. I use a microplane for fine shreds or a vegetable peeler for shavings.
- Romaine Lettuce: 2 cups, chopped. The crunch is essential. Iceberg is too watery and wilts fast. Romaine holds its structure and adds that satisfying snap.
- Croutons: 1/2 cup, slightly crushed. I use garlic or plain croutons and crush them a little in the bag before adding. It distributes the crunch without poking holes in the tortilla. Homemade croutons from day-old bread are amazing if you have them.
- Large Flour Tortillas: 4 (10-inch size). Burrito-sized works best. Too small and you can’t wrap properly; too large and the ratio gets off. I prefer flour over corn for pliability.
- Salt and Black Pepper: To taste. A pinch of cracked pepper really wakes up the dressing.
- Optional Add-Ins: Lemon zest (brightens everything), anchovy fillets (if you’re a purist), cherry tomatoes (halved, adds color), or a squeeze of fresh lemon juice.
For the best texture, I recommend using a good quality Caesar dressing—one that’s thick and creamy, not watery. If you’re watching calories, a light Caesar dressing works fine, just know the texture will be slightly thinner. For a dairy-free version, use a vegan Caesar dressing and nutritional yeast in place of parmesan.
Equipment Needed
Nothing fancy here. You probably already own everything you need.
- Cutting Board and Sharp Knife: For chopping lettuce and dicing chicken. A dull knife will just smash everything.
- Large Mixing Bowl: To toss the ingredients together before wrapping. A stainless steel or glass bowl works great.
- Measuring Cups and Spoons: For the dressing, cheese, and croutons. Eyeballing is fine once you’ve made these a few times.
- Spatula or Spoon: For spreading the dressing and mixing.
- Plastic Wrap or Parchment Paper: For wrapping the finished wraps tightly before slicing and packing. This keeps them secure and prevents drying out.
- Sharp Serrated Knife: For slicing the wraps cleanly in half. A dull knife will squish the filling out. Trust me on this one—I’ve ruined many a wrap with a bad knife.
- Toothpicks: Optional but helpful for securing the wrap if you’re packing it whole.
If you don’t have a large mixing bowl, a clean plastic food storage container works as a makeshift mixing vessel. And parchment paper is my favorite for wrapping—it’s eco-friendly and keeps things tidy.
Preparation Method
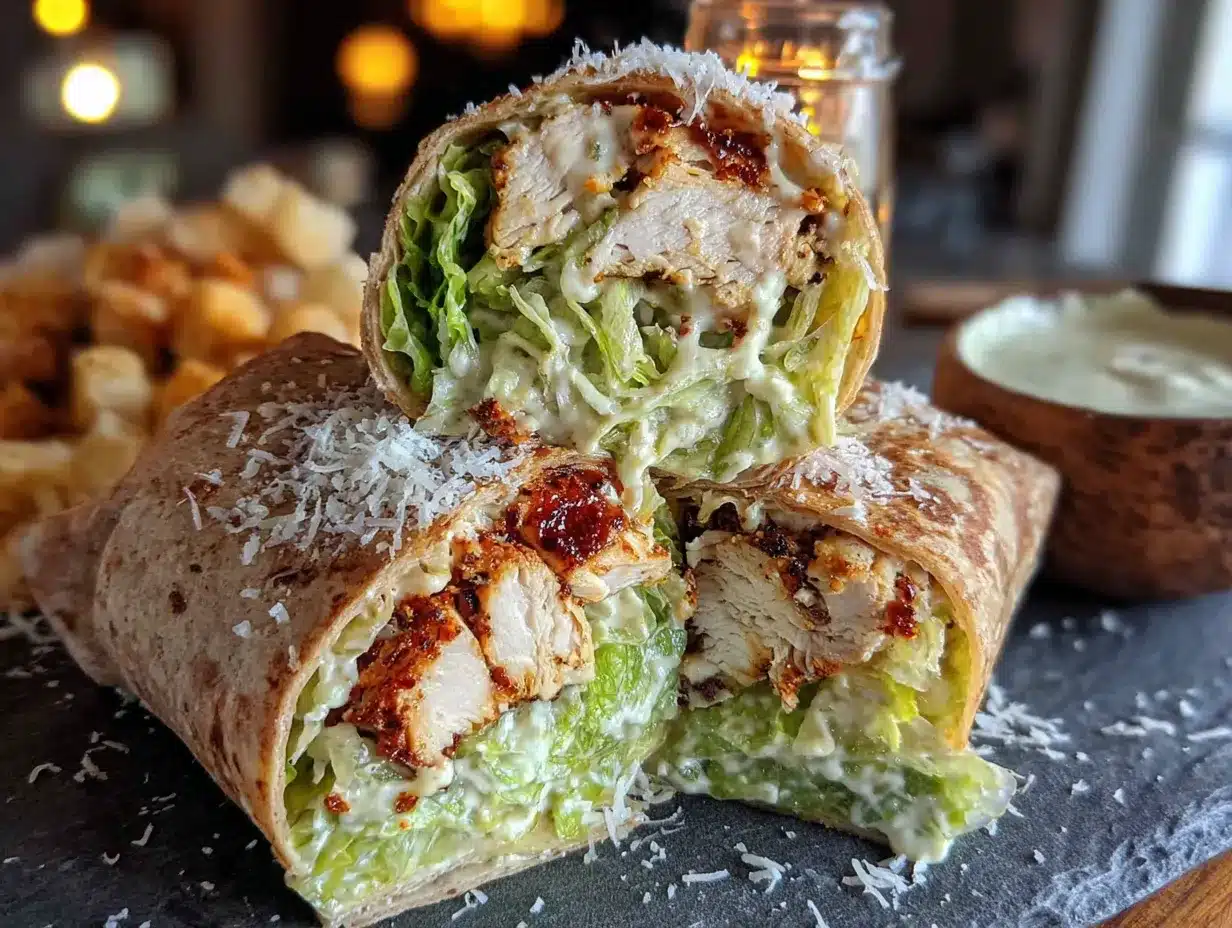
Let’s get these wraps together. It’s straightforward, but a few small details make all the difference between a wrap that holds up and one that falls apart.
- Prep the Chicken: If using rotisserie chicken, remove the skin and bones, then shred or dice the meat into bite-sized pieces. You should have about 2 cups. If using leftover grilled chicken, dice it into 1/2-inch cubes. Place in a large mixing bowl. Season with a pinch of salt and a few cracks of black pepper.
- Make the Dressing Base: In a small bowl, measure out 1/3 cup of Caesar dressing. If your dressing is very thick, you can thin it with a teaspoon of lemon juice or water. Set aside.
- Assemble the Filling: To the bowl with the chicken, add 1/2 cup of freshly grated parmesan cheese and 1/2 cup of slightly crushed croutons. Pour the dressing over everything and toss gently until all the chicken is coated. You want every piece to have a little dressing, but not be swimming in it. Add the 2 cups of chopped romaine lettuce last and toss again—just enough to combine without bruising the lettuce.
- Warm the Tortillas: Place one tortilla at a time in a dry skillet over medium heat for about 15-20 seconds per side. This makes them more pliable and less likely to tear. Alternatively, microwave them between damp paper towels for 10 seconds. Don’t skip this step—cold tortillas crack when you try to roll them.
- Layer Strategically: Lay a warm tortilla flat on your cutting board. Spread a very thin layer of extra dressing (about 1 teaspoon) in a 4-inch circle in the center. This adds moisture where it’s needed most. Pile about 3/4 cup of the chicken mixture in the center, leaving a 2-inch border on all sides. Don’t overfill—less is more when it comes to rolling.
- Fold and Roll: Fold the bottom edge of the tortilla up over the filling, tucking it snugly. Fold in the left and right sides toward the center, like you’re wrapping a burrito. Then roll tightly away from you, keeping the sides tucked in. The seam should end up on the bottom. Press gently to seal.
- Secure and Slice: Wrap each finished wrap tightly in plastic wrap or parchment paper, twisting the ends like a candy wrapper. This holds everything together while it rests. Let them sit for 5 minutes at room temperature—this helps the tortilla absorb a little moisture and sets the shape. Then slice each wrap in half on a diagonal using a sharp serrated knife. Secure with a toothpick if packing whole.
- Pack for Lunch: Place the wraps in a lunchbox with an ice pack if you’re including other perishable items. They’re best eaten within 4-6 hours, but they hold up well in a refrigerator overnight.
Pro tip: If you’re making these the night before, store the filling and tortillas separately and assemble in the morning. The lettuce stays crunchier that way. But honestly, I’ve made them the night before plenty of times and they’re still great the next day—just slightly softer.
Cooking Tips & Techniques
I’ve made enough mediocre wraps in my life to know exactly where things go wrong. Here’s what I’ve learned the hard way so you don’t have to.
The Soggy Wrap Problem: This is the number one complaint. The fix is simple—dress the chicken, not the lettuce. By coating the chicken first, you control exactly how much moisture goes into the wrap. Adding the lettuce at the very end and tossing just once keeps it crisp. Also, pat your lettuce dry thoroughly after washing. Wet lettuce is the enemy of a good wrap.
Too Much Filling: I get it, you want a hearty wrap. But overstuffing is the fastest route to a torn tortilla and filling spilling out everywhere. Stick to about 3/4 cup of filling per 10-inch tortilla. It looks like less than you expect, but it rolls up perfectly and stays together.
Tortilla Temperature: Room temperature or slightly warm tortillas are key. Cold tortillas straight from the fridge crack and tear. Give them a quick warm-up in the microwave or on a skillet. You don’t want them hot—just pliable.
Crouton Crush: Whole croutons create lumps and poke holes in the tortilla. Give them a gentle crush in the bag before adding to the mix. You want the crunch, not the sharp edges.
Make it a Meal Prep Hero: Double or triple the recipe on Sunday. Store the filling in an airtight container in the fridge for up to 3 days. Assemble fresh wraps each morning. It takes 2 minutes per wrap once the filling is ready.
My Biggest Fail: I once used low-fat dressing to save calories. The wrap was dry, flavorless, and my kids left half of it uneaten. Full-fat dressing isn’t just about taste—it provides the moisture barrier that keeps everything together. Use the real stuff. Your lunchbox will thank you.
Variations & Adaptations
This recipe is endlessly adaptable. Here are a few ways I’ve changed it up depending on what’s in my fridge or who I’m feeding.
Grilled Chicken Caesar Wrap: Instead of rotisserie or leftover chicken, grill a fresh chicken breast seasoned with salt, pepper, and garlic powder. Let it rest, then slice thinly. The smoky char adds a whole new layer of flavor. I do this when I’m already firing up the grill for dinner—cook an extra breast just for wraps.
Vegetarian Version: Swap the chicken for roasted chickpeas or crispy tofu. For chickpeas, drain and rinse a can, toss with olive oil and salt, then roast at 400°F for 20 minutes until crispy. Let them cool completely before adding to the wrap. The texture is surprisingly satisfying and the protein holds up well.
Low-Carb / Keto Option: Use large lettuce leaves (romaine or butter lettuce) instead of tortillas. The filling is already low-carb friendly—just skip the croutons or use pork rinds for crunch. I’ve made these lettuce wraps for myself when I’m cutting carbs, and they’re honestly just as good.
Spicy Kick: Add a teaspoon of sriracha or red pepper flakes to the dressing before mixing. Or throw in some pickled jalapeños for heat and acidity. My husband loves this version—he says it wakes up the whole wrap.
Dairy-Free Adaptation: Use a vegan Caesar dressing (many are surprisingly good) and substitute the parmesan with nutritional yeast or a dairy-free parmesan alternative. The flavor changes slightly, but it’s still delicious and creamy.
Gluten-Free: Use gluten-free tortillas or large gluten-free wraps. The filling is naturally gluten-free if you swap the croutons for crushed gluten-free crackers or omit them entirely.
I’ve tried the spicy version with grilled chicken and a squeeze of lime—it’s become my personal favorite for adult lunches. The kids, of course, prefer the classic.
Serving & Storage Suggestions
These wraps are designed for lunchboxes, but they’re versatile enough for picnics, road trips, or quick dinners.
Serving Temperature: Serve cold or at room temperature. I don’t recommend reheating them—the lettuce wilts and the dressing separates. If you want a warm wrap, assemble without lettuce, warm it in a panini press or skillet, then add the lettuce right before eating.
Presentation: Slice on a diagonal for that classic lunchbox look. Arrange the halves cut-side up so the colorful filling shows. A toothpick through each half keeps everything tidy. For a fun twist, pack a small side of extra dressing for dipping.
What to Serve With: These wraps pair beautifully with a handful of baby carrots, apple slices, grapes, or a small bag of chips. For a more complete meal, add a side of creamy cucumber tomato salad with fresh dill and feta or a cup of creamy tomato basil soup for dipping (if eating at home). For a sweet finish, try a fresh strawberry shortcake skewer on the side.
Storage: Wrapped tightly in plastic wrap or parchment paper, these wraps keep in the refrigerator for up to 24 hours. After that, the lettuce starts to wilt and the tortilla softens. I don’t recommend freezing them—the texture degrades significantly upon thawing.
Reheating: Not recommended for the classic version. If you made a lettuce-free variation for warm eating, reheat in a skillet over medium heat for 2-3 minutes per side, or in a panini press until the tortilla is crispy and the filling is warm.
Flavor Development: These wraps actually taste better after about an hour in the fridge. The flavors meld together, the dressing soaks into the chicken just slightly, and the tortilla softens just enough to be perfectly pliable. They’re at their peak 1-4 hours after assembly.
Nutritional Information & Benefits
Here’s an approximate breakdown per wrap (using full-fat dressing and standard ingredients):
- Calories: 420-480
- Protein: 32-38g
- Fat: 22-26g
- Carbohydrates: 28-34g
- Fiber: 3-4g
- Sugar: 3-5g
- Sodium: 800-1000mg (varies by dressing and cheese)
Health Benefits: Chicken provides lean protein for sustained energy throughout the school day. Romaine lettuce offers vitamin K, vitamin A, and folate. Parmesan adds calcium and a little extra protein. The olive oil in most Caesar dressings provides healthy monounsaturated fats.
Dietary Considerations: This recipe contains gluten (tortillas, croutons) and dairy (parmesan, dressing). It can be made gluten-free, dairy-free, low-carb, and vegetarian with the substitutions listed above. It’s naturally nut-free and egg-free (most Caesar dressings are egg-free, but check labels).
Potential Allergens: Dairy, gluten, and anchovies (in traditional Caesar dressing). If serving to someone with allergies, always check ingredient labels carefully.
From a wellness perspective, I love that this wrap gives my kids a solid dose of protein and vegetables without feeling like a “healthy” lunch. It’s satisfying enough to keep them full through afternoon activities, but light enough not to weigh them down.
Conclusion
These Easy Chicken Caesar Wraps for Lunchboxes are the kind of recipe that quietly solves a problem you didn’t even know you had. They’re not flashy. They don’t require a trip to a specialty grocery store. They just work—every single time. The kids eat them, the adults steal them, and they hold up beautifully in a lunchbox or a cooler.
What I love most is how adaptable they are. You can make them exactly as written, or you can riff based on what’s in your fridge. Swap the chicken for turkey, use spinach instead of romaine, add roasted red peppers—it’s hard to mess up. The core technique of layering the dressing as a barrier is the only non-negotiable part.
I’d love to hear how these turn out for you. Did your kids actually eat them? Did you try a fun variation? Drop a comment below and let me know—I read every single one. And if you’re looking for another lunchbox-friendly option, check out these easy 5-ingredient peanut butter energy bites for a sweet treat that travels just as well.
Here’s to lunches that actually come home empty.
Frequently Asked Questions
Can I make these wraps the night before?
Yes, but for the best texture, store the filling and tortillas separately and assemble in the morning. If you assemble the night before, they’ll still be good—just slightly softer. I’ve done both and honestly prefer the overnight version for convenience.
How do I keep the wrap from getting soggy?
The key is layering. Spread a thin layer of dressing directly on the tortilla first, then add the lettuce as a barrier before piling on the dressed chicken. Also, make sure your lettuce is thoroughly dried after washing. Pat it with paper towels or use a salad spinner.
Can I use a different type of lettuce?
Romaine is my top choice because it’s sturdy and stays crisp. Iceberg is too watery and wilts quickly. Spinach or mixed greens work in a pinch but won’t give you the same crunch. For a heartier option, try chopped kale—massage it with a little olive oil first to soften it.
How long do these wraps last in the fridge?
Assembled wraps keep for up to 24 hours in the refrigerator. After that, the texture starts to decline. The filling alone (chicken, dressing, cheese, croutons) can be stored separately for up to 3 days. Just add fresh lettuce when you’re ready to assemble.
Can I freeze these wraps?
I don’t recommend freezing them. The lettuce becomes limp and watery upon thawing, and the dressing separates. If you want a freezer-friendly option, freeze the cooked chicken and make fresh wraps with it later. The chicken alone freezes beautifully for up to 3 months.
Pin This Recipe!
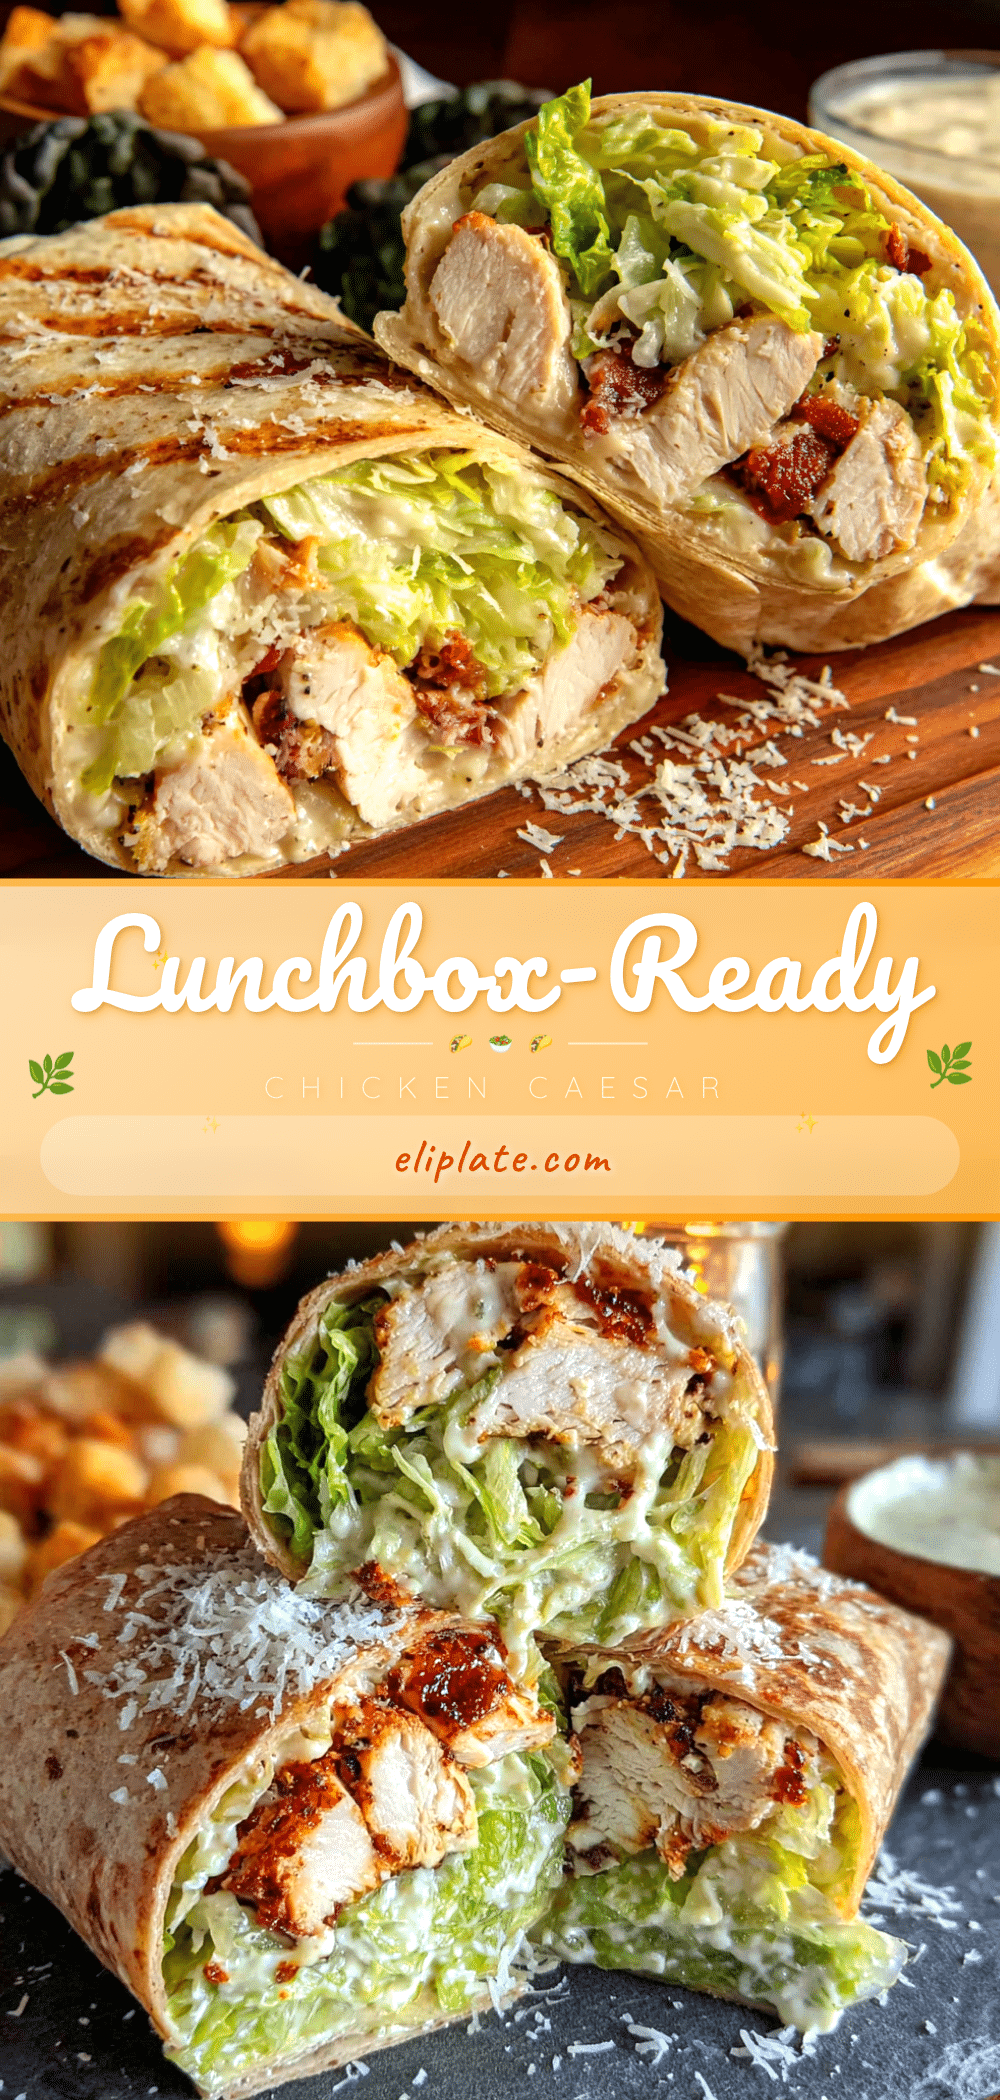
Easy Chicken Caesar Wraps: Best Lunchbox Meal

These Easy Chicken Caesar Wraps are the perfect lunchbox solution—sturdy, delicious, and packed with classic Caesar flavor in a handheld form. A clever layering technique prevents sogginess, making them ideal for school, work, or picnics.
- Prep Time: 15 minutes
- Cook Time: 0 minutes (no cooking required if using pre-cooked chicken)
- Total Time: 15 minutes
- Yield: 4 servings 1x
- Category: Main Course
- Cuisine: American
Ingredients
- 2 cups cooked chicken breast, shredded or diced (rotisserie or leftover grilled)
- 1/3 cup Caesar dressing (store-bought or homemade)
- 1/2 cup freshly grated or shaved Parmesan cheese
- 2 cups chopped romaine lettuce
- 1/2 cup croutons, slightly crushed
- 4 large flour tortillas (10-inch, burrito-sized)
- Salt and black pepper to taste
- Optional: lemon zest, anchovy fillets, cherry tomatoes (halved), fresh lemon juice
Instructions
- Prep the chicken: If using rotisserie chicken, remove skin and bones, then shred or dice into bite-sized pieces (about 2 cups). If using leftover grilled chicken, dice into 1/2-inch cubes. Place in a large mixing bowl and season with a pinch of salt and black pepper.
- Make the dressing base: In a small bowl, measure out 1/3 cup Caesar dressing. If very thick, thin with 1 teaspoon lemon juice or water. Set aside.
- Assemble the filling: To the bowl with chicken, add 1/2 cup Parmesan cheese and 1/2 cup slightly crushed croutons. Pour dressing over and toss gently until chicken is coated. Add 2 cups chopped romaine lettuce last and toss just enough to combine without bruising.
- Warm the tortillas: Place one tortilla at a time in a dry skillet over medium heat for 15-20 seconds per side, or microwave between damp paper towels for 10 seconds. This makes them pliable and prevents tearing.
- Layer strategically: Lay a warm tortilla flat on a cutting board. Spread a very thin layer of extra dressing (about 1 teaspoon) in a 4-inch circle in the center. Pile about 3/4 cup of the chicken mixture in the center, leaving a 2-inch border on all sides.
- Fold and roll: Fold the bottom edge of the tortilla up over the filling, tucking snugly. Fold in left and right sides toward the center, then roll tightly away from you, keeping sides tucked in. Place seam-side down and press gently to seal.
- Secure and slice: Wrap each finished wrap tightly in plastic wrap or parchment paper, twisting ends like a candy wrapper. Let rest for 5 minutes at room temperature. Slice each wrap in half on a diagonal using a sharp serrated knife. Secure with a toothpick if packing whole.
- Pack for lunch: Place wraps in a lunchbox with an ice pack if including other perishable items. Best eaten within 4-6 hours, but holds up overnight in the refrigerator.
Notes
The key to preventing sogginess is layering: spread a thin layer of dressing on the tortilla first, then add lettuce as a barrier before piling on dressed chicken. For best texture, store filling and tortillas separately if making the night before and assemble in the morning. Full-fat dressing works best for moisture and flavor. Pat lettuce dry thoroughly after washing.
Nutrition
- Serving Size: 1 wrap (half of a 10
- Calories: 450
- Sugar: 4
- Sodium: 900
- Fat: 24
- Saturated Fat: 6
- Carbohydrates: 31
- Fiber: 3.5
- Protein: 35
Keywords: chicken Caesar wrap, lunchbox recipe, easy lunch, handheld meal, kid-friendly lunch, meal prep wrap, Caesar salad wrap