“Can you grab me one of those frozen PBJ sandwiches for the trip?” My kid’s voice rang out as I was scrambling to pack the car for a last-minute weekend getaway. Honestly, I didn’t have any on hand, and rushing out for store-bought versions felt like a hassle I just didn’t need. That’s when I decided to whip up my own version of Easy Homemade Frozen Car Ride PBJ Uncrustables. It was sort of an accidental win — a quick “throw-it-together” that turned out way better than I expected.
The kitchen was calm except for the faint hum of the fridge and the smell of peanut butter wafting in the air, reminding me of childhood lunches. I remember biting into one of those perfectly sealed, crustless sandwiches and thinking, “I could make this myself, no problem.” So I did — but with a twist to make them freezer-ready without any mess, ideal for car rides or busy mornings.
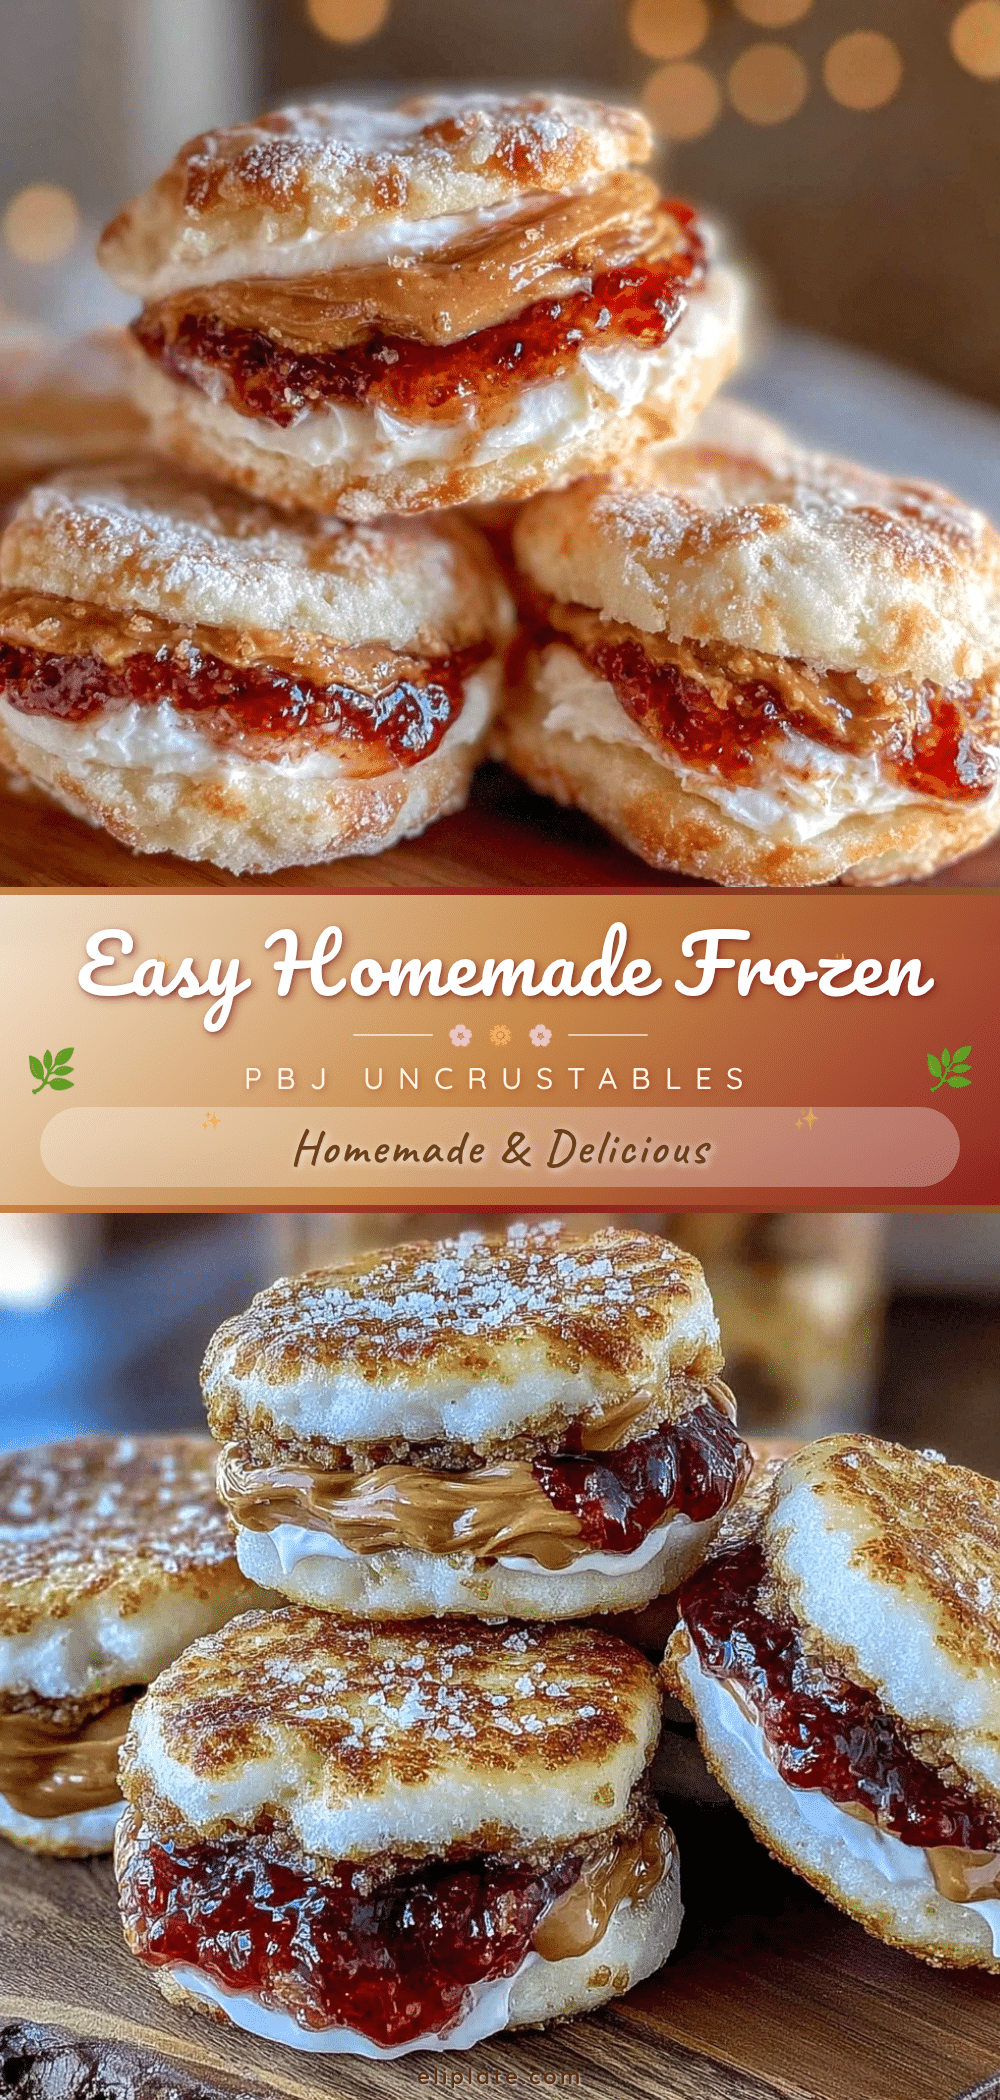
What stuck with me is how these homemade PBJ Uncrustables felt like a little pocket of comfort, ready to go whenever we needed. No preservatives, no mystery ingredients, just real bread, jam, and peanut butter, sealed tight and waiting in the freezer. It’s become a go-to for those chaotic mornings or spontaneous road trips, and I bet it’ll become one for you, too.
There’s something quietly satisfying about pulling out a homemade, perfectly portioned sandwich that’s both nostalgic and practical. It’s one less thing to worry about — and you know, sometimes that’s the real win.
Why You’ll Love This Recipe
After making these Easy Homemade Frozen Car Ride PBJ Uncrustables more times than I can count, I’m confident they’re a keeper in any busy household. Here’s why:
- Quick & Easy: These sandwiches come together in under 15 minutes, perfect for last-minute packing or busy school mornings.
- Simple Ingredients: No need to hunt for fancy stuff. Basic pantry staples like bread, peanut butter, and jam are all you need.
- Perfect for On-the-Go: Designed specifically for car rides, these sandwiches stay intact and mess-free, making them ideal for road trips or packed lunches.
- Crowd-Pleaser: My kids request these repeatedly, and honestly, they get rave reviews from adults too.
- Unbelievably Delicious: The soft bread and creamy peanut butter paired with sweet jam create a classic flavor combo that feels like a warm hug.
What sets this recipe apart is the little sealing technique I use to lock in freshness and prevent leaks — no soggy edges or jam explosions. Plus, I often swap in all-natural peanut butter or homemade jam for a healthier spin. It’s not just another PBJ; it’s the best homemade version you’ll find, and it’s frozen ready to fuel your busy days with zero fuss.
If you’ve ever struggled with messy sandwiches or last-minute snack panics, this recipe will feel like a solid win. It’s comfort food, made practical, and honestly, a little bit fun to make.
What Ingredients You Will Need
This recipe uses straightforward, wholesome ingredients that come together to deliver that nostalgic PBJ taste with zero hassle. Most are pantry staples, and you can easily swap ingredients based on what you have on hand.
- White or Whole Wheat Bread: Soft sandwich bread works best — I prefer a brand like Nature’s Own for its softness and flavor.
- Peanut Butter: Smooth peanut butter spreads easily and seals better. Natural or creamy varieties work well; I often use Skippy Natural.
- Fruit Jam or Jelly: Grape and strawberry are classics. Use your favorite brand or homemade jam for a fresh touch. If you want to avoid added sugar, try a no-sugar-added variety.
- Optional: Honey or Maple Syrup: For a touch of extra sweetness, especially if your jam is tart.
- Plastic Wrap or Parchment Paper: For sealing each sandwich tightly before freezing.
If you need a gluten-free option, swap the bread for a gluten-free sandwich loaf, and use a nut butter alternative like sunflower seed butter for nut allergies. You can also mix in a little Greek yogurt inside for a creamy twist, inspired by my fresh Greek yogurt breakfast bowl experiments.
Equipment Needed
- Rolling Pin: To flatten and seal the sandwiches well. A small rolling pin works perfectly, but a clean glass bottle can substitute.
- Round Cookie Cutter or Sandwich Press: A 3-4 inch round cutter helps create the classic uncrustable shape. If you don’t have one, a sharp knife and steady hands will do.
- Baking Sheet or Tray: For freezing the sandwiches flat before storing them in bags.
- Plastic Wrap or Parchment Paper: For wrapping sandwiches individually to keep them fresh and prevent freezer burn.
I’ve tried different methods over time, and using a rolling pin to press the edges makes a surprisingly big difference in keeping everything sealed tight. No fancy sandwich makers needed here, which is great if you want to keep it budget-friendly.
Preparation Method

- Prepare Your Workspace: Lay out slices of bread on a clean surface. If you want thinner sandwiches, gently press each slice with a rolling pin for about 10 seconds.
- Spread Peanut Butter: Using about 1 tablespoon (15 ml) of smooth peanut butter, spread evenly on one slice, leaving approximately half an inch (1.3 cm) border around the edges. This helps avoid leakage.
- Spread Jam: On the second slice, spread 1 tablespoon (15 ml) of your chosen jam evenly, also leaving the edges clear.
- Assemble Sandwich: Carefully place the jam-covered slice on top of the peanut butter one, matching edges.
- Seal the Edges: Use the rolling pin to press gently but firmly around the edges, about 3-4 times around the sandwich, to seal it. You want to create a tight barrier between fillings and crust.
- Cut the Sandwich: Use the round cookie cutter (about 3-4 inches or 7.5-10 cm diameter) to cut out the sandwich shape. Press firmly to cut through both slices cleanly.
- Wrap Individually: Wrap each sandwich tightly in plastic wrap or parchment paper to lock in freshness.
- Freeze: Place wrapped sandwiches on a baking sheet or tray in a single layer and freeze for at least 2 hours until firm.
- Store: Transfer frozen sandwiches to a freezer-safe bag or container for longer storage, up to 2 months.
Tip: If you notice any jam leaking during pressing, wipe it off immediately before freezing — that’s usually the culprit for messy sandwiches. Also, using smooth peanut butter really helps with sealing and texture.
Cooking Tips & Techniques
Making perfect homemade frozen PBJ Uncrustables is mostly about technique and a few small tricks I’ve learned over the years:
- Use Soft Bread: Fresh, soft sandwich bread seals better and tastes better after freezing. Stale or thick bread tends to crack or freeze too hard.
- Don’t Overfill: Less is more when it comes to peanut butter and jam. Overfilling causes leaks and messiness.
- Seal Edges Well: Rolling the edges firmly with a rolling pin is key. I usually roll twice around each sandwich to create a tight seal.
- Freeze Flat: Lay sandwiches flat on a tray before bagging to keep their shape and prevent sticking.
- Thawing Time: For best taste, thaw in the fridge overnight or let sit at room temperature for 30 minutes before eating.
Honestly, my first few attempts were messy, with jam oozing everywhere. But once I dialed in the sealing technique, it became foolproof. I also learned that these sandwiches are great to pack alongside other easy grab-and-go foods like my crispy lemon herb chicken for a wholesome lunch box.
Variations & Adaptations
While classic peanut butter and jelly are the stars here, there’s room to mix things up:
- Nut-Free Version: Substitute peanut butter with sunflower seed butter or soy nut butter for allergy-friendly sandwiches.
- Flavor Swaps: Try almond butter with raspberry preserves or cashew butter with apricot jam for a fancy twist.
- Whole Grain or Gluten-Free: Use gluten-free bread or whole grain sandwich bread to suit dietary needs.
- Added Texture: Sprinkle chia seeds or finely chopped nuts inside for a slight crunch and extra nutrition.
- Mini Sandwiches: Use smaller cookie cutters to make bite-sized uncrustables for toddlers or snack platters.
Personally, I once made a batch with honey-sweetened almond butter and blackberry jam that disappeared faster than I anticipated. Experimenting with these variations can keep the simple sandwich feeling fresh and fun.
Serving & Storage Suggestions
These frozen PBJ Uncrustables are best served slightly thawed for easy eating and optimal flavor. Pull them out of the freezer the night before or let them sit at room temperature for about 30 minutes before serving.
They’re perfect as a quick snack or part of a packed lunch with some fresh fruit and veggies. For a fun lunchbox idea, pair them with crunchy carrot sticks or my easy baked oatmeal with blueberries for a wholesome meal.
Store the wrapped sandwiches in freezer bags or airtight containers for up to 2 months. Avoid stacking them until frozen solid to prevent sticking. When reheating (if desired), a quick 10-second zap in the microwave softens them without making the bread soggy.
Over time, the flavors meld nicely, especially if you use homemade jam — it tastes even better after a few days frozen. Just keep an eye on bread freshness to avoid freezer burn.
Nutritional Information & Benefits
Each homemade PBJ Uncrustable roughly contains:
| Serving Size | 1 sandwich (about 70g) |
|---|---|
| Calories | 300 kcal |
| Protein | 8g |
| Carbohydrates | 35g |
| Fat | 12g |
Peanut butter offers heart-healthy fats and protein, while jam provides natural fruit sugars and antioxidants (especially if using no-sugar-added or homemade varieties). Using whole wheat or gluten-free bread can add fiber and cater to dietary needs.
This recipe is naturally gluten-free when using gluten-free bread and can be made nut-free with seed butters. Always check ingredient labels for allergens if serving to sensitive eaters.
From a wellness perspective, this recipe balances convenience with wholesome ingredients, making it a solid choice for busy families wanting a quick, satisfying snack without processed preservatives.
Conclusion
These Easy Homemade Frozen Car Ride PBJ Uncrustables are proof that simple, thoughtful food prep can solve a lot of everyday hassles. They save time, reduce mess, and bring a little nostalgic joy to busy mornings or road trips.
Feel free to customize fillings, breads, or sizes to fit your family’s tastes and needs. I love how these sandwiches have become an effortless staple in my kitchen, always ready to go and always welcomed with smiles.
If you give this recipe a try, I’d love to hear how you make it your own — leave a comment or share your favorite twists. Here’s to stress-free snacks that still taste like love.
Frequently Asked Questions
Can I use crunchy peanut butter instead of smooth?
You can, but smooth peanut butter seals better and prevents leaks. Crunchy can work if you press the edges extra firmly.
How long can I store these PBJ Uncrustables in the freezer?
Up to 2 months is ideal for best taste and texture. Beyond that, bread may dry out or freezer burn.
Can I use this method with other sandwich fillings?
Yes! Cream cheese and jam or nut butters with sliced bananas work well, but avoid watery fillings that might leak.
Do I need to thaw these sandwiches before eating?
They’re best thawed for about 30 minutes at room temp or overnight in the fridge for softer texture and easier eating.
What if I don’t have a cookie cutter for shaping?
No worries — you can carefully cut sandwiches into squares or triangles with a sharp knife. The sealing technique still applies.
Pin This Recipe!
Easy Homemade Frozen Car Ride PBJ Uncrustables Recipe for Kids

A quick and easy recipe for homemade frozen peanut butter and jelly sandwiches that are perfect for car rides, busy mornings, and mess-free snacking.
- Prep Time: 10 minutes
- Cook Time: 0 minutes
- Total Time: 2 hours 10 minutes
- Yield: 6 sandwiches
- Category: Snack
- Cuisine: American
Ingredients
- White or whole wheat sandwich bread (soft bread preferred)
- Smooth peanut butter (about 1 tablespoon per sandwich)
- Fruit jam or jelly (about 1 tablespoon per sandwich, grape or strawberry recommended)
- Optional: honey or maple syrup for extra sweetness
- Plastic wrap or parchment paper for wrapping sandwiches
Instructions
- Lay out slices of bread on a clean surface. For thinner sandwiches, gently press each slice with a rolling pin for about 10 seconds.
- Spread about 1 tablespoon of smooth peanut butter evenly on one slice, leaving approximately a 1/2 inch border around the edges.
- Spread about 1 tablespoon of your chosen jam evenly on the second slice, also leaving the edges clear.
- Place the jam-covered slice on top of the peanut butter slice, matching edges.
- Use a rolling pin to press gently but firmly around the edges 3-4 times to seal the sandwich tightly.
- Use a 3-4 inch round cookie cutter to cut out the sandwich shape, pressing firmly through both slices.
- Wrap each sandwich tightly in plastic wrap or parchment paper to lock in freshness.
- Place wrapped sandwiches on a baking sheet or tray in a single layer and freeze for at least 2 hours until firm.
- Transfer frozen sandwiches to a freezer-safe bag or container for storage, up to 2 months.
Notes
Use smooth peanut butter for better sealing and less leakage. Press edges firmly with a rolling pin to create a tight seal. Freeze sandwiches flat before storing to prevent sticking. Thaw overnight in the fridge or for 30 minutes at room temperature before eating. For nut allergies, substitute peanut butter with sunflower seed or soy nut butter and use gluten-free bread if needed.
Nutrition
- Serving Size: 1 sandwich (about 70
- Calories: 300
- Fat: 12
- Carbohydrates: 35
- Protein: 8
Keywords: PBJ, peanut butter and jelly, uncrustables, frozen sandwiches, kids snack, easy recipe, homemade, car ride snack