Softly grainy and just a little sticky, the surface of these peanut butter energy balls is what I made this recipe for — everything else is secondary. When you roll them between your fingers, you feel that subtle resistance before the gentle give, a texture that promises a satisfying bite but won’t crumble all over your lunchbox. Honestly, that tactile little moment hooked me right away. It’s not just about taste here; it’s about holding onto something that feels wholesome and real, especially when you’re juggling a dozen other things and need a no-fuss snack that’s as comforting to handle as it is to eat.
I remember shaping my first batch on a rainy afternoon, the kitchen warm with the smell of peanut butter, oats, and honey blending into a soft mass. It wasn’t just the ease of no baking that caught me, but the way the balls held their shape, ready to be tucked into lunchboxes without fuss or mess. The texture is tender without being mushy, chewy but not dense — perfect for little hands and rushed grown-ups alike.
These easy no-bake peanut butter energy balls quickly became my go-to for busy days and lunchbox rescues. They look simple — just little spheres with flecks of oats and bits of chocolate or seeds peeking through — but that texture, the way they hold together yet melt in your mouth, makes all the difference. Lunchboxes deserve snacks that feel this thoughtful and satisfying, don’t you think? And that’s why I keep coming back to this recipe, no matter how many other options are on the table.
So, while the taste is definitely a part of the story, it’s that texture — soft, chewy, just a little sticky — that remains the quiet reason why these easy no-bake peanut butter energy balls have stuck around in my kitchen and my routine.
Why You’ll Love This Recipe
After testing countless snack recipes, these easy no-bake peanut butter energy balls have stood out for a few very practical reasons. They’re not just tasty; they fit seamlessly into hectic days, especially if you’re packing lunches or need a quick energy boost on the go.
- Quick & Easy: No oven required — these come together in under 15 minutes, so you can whip them up during a commercial break or while prepping dinner.
- Simple Ingredients: You probably already have everything in your pantry. No last-minute grocery runs, which is a relief on busy mornings.
- Perfect for Lunchboxes: Portable, mess-free, and kid-approved, these energy balls keep their shape and texture even after hours in a bag.
- Crowd-Pleaser: From picky eaters to adults needing a quick snack, these get rave reviews. The peanut butter flavor is rich but not overwhelming.
- Unbelievably Delicious: The combination of oats, peanut butter, and just a touch of honey creates a chewy, nutty bite that feels like comfort food without the guilt.
What sets this recipe apart is the balance — not too dry, not too sticky, and the perfect chewiness that comes from the rolled oats and nut butter. I’ve played with a few different peanut butter brands and found that a creamy, natural peanut butter makes the best texture. And honestly, adding a pinch of salt really brings everything to life. This isn’t your average energy ball recipe; it has a little soul and a lot of simplicity.
Whether you’re packing for school, work, or an afternoon hike, these energy balls are a reliable, satisfying snack that you can trust to taste great and keep you fueled. It’s the kind of recipe you’ll want to keep in rotation — because sometimes, the simplest things make the biggest difference.
What Ingredients You Will Need
This recipe uses simple, wholesome ingredients to deliver bold flavor and satisfying texture without the fuss. Most are pantry staples, and substitutions are easy if you need them.
- Peanut butter, creamy and natural (I recommend Smucker’s Natural for the best texture)
- Old-fashioned rolled oats (not instant — they add chew and structure)
- Honey (or maple syrup for a vegan option; acts as the natural sweetener and binder)
- Ground flaxseed (optional, for added fiber and a slight nutty note)
- Mini chocolate chips or chopped dark chocolate (optional, for a touch of indulgence)
- Vanilla extract (just a teaspoon to deepen flavor)
- Salt, a pinch (to balance sweetness and bring out the peanut butter’s richness)
If you want to swap out peanut butter, almond or cashew butter work beautifully but might slightly change the texture. For a gluten-free option, double-check your oats are certified gluten-free. In summer, I sometimes throw in a handful of dried cranberries or chopped nuts to add a seasonal twist.
Equipment Needed
- Mixing bowl: A medium or large bowl for combining ingredients comfortably.
- Spoon or spatula: For stirring the mixture evenly (a silicone spatula works wonderfully).
- Measuring cups and spoons: Accurate measurements make all the difference for texture.
- Baking sheet or plate: To place the rolled balls on while they set; parchment paper is handy but not necessary.
- Optional: A food processor if you want to pulse oats or flaxseed finer, though I prefer the texture of whole rolled oats.
For rolling, I just use my hands — no fancy equipment needed. If you want to save cleanup, a silicone mat on your counter helps keep things tidy. Budget-wise, these tools are basics most kitchens already have, and I’ve found even mixing by hand makes these come together perfectly.
Preparation Method
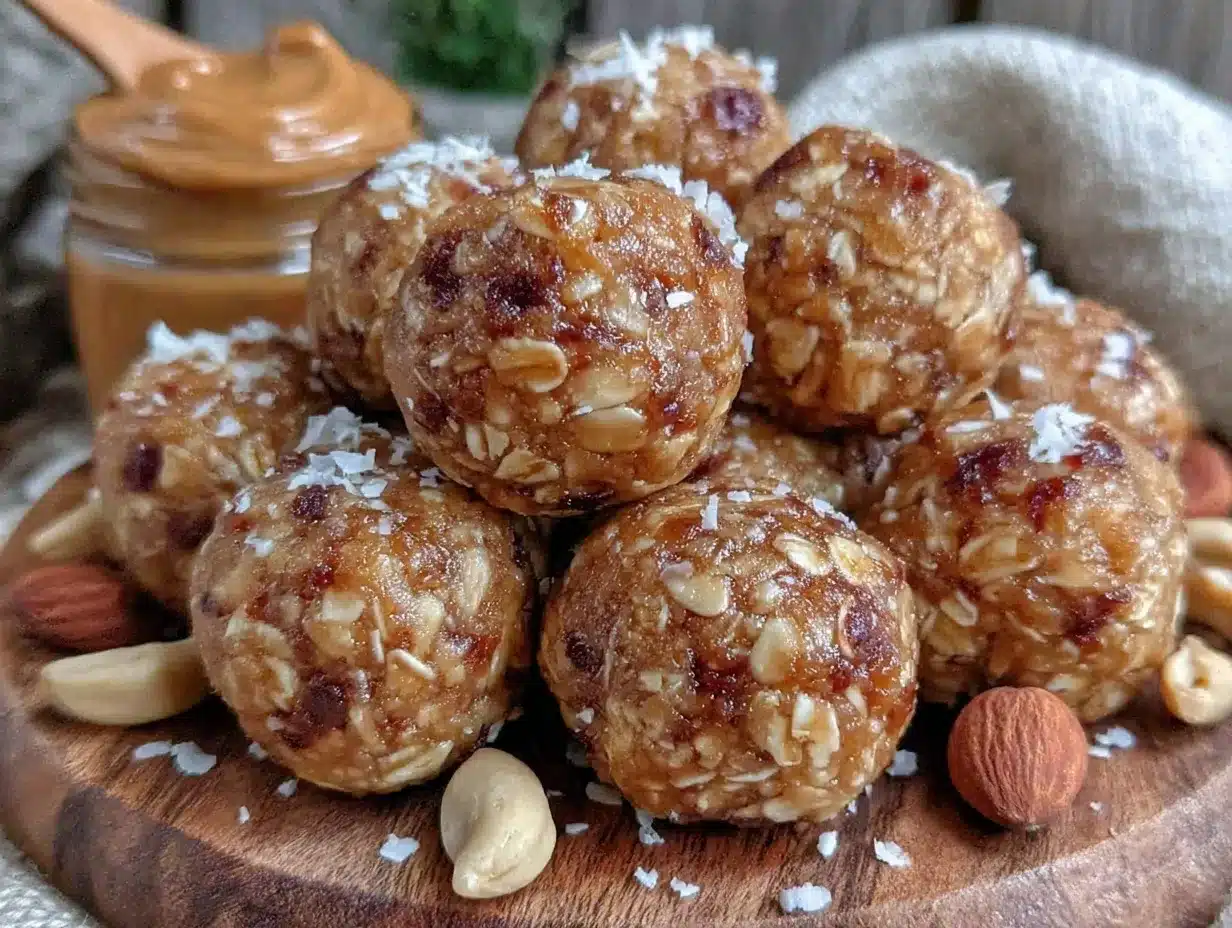
- Gather your ingredients: Measure out 1 cup (240 g) creamy peanut butter, 1 1/2 cups (135 g) rolled oats, 1/3 cup (120 ml) honey, 1/4 cup (24 g) ground flaxseed (optional), 1/4 cup (45 g) mini chocolate chips, 1 teaspoon vanilla extract, and a pinch of salt. Having everything ready helps the process flow smoothly.
- Mix the wet ingredients: In your mixing bowl, combine the peanut butter, honey, and vanilla extract. Stir vigorously until smooth and well blended — this usually takes about 2-3 minutes by hand. The mixture should be creamy and glossy.
- Add the dry ingredients: Toss in the rolled oats, ground flaxseed, chocolate chips, and salt. Stir gently but thoroughly until the oats are evenly coated and the mixture starts to come together. It will be sticky but manageable.
- Test the consistency: Pinch a small amount between your fingers. If it holds shape without crumbling, you’re good. If too sticky, add a tablespoon more oats; if too dry, a little more peanut butter or honey can help.
- Roll into balls: Pinch off about a tablespoon of mixture and roll between your palms to form a smooth ball. Place each ball on a lined baking sheet or plate. This step takes about 10 minutes — a perfect chance to chat or catch up on a podcast.
- Chill and set: Pop the tray into the fridge for at least 30 minutes. This firms up the energy balls so they hold their shape and improves the texture. You can also freeze them for longer storage.
- Pack and enjoy: Once set, these no-bake peanut butter energy balls are ready for lunchboxes, snacks, or a quick bite during the day.
Pro tip: If your kitchen is warm, keep the mixture chilled before rolling to avoid sticky fingers. Also, don’t skip the chilling step — it’s what transforms these from a crumbly mess to neat, bite-sized treasures.
Cooking Tips & Techniques
Working with no-bake recipes like these energy balls means paying close attention to texture and moisture balance. Here are some tips I’ve learned the hard way:
- Balance wet and dry: Too much peanut butter or honey makes the balls sticky and hard to roll. Too many oats and they crumble. Measure carefully, and adjust as needed based on humidity and your nut butter brand.
- Use natural peanut butter: It tends to have less added oil and sugar, giving a better texture and flavor. Stir well before measuring, as natural peanut butter separates.
- Chill your hands: Rolling sticky mixtures is easier when your hands are cool. Rinsing them briefly with cold water helps prevent sticking.
- Add-ins: Mini chocolate chips work best because they blend well without breaking the texture. Larger chunks or nuts can make rolling tricky.
- Multitasking: While the balls chill, this is a great time to prep other lunch components like a fresh salad or easy sides — maybe something bright and crisp like a fresh Asian cucumber salad pairs beautifully.
- Storage: Keep the energy balls in an airtight container in the fridge up to a week. They’ll stay chewy and fresh — not dry or hard.
These tips make the process smooth, and the results consistent — which is what you want when you’re relying on snacks to get you through a busy day.
Variations & Adaptations
This easy no-bake peanut butter energy balls recipe is a great base for customization. Here are some variations I’ve tried and loved:
- Chocolate peanut butter: Add 2 tablespoons of cocoa powder to the dry mix for a rich chocolate flavor. Swap honey for maple syrup if you want a dairy-free vegan option.
- Nut-free version: Use sunflower seed butter instead of peanut butter and check your oats are processed in a nut-free facility for allergy-sensitive lunchboxes.
- Seasonal fruit: Fold in dried cranberries, chopped apricots, or raisins for a fruity contrast, especially nice in fall or winter seasons.
- Boost protein: Add a scoop of your favorite protein powder to the mixture (vanilla or chocolate flavor pairs well). You might need to add a splash of milk to keep the right texture.
- Spiced twist: Sprinkle in cinnamon, nutmeg, or pumpkin pie spice for a cozy flavor profile.
I once swapped the oats for quinoa flakes to change up the texture, and it was surprisingly good — a bit lighter and fluffier but still holding together well. Feel free to experiment and find your favorite spin!
Serving & Storage Suggestions
These peanut butter energy balls are best served chilled or at room temperature. They’re perfect for slipping into lunchboxes alongside vibrant, fresh sides like a watermelon feta salad or a crunchy coleslaw like the creamy southern coleslaw recipe with easy buttermilk dressing.
Store your energy balls in an airtight container in the refrigerator for up to one week. For longer storage, freeze them in a single layer on a baking sheet, then transfer to a freezer-safe bag or container. They thaw quickly at room temperature, making them a handy make-ahead snack.
When reheating, just let them sit out for a few minutes to soften slightly — microwaving isn’t necessary and can make the texture too soft or oily. Over time, flavors meld and deepen, so leftovers often taste even better the next day.
Nutritional Information & Benefits
Each peanut butter energy ball (assuming recipe makes about 20 balls) packs roughly 90-100 calories, with around 4 grams of protein, 6 grams of fat (mostly healthy fats), and 8 grams of carbohydrates including 2 grams of fiber. They’re a balanced mini snack that fuels without weighing you down.
Peanut butter provides heart-healthy monounsaturated fats and protein, while oats add fiber and slow-release energy. The flaxseed adds omega-3 fatty acids and extra fiber, supporting digestion and overall wellness. Choosing natural sweeteners like honey keeps these energy balls free from refined sugars.
They’re gluten-free if you use certified oats and can be dairy-free depending on your add-ins. Just watch out for nut allergies if serving to a crowd.
Conclusion
These easy no-bake peanut butter energy balls hit the sweet spot between fuss-free and fulfilling. They’re a texture lover’s dream — soft enough to bite into easily but with just enough chew to feel substantial. I love how they come together quickly and reliably, making them a staple when I need a lunchbox snack that’s both nourishing and enjoyable.
Feel free to tweak the flavors or add your favorite mix-ins. This recipe is forgiving — a perfect canvas for your creativity. When I make a batch, I always end up making more because they disappear fast, and I know you’ll understand why once you try them.
If you give these energy balls a whirl, I’d love to hear how you customize them or what pairing you enjoyed most. Sharing snack wins feels like a small but satisfying victory, doesn’t it?
FAQs About Easy No-Bake Peanut Butter Energy Balls
Can I use crunchy peanut butter instead of creamy?
Yes, but the texture will be chunkier and might be a bit harder to roll. If you prefer smoother energy balls, creamy peanut butter is best.
How long do these energy balls stay fresh?
Stored in an airtight container in the fridge, they last about one week. You can freeze them for up to three months.
Can I make these without honey?
Absolutely! Maple syrup or agave syrup works well, especially if you want a vegan option.
Are these suitable for kids’ lunchboxes?
Definitely. They’re mess-free, nutritious, and kid-approved in our house. Just watch for nut allergies if you’re sending them to school.
What’s the best way to keep the energy balls from sticking together?
Chilling them on a parchment-lined tray before storing helps. Also, keep them in a single layer or use parchment paper between layers in the container.
Pin This Recipe!
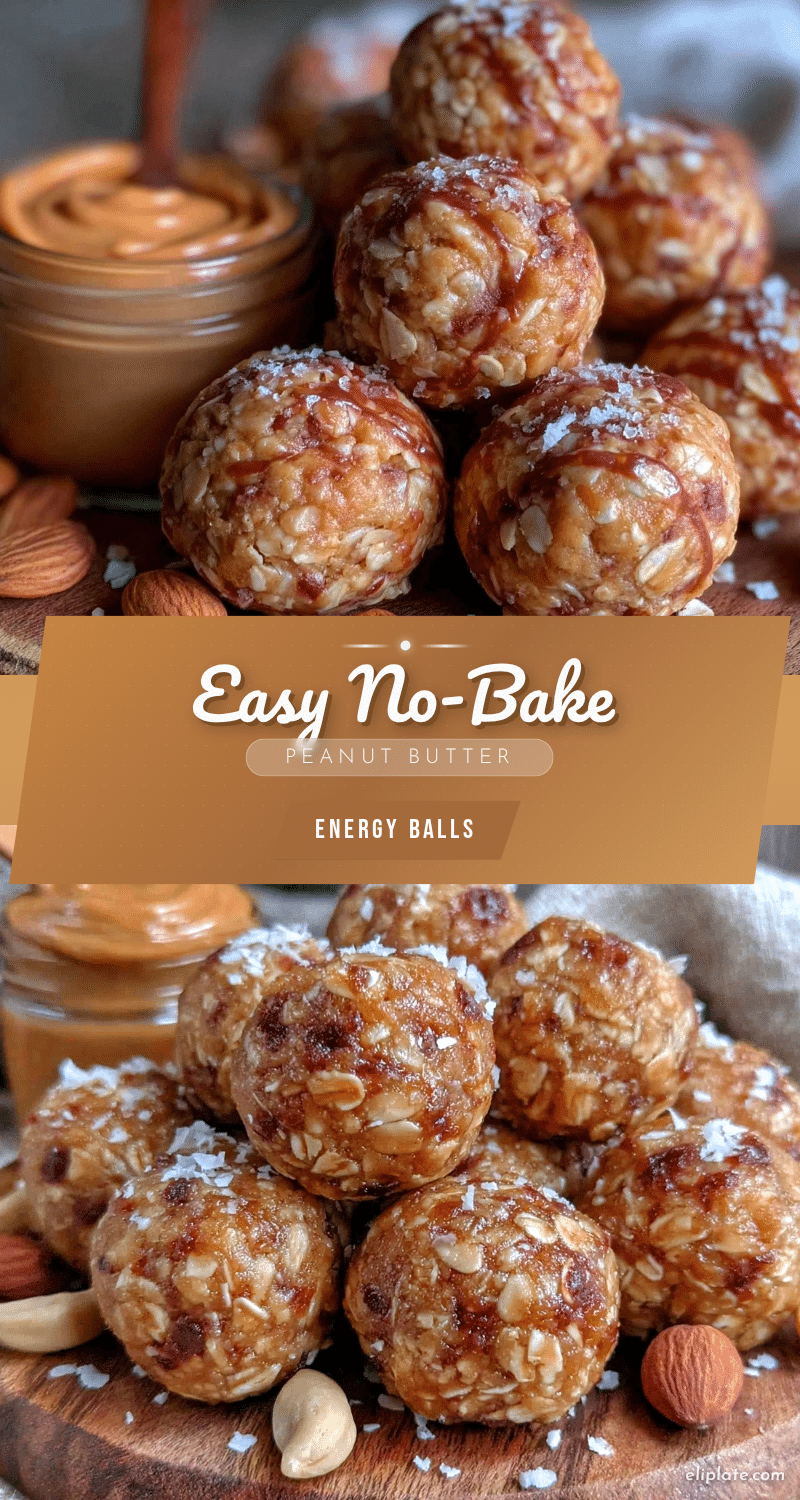
Easy No-Bake Peanut Butter Energy Balls

Soft, chewy, and just a little sticky, these no-bake peanut butter energy balls are a quick and wholesome snack perfect for lunchboxes or on-the-go energy boosts.
- Prep Time: 10 minutes
- Cook Time: 0 minutes
- Total Time: 40 minutes
- Yield: 20 energy balls 1x
- Category: Snack
- Cuisine: American
Ingredients
- 1 cup creamy natural peanut butter
- 1 1/2 cups old-fashioned rolled oats
- 1/3 cup honey (or maple syrup for vegan option)
- 1/4 cup ground flaxseed (optional)
- 1/4 cup mini chocolate chips or chopped dark chocolate (optional)
- 1 teaspoon vanilla extract
- Pinch of salt
Instructions
- Measure out all ingredients: 1 cup peanut butter, 1 1/2 cups rolled oats, 1/3 cup honey, 1/4 cup ground flaxseed (optional), 1/4 cup mini chocolate chips, 1 teaspoon vanilla extract, and a pinch of salt.
- In a mixing bowl, combine peanut butter, honey, and vanilla extract. Stir vigorously until smooth and well blended, about 2-3 minutes.
- Add rolled oats, ground flaxseed, chocolate chips, and salt. Stir gently but thoroughly until oats are evenly coated and mixture starts to come together.
- Test consistency by pinching a small amount between fingers. If too sticky, add a tablespoon more oats; if too dry, add a little more peanut butter or honey.
- Pinch off about a tablespoon of mixture and roll between palms to form smooth balls. Place on a lined baking sheet or plate.
- Chill in the refrigerator for at least 30 minutes to firm up the balls.
- Once set, pack and enjoy as a snack or lunchbox treat.
Notes
Use creamy natural peanut butter for best texture. Chill hands before rolling to prevent sticking. Adjust oats or peanut butter to get the right consistency. Store in airtight container in fridge up to one week or freeze up to three months. Let thaw at room temperature before eating.
Nutrition
- Serving Size: 1 energy ball
- Calories: 95
- Sugar: 4
- Sodium: 50
- Fat: 6
- Saturated Fat: 1
- Carbohydrates: 8
- Fiber: 2
- Protein: 4
Keywords: no-bake, peanut butter, energy balls, snack, lunchbox, healthy, quick, easy, gluten-free, vegetarian