“You wouldn’t believe it, but this whole banana pudding thing started because I accidentally left the pudding mix on the counter overnight—forgot to refrigerate it,” my grandma once confessed, laughing as she whisked the creamy custard. Honestly, if you’d told me back then that such a simple slip-up would lead to the most comforting, no-fail dessert in our family, I might have raised an eyebrow. But here we are, years later, with her cozy banana pudding recipe being the go-to for every potluck and Sunday dinner.
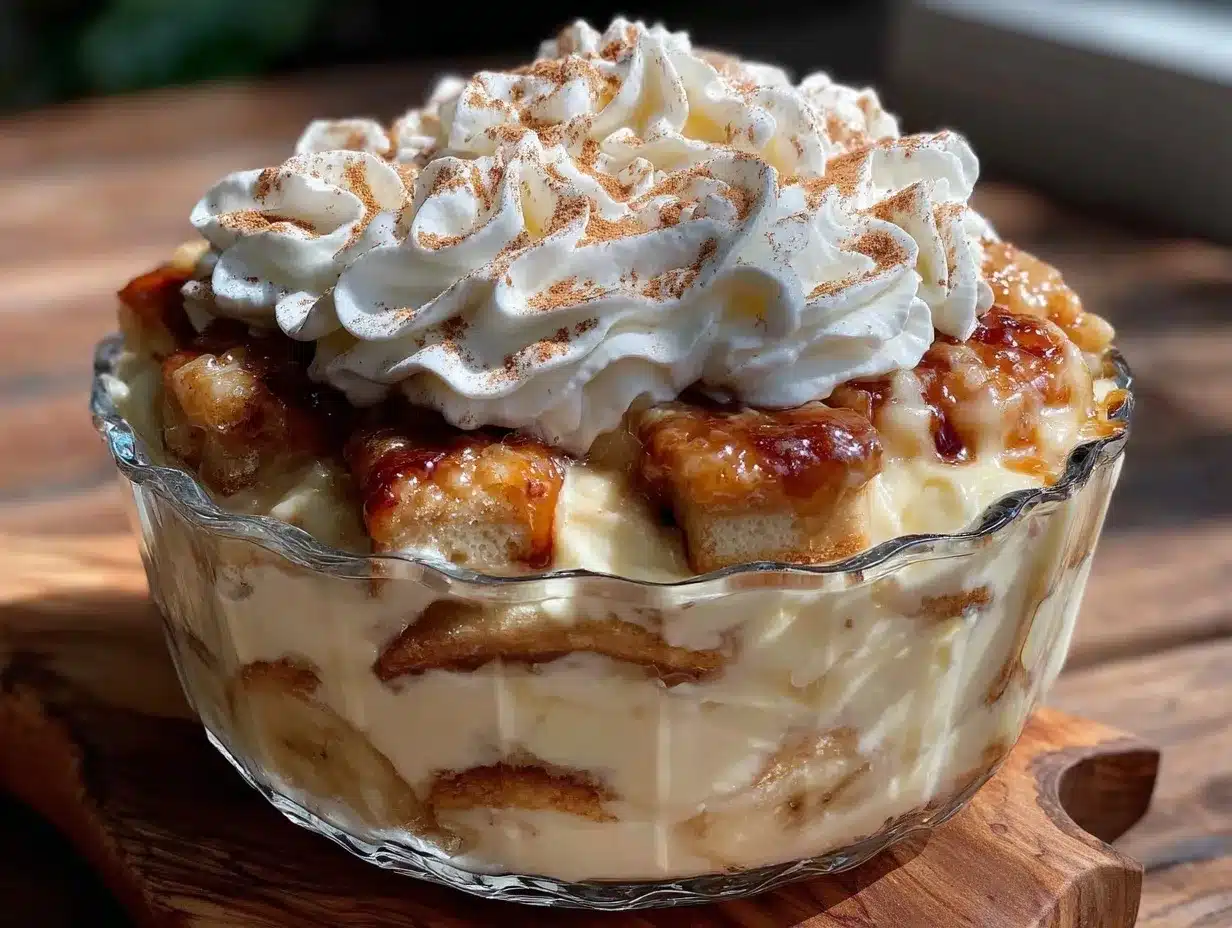
There’s something about the way the vanilla custard melts into the soft bananas, layered with those buttery, crumbly vanilla wafers, that feels like a warm hug on a plate. It’s not fancy, just pure, honest comfort food that somehow manages to feel both nostalgic and perfectly perfect every time. I remember sitting at the kitchen table, sneaking spoonfuls when no one was looking, savoring that delicate balance of creamy sweetness and banana goodness.
It’s actually kind of funny how this recipe has stuck around. Not because it’s complicated or requires special ingredients—far from it. Grandma’s approach was all about making something that anyone could whip up, no stress, no worries. And that’s exactly why it’s become my favorite dessert to share when I want something cozy and familiar without the fuss. It’s like a little piece of home, no matter where you are.
So, if you’re ready for a banana pudding recipe that feels like a soft blanket on a chilly evening, you might just find this one becoming your own secret comfort. It’s simple, forgiving, and honestly, downright addictive.
Why You’ll Love This Recipe
This banana pudding recipe has been tested over countless family gatherings and quiet evenings alike, and it never fails to impress. Here’s why it stands out from the crowd:
- Quick & Easy: You can have this dessert ready in under 30 minutes, perfect for those busy nights when you want something sweet without spending hours in the kitchen.
- Simple Ingredients: No need for fancy specialty items—basic pantry staples and fresh bananas are all you need. I usually keep the vanilla wafers stocked for this reason alone.
- Perfect for Any Occasion: Whether it’s a holiday dinner, casual potluck, or a quiet weekend treat, this pudding fits right in. It’s the kind of dish that everyone asks about afterward.
- Crowd-Pleaser: Kids adore it, adults rave about it, and it somehow disappears in record time. It’s a dessert that brings people back for seconds without fail.
- Unbelievably Delicious: The creamy texture paired with ripe bananas and vanilla wafers creates a comforting flavor combo that feels both nostalgic and fresh.
What really makes this banana pudding recipe different? It’s the little things—like folding the pudding gently to keep it light, or layering the bananas just right so every bite has that perfect balance. Plus, grandma’s tip to let it chill for a few hours really lets the flavors mingle beautifully, making it more than just a dessert, but a memory on a plate. It’s comfort food with a soul, simple enough to make any day feel a little warmer.
What Ingredients You Will Need
This recipe uses simple, wholesome ingredients to deliver bold flavor and satisfying texture without the fuss. Most of these are pantry staples, and the bananas bring in that fresh, sweet note that ties everything together. Here’s what you’ll need:
- For the pudding:
- 2 cups whole milk (you can use 2% if you prefer, but whole milk gives a creamier texture)
- 1 (3.4-ounce / 96 g) package instant vanilla pudding mix (I recommend Jell-O for consistent results)
- 1 (14-ounce / 396 g) can sweetened condensed milk (adds richness and sweetness)
- 1 teaspoon pure vanilla extract (for that extra cozy aroma)
- For the layers:
- 4-5 ripe bananas, sliced (look for bananas that are yellow with a few brown spots — perfect ripeness)
- 1 (12-ounce / 340 g) box vanilla wafers (Nilla Wafers are classic and hold up well)
- For the topping (optional):
- 1 cup heavy whipping cream, chilled (for homemade whipped cream)
- 2 tablespoons powdered sugar (for a touch of sweetness in the whipped cream)
If you want to switch things up, you can swap the vanilla pudding mix with homemade custard (though this adds a bit more prep time). For a dairy-free version, try almond milk and coconut whipped cream — it’s surprisingly good!
Equipment Needed
To make this cozy banana pudding, you don’t need much beyond your basic kitchen tools. Here’s what I usually pull out:
- Mixing bowls (medium and large)
- Whisk or electric mixer (a hand mixer works fine for the whipped cream topping)
- Measuring cups and spoons (precision makes a difference in texture)
- 9×13-inch baking dish or similar glass casserole dish (clear ones let you admire those beautiful layers!)
- Spatula for folding and spreading layers
If you don’t have an electric mixer, no worries — a sturdy whisk and a bit of elbow grease will do the trick for the whipped cream. For layering, I like a shallow dish so the pudding layers are visible and ready to delight before the first bite.
Preparation Method
- Prepare the pudding base: In a large bowl, whisk together the instant vanilla pudding mix and whole milk for about 2 minutes until it starts to thicken. Then stir in the sweetened condensed milk and vanilla extract until smooth and creamy. This step usually takes about 5 minutes. The pudding should be thick but still soft — not gelatinous.
- Slice the bananas: Peel and slice your ripe bananas into 1/4-inch thick rounds. I find that thinner slices layer nicely without becoming mushy too quickly. Set aside.
- Layer the dessert: Start by spreading a thin layer of pudding at the bottom of your dish, just enough to cover it. Next, add a layer of vanilla wafers, then a layer of banana slices. Repeat the layers — pudding, wafers, bananas — finishing with a generous layer of pudding on top. This layering usually takes 10-15 minutes.
- Add the whipped cream topping (optional): If you’re making whipped cream, beat the heavy cream with powdered sugar until soft peaks form (about 3-4 minutes on medium speed). Spread this evenly over the top layer of pudding.
- Chill: Cover the dish with plastic wrap and refrigerate for at least 4 hours, but overnight is best. This chilling step allows the wafers to soften and flavors to meld — the pudding thickens up to that perfect consistency you want. I learned the hard way that skipping this step makes the whole dessert a bit off in texture.
- Serve: Spoon into bowls and enjoy chilled. The pudding should be creamy, the bananas tender, and the wafers delightfully soft but not soggy.
Pro tip: If your wafers end up too soggy, try layering them with a little gap or adding a thin layer of pudding between each wafer layer to slow down the sogginess. Also, use ripe bananas but not overripe ones—they get too mushy and overpower the dessert.
Cooking Tips & Techniques
There’s a bit of finesse that makes this banana pudding stand apart, and here’s what I’ve learned from many trials (and a few kitchen messes):
- Mix gently: When combining the pudding ingredients, avoid overmixing once you add the condensed milk. Overworking can make the pudding dense rather than light and creamy.
- Banana timing: Slice the bananas just before layering. If they sit too long, they brown quickly, and that can throw off the fresh flavor and appearance.
- Layer order matters: Start and end with pudding layers because it acts like a binder and keeps everything together.
- Chill fully: Patience here is key. This isn’t a dessert to rush. The flavors and textures develop best after several hours in the fridge.
- Whipped cream caution: If you top with homemade whipped cream, add it just before serving if you’re short on time, or it might weep and become watery.
I once skipped the chilling step in a rush, and the wafers stayed crunchy but didn’t meld well with the pudding. It was a texture disaster! Since then, I never make that mistake again.
Variations & Adaptations
Banana pudding is wonderfully versatile. Here are some ways to make this recipe your own:
- Keto-Friendly: Swap vanilla wafers for almond flour crackers or low-carb cookies and use a sugar-free pudding mix. This makes a creamy, low-carb treat that still satisfies the craving.
- Chocolate Banana Pudding: Mix in a few tablespoons of cocoa powder to the pudding base or layer in some chocolate chips with the bananas for a richer twist.
- Seasonal Fruit Swap: In warmer months, replace half the bananas with fresh strawberries or blueberries for a bright, fresh flavor.
- Dairy-Free: Use coconut milk instead of whole milk and a dairy-free pudding mix, then top with coconut whipped cream for a tropical vibe.
- Personal Twist: I’ve tried adding a pinch of cinnamon or nutmeg into the pudding mix once, and it gave a warm spice note that was unexpectedly delightful.
For different textures, you can also toast the vanilla wafers lightly before layering for a bit of crunch contrast. Just be mindful they soften quickly once layered with pudding.
Serving & Storage Suggestions
Serving this banana pudding chilled is a must—it’s refreshing and so satisfying that way. I like to serve it in clear glass bowls so you can see those beautiful layers. A sprig of fresh mint or a dusting of cinnamon on top adds a nice touch.
This dessert pairs wonderfully with a hot cup of coffee or a glass of cold milk. And if you’re planning a full meal, it complements lighter dishes like lemon herb chicken with roasted vegetables quite well, balancing savory with sweet.
Store leftover banana pudding covered in the fridge for up to 3 days. The flavors actually deepen after a day or two, but the bananas may brown a bit more. If you want to keep it fresh-looking, sprinkle a little lemon juice over the bananas before layering.
Reheat is a no-go here—this pudding is best enjoyed cold or at room temperature. If you want a warm dessert, try pairing it with a warm brown butter chocolate chip cookie on the side; it’s a match made in heaven.
Nutritional Information & Benefits
Per serving, this banana pudding generally contains about 250-300 calories, depending on portion size and whether you add whipped cream. It provides a good source of potassium from the bananas and calcium from the milk, making it a somewhat wholesome treat.
Using ripe bananas not only adds natural sweetness but also provides dietary fiber and vitamins B6 and C. The vanilla pudding mix and sweetened condensed milk contribute sugars, so it’s definitely a dessert to enjoy in moderation.
For those watching carbs, consider the keto variation or smaller portions. Also, note the presence of dairy and gluten in the vanilla wafers—substitutions are available for allergies.
From my perspective, this recipe strikes a nice balance between indulgence and simple nourishment, especially compared to heavier desserts.
Conclusion
This cozy grandma’s no-fail banana pudding recipe has earned its place in my kitchen and heart. It’s straightforward enough to whip up any evening yet special enough to share for celebrations. The comforting layers of creamy pudding, ripe bananas, and vanilla wafers bring a timeless sweetness that’s hard to beat.
Feel free to play around with the layers or toppings to make it suit your taste buds. Whether you’re a longtime banana pudding fan or just curious to try something classic, this recipe offers a little slice of comfort that’s truly worth keeping around.
Now, I’d love to hear how you put your spin on this dessert or if it became a family fave like it is for me. Share your thoughts, tweaks, or memories anytime—you know I’m all ears!
FAQs About Cozy Grandma’s No-Fail Banana Pudding Recipe
Can I make this banana pudding ahead of time?
Absolutely! In fact, chilling it for several hours or overnight improves the texture and flavor as the layers meld together.
What’s the best way to keep bananas from browning in the pudding?
Slice the bananas just before layering and consider brushing them lightly with lemon juice to slow oxidation.
Can I use homemade pudding instead of instant mix?
Yes, but homemade pudding requires extra cooking and cooling time. The instant mix keeps it quick and foolproof.
Is it possible to make this dessert dairy-free?
Definitely. Use coconut or almond milk and a dairy-free pudding mix, then top with coconut whipped cream for a delicious alternative.
How long will leftover banana pudding last in the fridge?
Stored in an airtight container, it keeps well for up to 3 days, though best enjoyed within 24-48 hours for freshness.
Pin This Recipe!
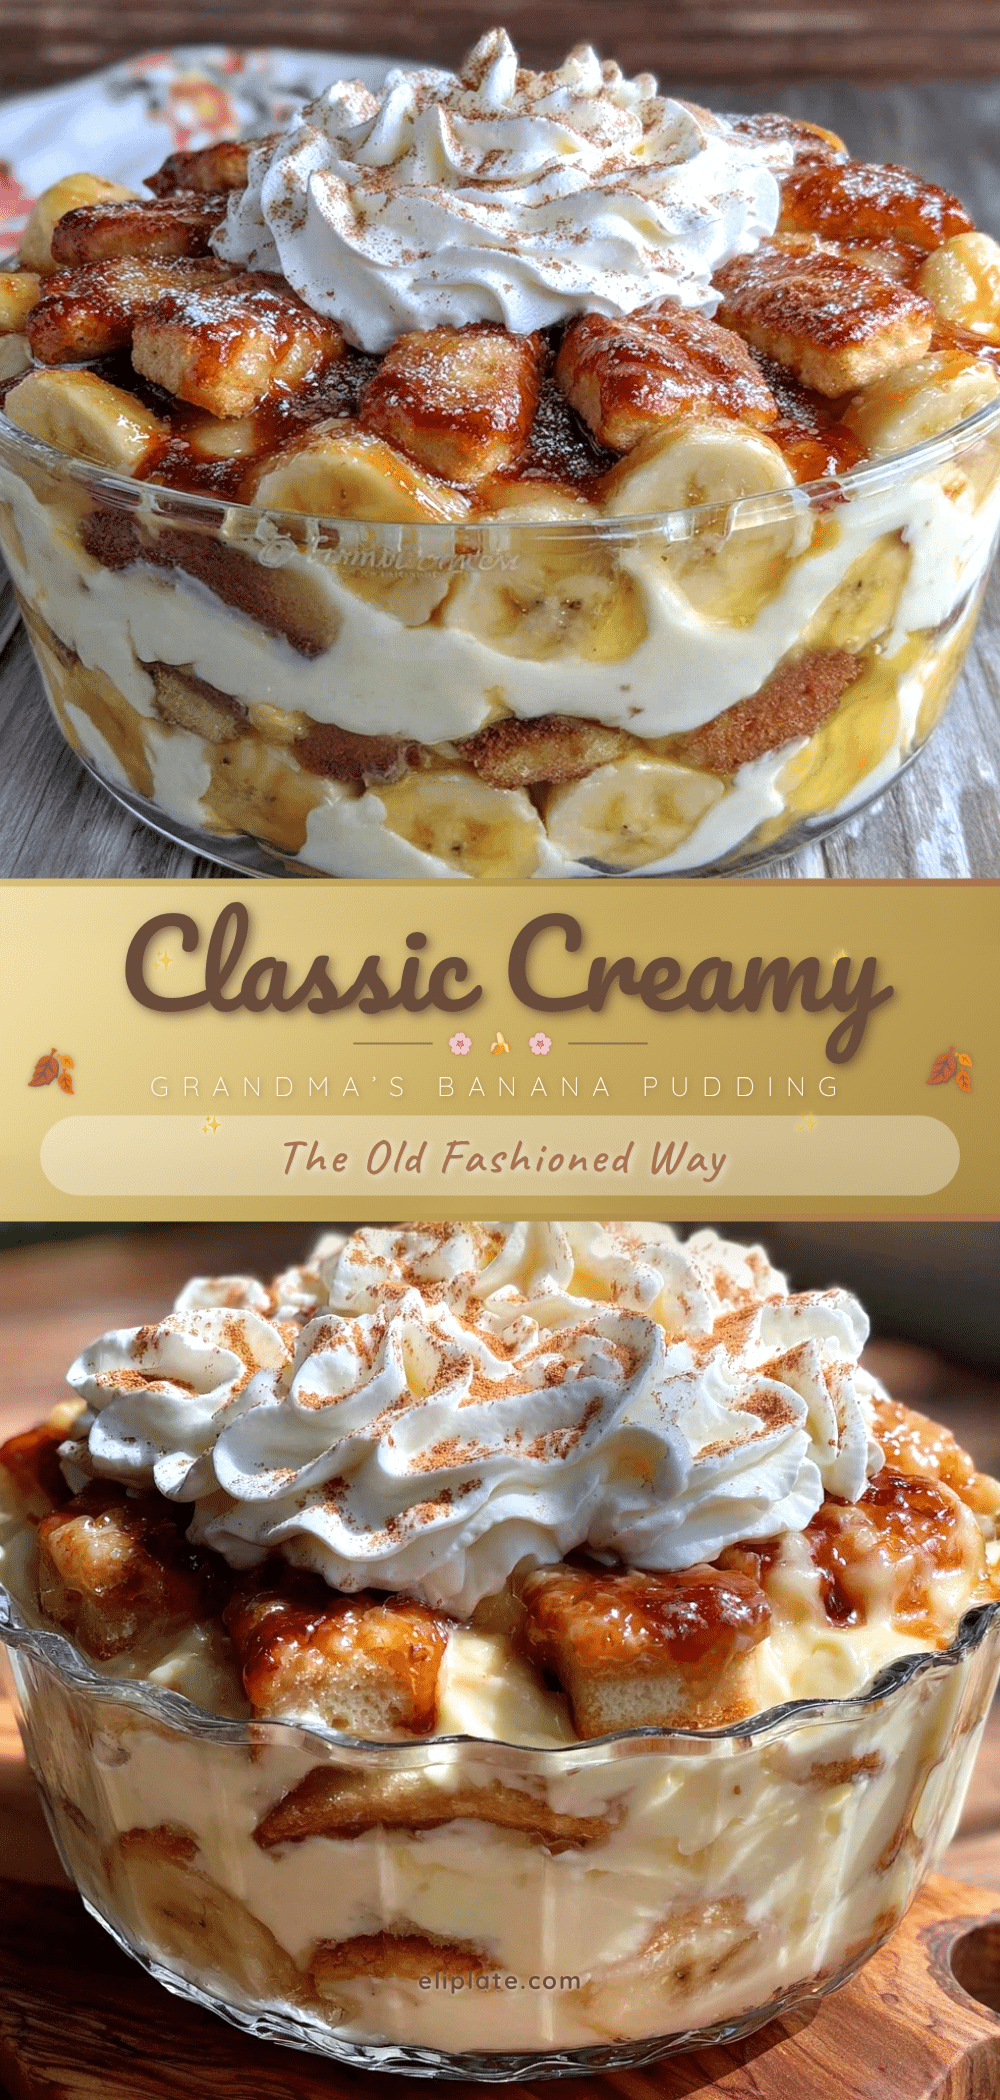
Banana Pudding Recipe Easy Cozy Grandma’s No-Fail Dessert

A simple, comforting banana pudding recipe featuring creamy vanilla custard, ripe bananas, and buttery vanilla wafers. Perfect for potlucks, family dinners, or a cozy treat any time.
- Prep Time: 15 minutes
- Cook Time: 0 minutes
- Total Time: 4 hours 15 minutes
- Yield: 8 servings 1x
- Category: Dessert
- Cuisine: American
Ingredients
- 2 cups whole milk
- 1 (3.4-ounce / 96 g) package instant vanilla pudding mix
- 1 (14-ounce / 396 g) can sweetened condensed milk
- 1 teaspoon pure vanilla extract
- 4–5 ripe bananas, sliced
- 1 (12-ounce / 340 g) box vanilla wafers
- 1 cup heavy whipping cream, chilled (optional)
- 2 tablespoons powdered sugar (optional)
Instructions
- In a large bowl, whisk together the instant vanilla pudding mix and whole milk for about 2 minutes until it starts to thicken.
- Stir in the sweetened condensed milk and vanilla extract until smooth and creamy.
- Peel and slice ripe bananas into 1/4-inch thick rounds and set aside.
- Spread a thin layer of pudding at the bottom of a 9×13-inch baking dish.
- Add a layer of vanilla wafers, then a layer of banana slices.
- Repeat layers of pudding, wafers, and bananas, finishing with a generous layer of pudding on top.
- If using, beat the heavy cream with powdered sugar until soft peaks form and spread evenly over the top layer of pudding.
- Cover the dish with plastic wrap and refrigerate for at least 4 hours or overnight to allow flavors to meld and wafers to soften.
- Serve chilled, spooning into bowls.
Notes
Slice bananas just before layering to prevent browning. Chill pudding for at least 4 hours or overnight for best texture. For less soggy wafers, add a thin layer of pudding between wafers or leave small gaps. Whipped cream topping is optional and should be added just before serving if short on time to avoid weeping.
Nutrition
- Serving Size: 1/8 of the prepared
- Calories: 275
- Sugar: 30
- Sodium: 210
- Fat: 10
- Saturated Fat: 6
- Carbohydrates: 42
- Fiber: 2
- Protein: 4
Keywords: banana pudding, easy dessert, no-fail dessert, vanilla pudding, vanilla wafers, creamy banana dessert, potluck dessert