“You really should try these rolls,” my friend texted me just a day before Thanksgiving. Honestly, I was already overwhelmed with the usual holiday chaos, and the idea of baking fresh bread from scratch felt like a mountain too steep to climb. But the thought of soft, pillowy rolls fresh from the oven kept poking at me. So, I decided to give the bread machine a whirl, figuring it would at least save me from the all-day kneading and rising routine. What happened next was a total surprise — those rolls came out better than I expected, soft as clouds and warm with a buttery scent that filled the whole kitchen.
The best part? I didn’t have to babysit the dough or worry about it sticking to every surface. It was almost like the bread machine did all the magic while I tackled the rest of my holiday prep. These fluffy bread machine Thanksgiving rolls quickly became my go-to side for the cozy holiday feast. Everyone kept asking for more, and I found myself making batch after batch—not just for Thanksgiving but also for casual weekend dinners.
It’s funny how such a small, simple thing can bring that feeling of comfort and togetherness to the table. When the house smells like warm bread, you know something special is happening. That quiet realization—that sometimes the best recipes don’t have to be complicated or fancy—makes me trust this recipe for every holiday meal from here on out.
Why You’ll Love This Recipe
This recipe for fluffy bread machine Thanksgiving rolls isn’t just another roll recipe on the internet—it’s been tested and tweaked through multiple holiday seasons, family dinners, and last-minute potlucks. Here’s why it’s become a staple:
- Quick & Easy: The bread machine does the heavy lifting. From start to finish, you’re looking at about 3 hours, but most of that is hands-off time, so it’s perfect for busy cooks trying to juggle everything.
- Simple Ingredients: No fancy or hard-to-find items here. Most of the ingredients are pantry staples like flour, yeast, and butter, so you won’t have to make extra grocery runs right before the feast.
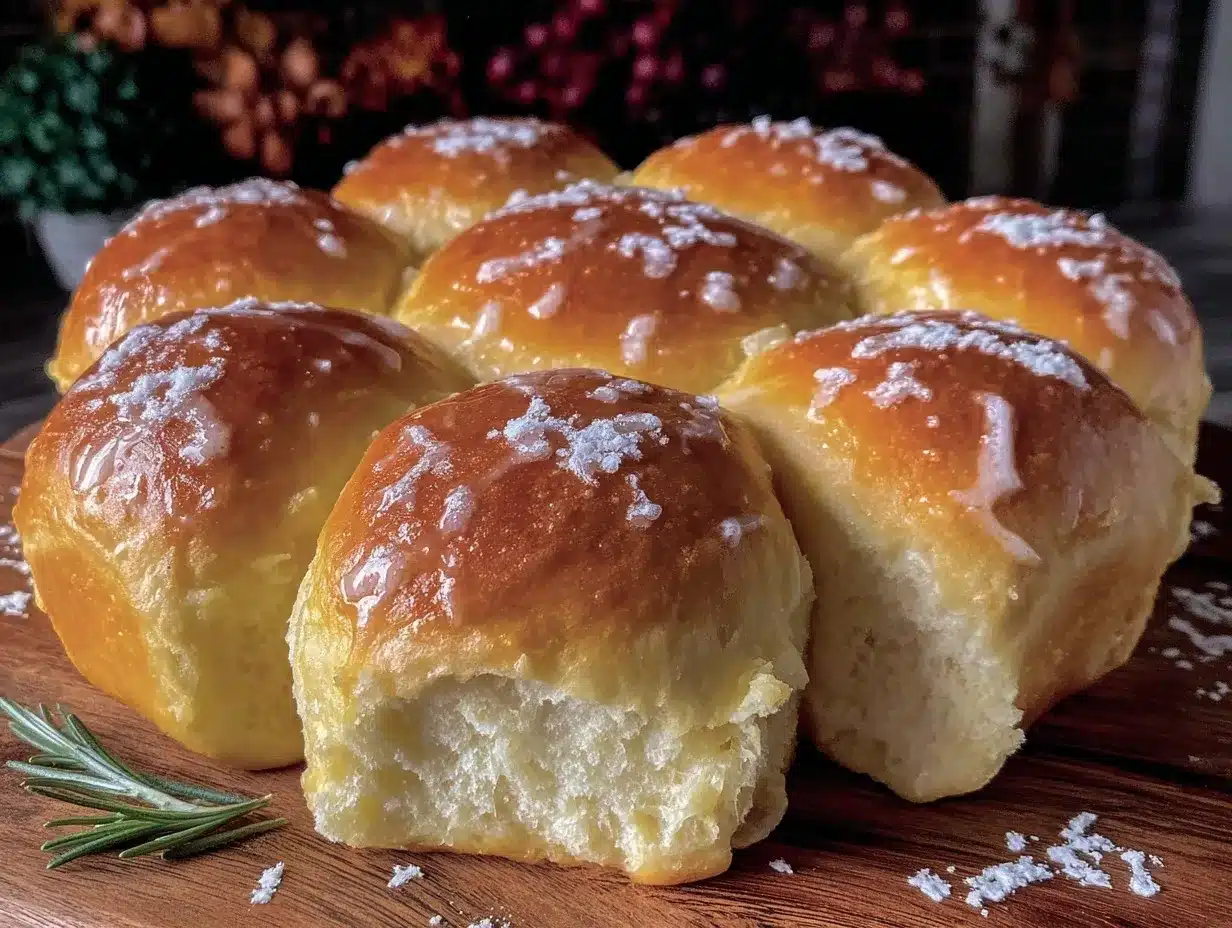
- Perfect for Holiday Meals: These rolls are soft, warm, and buttery — exactly what you want alongside turkey, mashed potatoes, or even a cozy soup. They’re the kind of roll that makes guests linger at the table a little longer.
- Crowd-Pleaser: Kids, adults, picky eaters—everyone loves them. They’re soft enough for little hands but flavorful enough to impress grown-up palates.
- Unbelievably Delicious: The texture is light yet substantial, with just the right amount of chew. The secret is a little extra butter brushed on top right after baking, locking in moisture and flavor.
What makes these rolls stand out? The bread machine method gives the dough a perfect rise every time without the guesswork. Plus, I add a touch of honey to the dough, which creates a subtle sweetness that pairs beautifully with savory dishes. It’s not just a roll; it’s a cozy little cloud on your plate, and honestly, it’s the kind of recipe that becomes a quiet tradition.
What Ingredients You Will Need
This recipe uses simple, wholesome ingredients that combine to give you those soft, fluffy rolls without fuss. Most of these are staples you probably already have in your kitchen, and if not, they’re easy to find at any grocery store.
- All-purpose flour (4 cups / 480 grams) – The base of your dough. I prefer King Arthur flour for the best texture.
- Warm water (1 1/4 cups / 300 ml) – Helps activate the yeast. Aim for about 110°F (43°C), warm to the touch but not hot.
- Active dry yeast (2 1/4 tsp / 1 packet) – The rising agent. Make sure it’s fresh for the best results.
- Granulated sugar (3 tbsp) – Adds a touch of sweetness and helps with browning.
- Unsalted butter (4 tbsp / 56 grams), softened – Adds richness and tenderness. Use real butter, not margarine.
- Salt (1 1/2 tsp) – Balances flavor.
- Milk (1/4 cup / 60 ml), whole or 2% – For extra softness and flavor in the dough.
- Egg (1 large), room temperature – Binds and enriches the dough.
Optional:
- Honey (1 tbsp) – I add this for a subtle sweetness that pairs well with savory dishes, but you can skip or swap with maple syrup.
- Extra melted butter for brushing – Brushed on hot rolls right out of the oven to keep them moist and add that irresistible buttery shine.
If you need gluten-free options, swapping all-purpose flour with a 1:1 gluten-free blend works well, but expect a slight change in texture. For dairy-free, use almond or oat milk and a plant-based butter alternative.
Equipment Needed
- Bread machine: A basic bread machine with a dough setting is essential here. Mine’s a simple model and has been reliable for years.
- Measuring cups and spoons: Accuracy matters, especially with yeast.
- Mixing bowl: For any additional mixing or proofing outside the machine.
- Baking sheet or cast-iron skillet: For baking the rolls evenly.
- Pastry brush: To brush melted butter on the rolls after baking.
If you don’t have a bread machine, you could mix and knead by hand or with a stand mixer using a dough hook, but that’s a different technique altogether (and more hands-on). For budget-friendly bread machines, brands like Hamilton Beach or Oster offer solid beginner options. Also, cleaning your bread pan right after use helps maintain the non-stick coating and extends the machine’s life.
Preparation Method
- Prepare the yeast mixture: In a small bowl, dissolve 2 1/4 teaspoons active dry yeast and 3 tablespoons sugar in 1 1/4 cups warm water (110°F/43°C). Let it sit for 5-10 minutes until foamy. This step wakes up the yeast and ensures it’s active.
- Add ingredients to the bread machine: Into the bread machine pan, pour the yeast mixture first. Then add 4 cups all-purpose flour, 1/4 cup milk, 1 large egg, 4 tablespoons softened butter, 1 1/2 teaspoons salt, and 1 tablespoon honey (if using). The order can matter depending on your machine, so follow its manual if it suggests a specific sequence.
- Select the dough setting: Set your bread machine to the “dough” cycle and press start. This cycle usually takes 1.5 to 2 hours and includes mixing, kneading, and the first rise.
- Check the dough consistency: About 10 minutes into kneading, open the machine and check the dough. It should form a soft, slightly sticky ball. If it’s too wet, add flour a tablespoon at a time. If too dry, add water by teaspoon increments. This little check makes all the difference for fluffy rolls.
- Shape the rolls: When the dough cycle finishes, turn the dough out onto a lightly floured surface. Divide it into 12 equal pieces (about 2 ounces/60 grams each). Shape each piece into a smooth ball by tucking edges underneath and rolling gently.
- Arrange for second rise: Place the rolls close together in a greased 9×13-inch baking dish or cast-iron skillet. Cover with a clean kitchen towel or lightly greased plastic wrap. Let them rise in a warm spot for 30-45 minutes until nearly doubled in size.
- Preheat the oven: While the rolls are rising, preheat your oven to 375°F (190°C).
- Bake the rolls: Bake for 20-22 minutes or until the tops are golden brown and the rolls sound hollow when tapped.
- Butter them hot: As soon as they come out of the oven, brush generously with melted butter for that irresistible shine and soft crust.
- Cool slightly before serving: Let the rolls rest for 10 minutes before serving so they’re warm but not too hot to enjoy.
Pro tip: Don’t rush the second rise. It’s what gives these rolls their cloud-like fluff. I’ve tried baking too soon, and the texture just isn’t the same.
Cooking Tips & Techniques
One thing I learned early on is that yeast is finicky. Water that’s too hot can kill it, and cold water slows everything way down. Stick close to 110°F (43°C)—warm but not scalding.
Another tip is to resist the urge to add too much flour during kneading. A slightly sticky dough leads to softer rolls. I used to panic and add heaps of flour, ending up with tough bread, until I realized a little stickiness is okay.
Brushing the rolls with butter immediately after baking locks in moisture and keeps the crust tender instead of hardening. This little step makes all the difference, especially if you’re reheating leftovers later.
Timing-wise, while the dough is rising, I often prep other dishes or set the table. It’s a great way to multitask without feeling rushed. Plus, the smell of rising dough is the best kind of kitchen timer.
Finally, if you want a golden crust, try tenting the rolls with foil halfway through baking to prevent over-browning while finishing the bake inside.
Variations & Adaptations
- Herb-Infused Rolls: Add 1 tbsp each of fresh chopped rosemary and thyme to the dough for a fragrant twist that pairs beautifully with roasted turkey.
- Garlic Butter Rolls: Mix 2 cloves minced garlic into the melted butter for brushing. It makes a perfect side for dinner parties or game day gatherings.
- Gluten-Free Version: Use a 1:1 gluten-free flour blend and swap milk for almond or oat milk. The texture shifts slightly but still delivers a soft, tasty roll.
- Vegan Adaptation: Substitute the egg with a flax egg (1 tbsp ground flaxseed + 3 tbsp water) and use dairy-free milk and vegan butter.
- Sweet Cinnamon Rolls: After shaping, sprinkle with cinnamon sugar, then bake and glaze with a simple powdered sugar icing for a holiday breakfast treat.
I personally love the herb variation during fall – it adds an earthy note that complements the rich flavors of my crispy lemon herb chicken beautifully.
Serving & Storage Suggestions
Serve these rolls warm, straight from the oven, with an extra pat of butter on the side. They’re fantastic alongside classic Thanksgiving mains like turkey, stuffing, and green bean casserole. For a simple meal, they also shine with soups or stews, offering a comforting touch.
To store, place cooled rolls in an airtight container or resealable bag at room temperature for up to 2 days. For longer storage, freeze them in a single layer on a baking sheet, then transfer to a sealed freezer bag for up to 3 months.
Reheat frozen rolls wrapped in foil at 350°F (175°C) for about 10-15 minutes or until warmed through. Alternatively, microwave rolls wrapped in a damp paper towel for 20-30 seconds to regain softness.
Flavors actually deepen if you let the rolls rest for a few hours after baking (if you can resist!), making them even more comforting the next day.
Nutritional Information & Benefits
Each fluffy bread machine Thanksgiving roll contains approximately 150 calories, 5 grams of fat, 25 grams of carbohydrates, and 4 grams of protein, depending on exact ingredient brands and sizes. The inclusion of whole milk and butter contributes to a richer texture and flavor, while the egg adds protein and moisture.
Key ingredients like yeast provide B vitamins, and the rolls offer a good source of energy for hectic holiday days. These rolls are not gluten-free unless adapted, and they contain dairy and egg, so keep that in mind for allergies.
From a wellness perspective, making rolls at home lets you control the ingredients, avoiding preservatives and artificial additives common in store-bought breads. Pairing them with nutrient-dense sides keeps your holiday meal balanced yet comforting.
Conclusion
Fluffy bread machine Thanksgiving rolls have quietly become my holiday secret weapon—delivering soft, buttery goodness with minimal effort. They’re easy to customize, simple enough for busy cooks, and impressively delicious. I love how these rolls bring a little warmth and softness to the table, making every meal feel a bit more special.
Feel free to tweak the recipe with your favorite herbs or swap ingredients to suit your diet. I hope they become a comforting tradition in your home, too—because sometimes the best recipes are the ones you return to again and again.
If you try this recipe, I’d love to hear how you make it your own. Drop a comment below or share your variations—there’s always room at the table for new ideas!
FAQs About Fluffy Bread Machine Thanksgiving Rolls
Can I make these rolls without a bread machine?
Absolutely. You can mix, knead, and let the dough rise by hand or with a stand mixer using a dough hook. Just follow the same ingredient proportions and allow for two rises before baking.
How long do these rolls stay fresh?
Stored in an airtight container at room temperature, they stay fresh for about 2 days. For longer storage, freeze and reheat as needed.
Can I prepare the dough ahead of time?
Yes, after the bread machine completes the dough cycle, you can refrigerate the dough overnight. Bring it to room temperature before shaping and the second rise.
What if my dough is too sticky or too dry?
Add flour a tablespoon at a time if too sticky, or water a teaspoon at a time if too dry, during the initial kneading step. Dough should be soft but manageable.
Can I add seeds or grains to the rolls?
Sure! Adding 1/4 cup of seeds like sesame or poppy can add texture and flavor. Mix them in during the initial dough preparation in the bread machine.
Pin This Recipe!
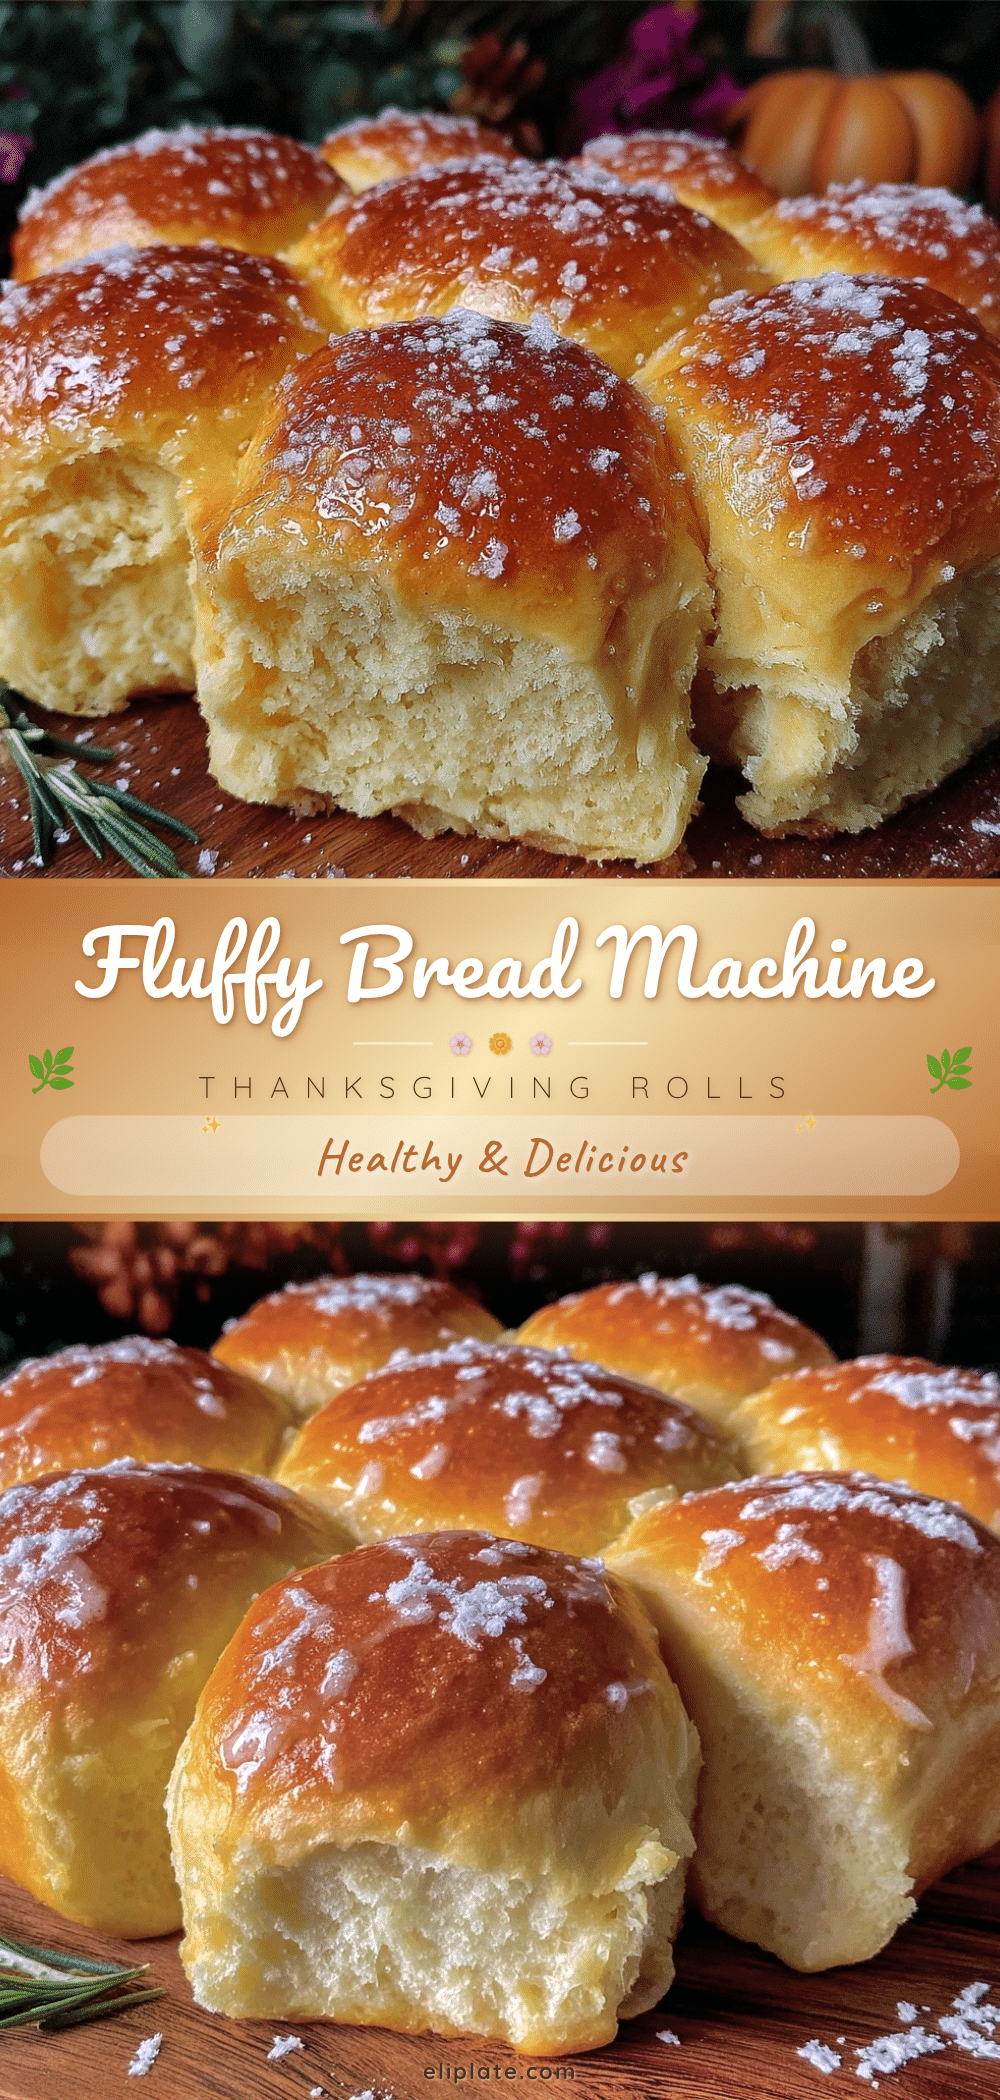
Fluffy Bread Machine Thanksgiving Rolls
Soft, pillowy rolls made easily with a bread machine, perfect for cozy holiday feasts and everyday dinners. These buttery rolls are a crowd-pleaser with a subtle sweetness and a tender crust.
- Prep Time: 15 minutes
- Cook Time: 22 minutes
- Total Time: 3 hours
- Yield: 12 rolls 1x
- Category: Side Dish
- Cuisine: American
Ingredients
- 4 cups all-purpose flour (480 grams)
- 1 1/4 cups warm water (110°F / 43°C)
- 2 1/4 teaspoons active dry yeast (1 packet)
- 3 tablespoons granulated sugar
- 4 tablespoons unsalted butter, softened (56 grams)
- 1 1/2 teaspoons salt
- 1/4 cup milk (whole or 2%) (60 ml)
- 1 large egg, room temperature
- 1 tablespoon honey (optional)
- Extra melted butter for brushing (optional)
Instructions
- In a small bowl, dissolve 2 1/4 teaspoons active dry yeast and 3 tablespoons sugar in 1 1/4 cups warm water (110°F/43°C). Let it sit for 5-10 minutes until foamy.
- Pour the yeast mixture into the bread machine pan. Add 4 cups all-purpose flour, 1/4 cup milk, 1 large egg, 4 tablespoons softened butter, 1 1/2 teaspoons salt, and 1 tablespoon honey (if using).
- Set the bread machine to the dough cycle and start. This cycle takes about 1.5 to 2 hours including mixing, kneading, and the first rise.
- About 10 minutes into kneading, check the dough consistency. It should form a soft, slightly sticky ball. Add flour or water as needed to adjust.
- When the dough cycle finishes, turn the dough onto a lightly floured surface. Divide into 12 equal pieces (about 2 ounces/60 grams each) and shape each into a smooth ball.
- Place the rolls close together in a greased 9×13-inch baking dish or cast-iron skillet. Cover and let rise in a warm spot for 30-45 minutes until nearly doubled in size.
- Preheat the oven to 375°F (190°C).
- Bake the rolls for 20-22 minutes until golden brown and hollow sounding when tapped.
- Brush the hot rolls generously with melted butter immediately after baking.
- Let the rolls cool slightly for 10 minutes before serving.
Notes
Do not rush the second rise for best fluffiness. Keep water temperature at about 110°F to activate yeast properly. Slightly sticky dough leads to softer rolls. Brush rolls with melted butter immediately after baking to lock in moisture and keep crust tender. Tent with foil halfway through baking if you want a golden crust without over-browning.
Nutrition
- Serving Size: 1 roll
- Calories: 150
- Fat: 5
- Carbohydrates: 25
- Protein: 4
Keywords: bread machine rolls, Thanksgiving rolls, fluffy rolls, holiday bread, easy bread recipe, soft dinner rolls, buttery rolls